


Quick Summary:
- Follow Ground Transportation signs, then Rental Cars, from any arrival gate.
- In Terminals A and B, head to Level 1 rental counters.
- Use lifts or escalators to Level 1, then walk to desks.
- Allow 10 to 20 minutes from gate to keys, longer peak times.
Orlando International Airport (MCO) makes it relatively straightforward to get from Terminals A or B to the rental car centre because the main rental car counters are on-airport, inside the terminal complex. The key is knowing which level to aim for, and which signs to trust when the concourses and atrium feel busy after a flight.
This step-by-step guide focuses on the quickest, most reliable routes from Terminals A and B, with practical signage tips and what to do if you need accessible routes or a bit more time.
Know the layout first: terminals, concourses, and levels
MCO’s Terminal A and Terminal B sit within the same main terminal building. After you arrive at your gate, you will typically be in one of the airside concourses connected to the main terminal. Your goal is to get back to the landside terminal, then down to the rental car counters.
The rental car centre for the main on-airport companies is reached by following signs to Ground Transportation and Rental Cars, then going to Level 1 where the counters are located. If you are comparing car hire options in advance, Hola Car Rentals has airport-specific information that can help you understand what to expect at MCO: Orlando airport car rental information.
From any arrival gate: get from the airside to the main terminal
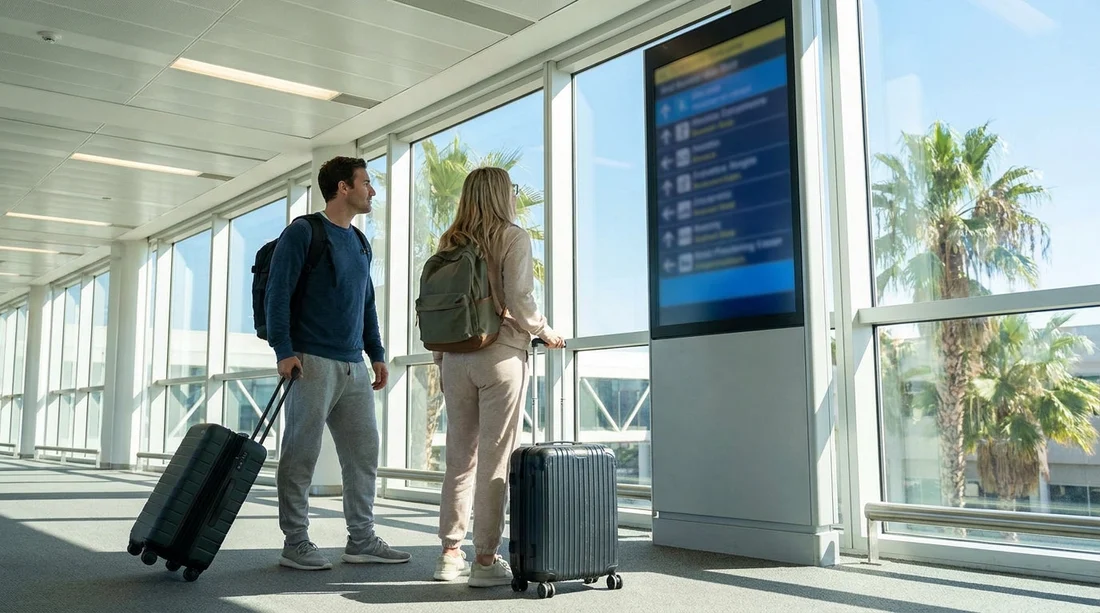
1) After leaving the aircraft, follow overhead signs for “Main Terminal” or “Baggage Claim”. Do not follow signs for “Ground Transportation” yet if you are still airside, you will see them later once you are back landside.
2) Take the airport tram (automated people mover) from the airside concourse to the landside main terminal. Trams run frequently, and this is the standard route for both Terminal A and Terminal B arrivals.
3) Once you exit the tram, you will be in the main terminal’s central area. From here you can continue to baggage reclaim if you checked luggage, or go directly to the rental area if you are travelling carry-on only.
Terminal A to the rental car centre: the quickest route
Terminal A arrivals will funnel you into the main terminal area on the A side. The route is still the same in principle, your target is Level 1 for rental car counters.
1) From the tram exit, look for “Baggage Claim” and “Ground Transportation” signs. These signs are usually the most consistent wayfinding markers for car hire routes.
2) Go down to Level 2 if you need baggage reclaim, collect your bags, then continue to the lifts or escalators down to Level 1.
3) Once on Level 1, follow “Rental Cars” signage. You will see a row of rental car counters for on-airport companies. Choose your provider, or proceed to the counter where your reservation is held.
If you want to understand what the Orlando MCO process is like from the perspective of car hire planning, see Orlando MCO car rental guidance for a general overview.
Terminal B to the rental car centre: the quickest route
Terminal B works almost identically. The biggest “mistake” travellers make is assuming Terminal B has a separate off-site shuttle to a distant rental car centre. For the main providers, you are staying within the airport terminal structure until you reach the counters.
1) From your gate, follow “Main Terminal” or “Baggage Claim” and take the tram to landside.
2) If you have checked baggage, collect it on Level 2, then keep an eye out for signs to “Ground Transportation” and “Rental Cars”.
3) Take the lifts or escalators down to Level 1.
4) Walk along the Level 1 rental car counter area until you reach the company you need, then follow instructions for vehicle pick-up.
For UK travellers who prefer a UK-facing page when comparing car hire at Orlando MCO, this resource can be helpful: car hire Orlando MCO.
Signage that matters most at MCO
When you are tired after a flight, it helps to know the exact words used on signs. At MCO, the most useful sign sequence is:
“Baggage Claim” and “Main Terminal” (to get out of the airside concourse), then “Ground Transportation”, then “Rental Cars”. Once you reach Level 1, the counter area is generally obvious, with branded desk signage and queues.
If you see signs for hotel shuttles, ride-share pick-up, or taxis, you have gone to Ground Transportation, but you still need to make sure you are on the right level for rental counters. If you are on a kerbside area with vehicles constantly pulling in, re-check the nearest directory for “Rental Cars” and go back inside to Level 1 if necessary.
Accessible route and family-friendly tips
Accessible travel at MCO is made easier by lifts at key level changes. If you are travelling with a pram, multiple suitcases, or a mobility aid, prioritise lifts over escalators and allow extra time during peak periods.
Keep party members together until you are sure you are heading to Level 1 rental counters, and avoid splitting up before you are landside. If one person collects bags while another queues, agree an exact meeting point near the counters, not just “by the desks”.
If you are collecting a larger vehicle for a group trip, it can help to review vehicle categories ahead of time. For those considering people carriers or larger options, van hire from Orlando MCO provides a relevant reference point for vehicle needs.
Choosing the right car hire desk quickly
Once you reach the rental counter area, the final step is simply choosing the correct desk. Check your confirmation for the company name, then follow the branding on overhead signs. If you booked through a comparison or broker, the paperwork still shows the provider responsible for the counter.
If you are comparing specific providers ahead of arrival, you can review a supplier page such as Avis car hire at Orlando MCO to understand how that brand is presented in the airport context.
Before you leave the counter, confirm where the car is collected, how to exit the parking area, fuel expectations, and what to do if you spot pre-existing damage. Taking a quick set of photos at pick-up is a sensible habit, especially in busy garages.
FAQ
Is the rental car centre at Orlando Airport inside the terminal for Terminals A and B? Yes, for the main providers the rental counters are on-airport within the terminal complex, reached by going to Level 1 and following “Rental Cars” signs.
How long does it take to get from Terminal A to the rental car counters? Most travellers take about 10 to 20 minutes from gate to counter, depending on tram timing, baggage reclaim, and how busy the terminal is.
Do I need to take a shuttle from Terminal B to the rental car centre? Usually no, you will take the tram from the airside concourse to the main terminal, then walk to Level 1 rental counters. Only some off-airport arrangements use shuttles.
Which signs should I follow from arrivals to reach car hire? Follow “Main Terminal” or “Baggage Claim” first, then “Ground Transportation”, then “Rental Cars”. Once on Level 1, the counter area is clearly signposted.
What is the easiest route if I have lots of luggage or a pram? Use lifts rather than escalators when changing levels, stay together until you reach Level 1, and allow extra time for queues and lift waits during busy arrival banks.

























































































