


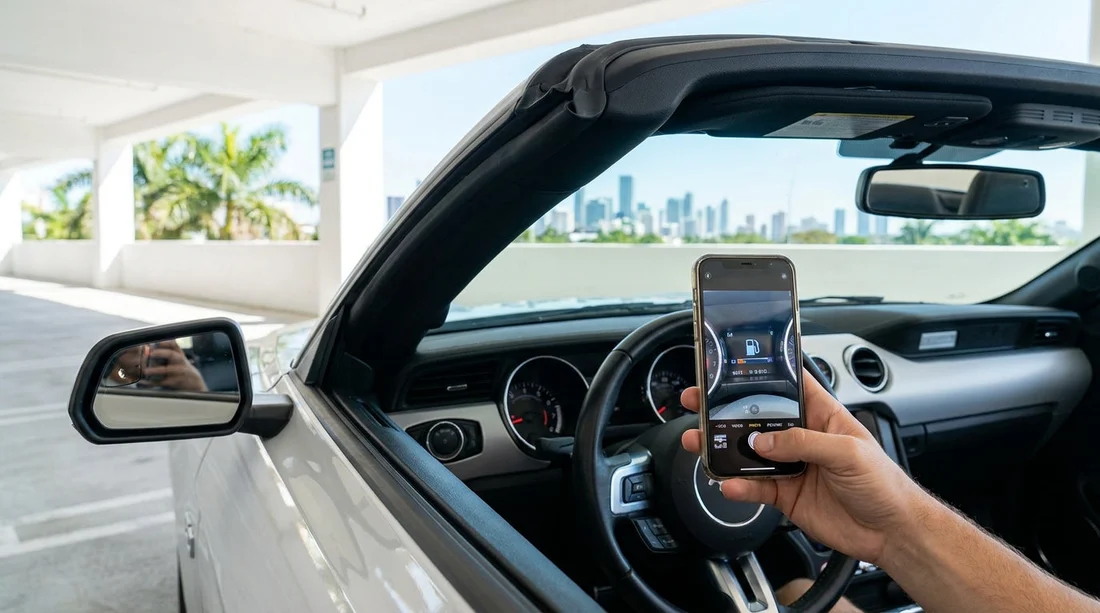
Quick Summary:
- Photograph the fuel gauge and range estimate with the ignition on.
- Capture the odometer, trip meter, plus date and time if shown.
- Take a clear shot of any warning lights that stay on.
- Photograph the condition report and contract fuel policy before driving.
Picking up a rental car in Miami can be fast paced, especially at busy locations and peak travel times. A quick set of dashboard photos before you leave the bay helps you avoid later confusion about fuel level, mileage, or pre-existing alerts. These images take less than a minute, but they can be the difference between an easy return and a frustrating back-and-forth.
This checklist focuses on what to photograph on the dashboard and fuel gauge, plus a few supporting shots that connect the car’s instrument readings to the written condition report. Keep the photos in your camera roll until after the final invoice has settled.
Before you start: set up the dashboard for accurate photos
To make your photos useful, take them with the ignition on so the instrument cluster is fully lit and readable. If the car has a push button start, press it once without pressing the brake, or follow the vehicle prompts to switch to accessory mode. Turn down screen glare by tilting the steering wheel slightly and shading the cluster with your hand, but do not cover any numbers.
In Miami, bright sun can wash out LCD screens, so tap to increase display brightness if the car allows it. Take photos while stationary, with the gear selector in Park. If you collected the car from a downtown branch, such as SUV hire downtown Miami, you may be leaving a tight garage. Get the photos before you join traffic.
1) Fuel gauge, fuel type, and range estimate
Your most important photo is the fuel gauge with the ignition on, showing the needle position or digital bars clearly. If the vehicle displays a percentage, capture that too. Aim for a straight-on photo so the gauge markings are legible, and include enough of the cluster that it is obvious which car the reading belongs to.
Then take a second photo that includes the range or distance to empty estimate if it is shown. Range can fluctuate after a short drive, so the first reading at pickup is what matters. If the car supports it, photograph the fuel type shown on the fuel door label or in the infotainment settings, such as regular unleaded, premium, or diesel. Fuel disputes are common when the wrong grade is used or when a driver assumes a vehicle is full based on range alone.
If you picked up near the beachfront, traffic and stop-start driving can change the range quickly. For pickups around Hertz car rental Miami Beach, a clean initial fuel photo helps if the branch later claims the car left with a different level than you were told.
2) Odometer and trip meter, plus date and time
Next, photograph the odometer reading. This anchors your rental period to a starting mileage, which is useful if you are on a mileage-capped agreement or if there is any later confusion about when the vehicle was swapped or serviced.
If the display shows a trip meter (Trip A or Trip B), capture it in the same photo if possible. Sometimes a trip meter is reset between rentals, but not always. A visible trip reading at pickup is not a problem, but it is helpful to document it so nobody assumes you reset it mid-rental to hide distance. Also try to include the date and time if the cluster shows them. If not, take a second photo of your phone showing the time, right next to the cluster, without blocking the odometer.
For travellers collecting a car in business districts like car rental Brickell, capturing time and mileage is particularly helpful when you are picking up between meetings and might not remember later exactly when you drove off.
3) Warning lights and messages, especially after start-up
Many warning lights briefly illuminate during start-up checks, then turn off. What you need to capture are any lights that remain on after the engine is running, or any persistent messages on the cluster. Take one photo during accessory mode if there is a clear message, then another after starting the engine to show what stayed on.
Warning lights to document carefully include check engine, tyre pressure monitoring system, ABS, traction control, airbag, low oil pressure, battery, and temperature warnings. Also photograph service reminders like maintenance required or oil change due if they are visible. These alerts do not automatically mean the car is unsafe, but they can become a point of dispute if a branch later claims you caused a fault. A clear pickup photo shows the timeline.
If the vehicle shows tyre pressures, photograph that screen too, particularly if one tyre is significantly lower. In Miami heat, pressures can rise and fall more noticeably between morning and afternoon, so your baseline photo matters.
4) Condition report, contract summary, and any damage notation
The title question focuses on dashboard and fuel photos, but the safest approach is to link your instrument images to the condition report. If you have a paper condition sheet, photograph the whole page, then take close-ups of any marked damage notes. If the report is on a kiosk, terminal, or handheld device, take a clear photo of the screen showing the vehicle details and the damage diagram.
Also photograph the agreement summary lines that show the fuel policy (for example, return same level or prepaid fuel), the pickup location, and the vehicle class. If you are doing car hire in Miami and moving between neighbourhoods, location codes can be confused later. A contract photo helps confirm where the car was collected and what policy applied.
For travellers collecting outside Miami proper, keep the same habit. If you are starting from car hire airport Fort Lauderdale FLL and driving south, the initial paperwork photo makes it easier to resolve questions with any branch you speak to later.
How to take the photos so they are actually usable later
Use a steady hand and take at least two shots of each critical item. Review them immediately to confirm the numbers are sharp. If reflections make the odometer unreadable, change your angle slightly and try again. Avoid using flash on glossy clusters because it can obscure warning icons.
Do not edit the images or apply filters. Keep original metadata, and do not crop so tightly that the cluster could be from any vehicle. If you are collecting from areas like National car rental Doral, where many similar vehicles are lined up, context in the frame helps show it is your assigned car.
FAQ
Q: Should I take photos with the engine off or running?
A: Take them with the ignition on so the cluster is illuminated, then take another after the engine is running to show any warning lights that remain on.
Q: Is a photo of distance to empty enough to prove fuel level?
A: No. Range changes quickly with driving style and traffic, so always photograph the fuel gauge itself, and treat the range estimate as supporting context.
Q: What if the fuel gauge is just below full, but staff said it is full?
A: Photograph the gauge and the written fuel policy or checkout note. If it is not visually full, get it noted on the condition report before you leave.
Q: Which warning lights are most important to capture?
A: Focus on any lights that stay on after start-up, especially check engine, tyre pressure, ABS, airbag, battery, oil pressure, and temperature alerts.
Q: How many dashboard photos should I take at pickup?
A: Aim for four to eight clear images: a wide cluster shot, fuel and range close-up, odometer close-up, any warning messages, plus the condition report summary.































































































