


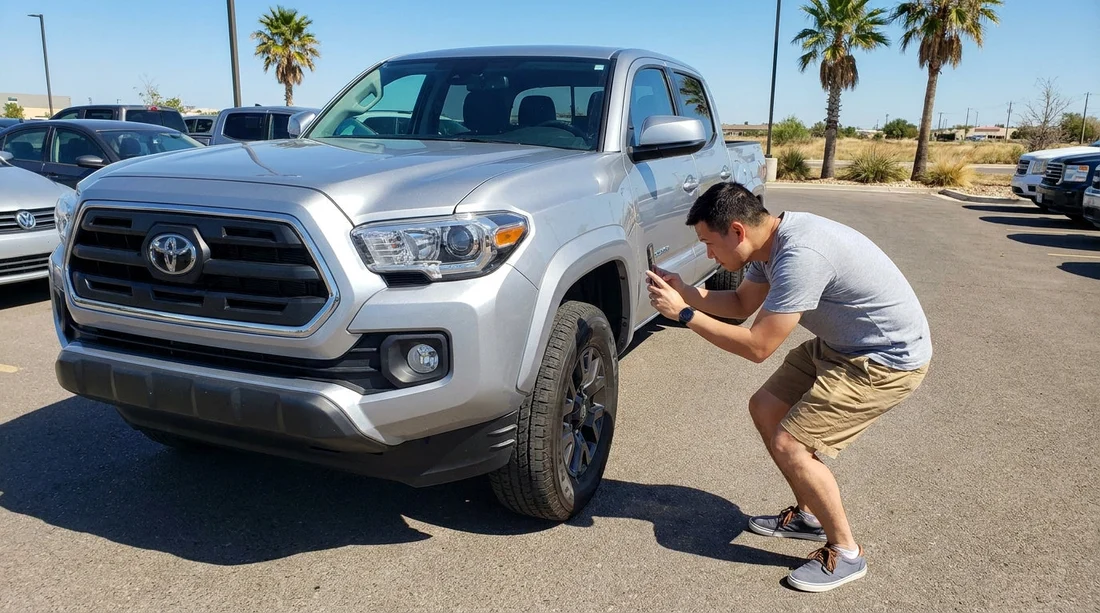
Quick Summary:
- Photograph all four sides, corners, roof, and bumpers before driving off.
- Capture each wheel, tyre sidewalls, kerb rash, and under-bumper scrapes.
- Record close-ups of windscreen, windows, mirrors, lights, and any chips.
- Snap dashboard mileage, fuel gauge, warning lights, and agreement details clearly.
Taking the right photos at pick-up is the simplest way to protect yourself during car hire in Texas. It only takes a few minutes in the car park, but it can prevent disagreements about scratches, chips, interior marks, fuel level, or mileage later. Your goal is to create a clear, time-stamped visual record that matches the vehicle you were given, showing both the overall condition and any pre-existing damage.
Try to take photos before you move the car, ideally while it is still in the pick-up bay with good lighting. If the garage is dim, use your phone’s flash sparingly to avoid glare on glass, and take a second shot without flash. If you are collecting from a busy airport location such as car rental at Austin AUS or car rental at San Antonio SAT, doing this quickly and methodically helps you avoid feeling rushed.
Before you start: set up your phone for “usable evidence”
Open your camera settings and ensure date and time are correct. If your phone supports it, keep location tagging on, as it can help show the photos were taken at the pick-up site. Wipe the lens, then use the standard camera app rather than a social app, because you want original files with full metadata.
Exterior walkaround: the “all angles” set
Start with a full walkaround, taking 8 to 12 photos. Begin at the front-left corner, then front, front-right, right side, rear-right, rear, rear-left, left side, and finish with a straight-on photo of the roofline if you can safely reach a good angle. In Texas sunlight, take one set from slightly different angles to reduce reflections, especially on darker paint.
Make sure each photo includes multiple panels. A picture that shows only a door may not prove whether a scratch is near the handle or on the rear quarter. If you notice any issue, such as a scuff on the bumper, paint transfer, dent, or misaligned panel gap, take a wide shot first, then two close-ups.
Do not forget the number plate. A clear plate photo ties the images to the exact vehicle, which matters if similar cars are parked nearby. If you are collecting a larger vehicle, for example at SUV hire at Dallas DFW, also capture the lower bumper areas that are more likely to scrape on kerbs and ramps.
Wheels, tyres, and lower body: where disputes often start
Wheels and tyres are common chargeback areas because kerb rash and sidewall damage can be expensive. Photograph each wheel straight-on, then at a slight angle to show the rim edge and spokes. Get close-ups of any scratches, gouges, missing hubcaps, or bubbling clear coat.
Finally, crouch slightly and capture the lower rocker panels and the underside of the front and rear bumpers. Scrapes here can be hard to see at return time if it is dark or raining, so your pick-up photos are especially valuable.
Glass, lights, and mirrors: capture chips before they spread
Texas roads can kick up small stones, and a tiny windscreen chip can grow into a crack with heat changes. Photograph the windscreen from outside, then from inside, aiming to show any chips, pitting, or wiper marks. Take at least one photo with the sky reflected, then another angled downwards to reveal imperfections.
Photograph each window and the rear screen. For mirrors, take a wide shot of the mirror housing and a close-up of the mirror glass, as scratches can be subtle. Then photograph all lights: headlights, tail lights, indicators, and brake lights. Even if you cannot illuminate them in a still photo, you can document lens cracks, condensation, or missing pieces.
Interior and boot: document cleanliness, tears, and missing items
Before you sit down, take an interior “overview” set. Open the driver door and photograph the dashboard, steering wheel, centre console, and driver seat. Then take similar photos from the passenger side, plus the rear seats. Look for stains, burns, tears, heavy scuffs on door cards, and damage to trim pieces.
Photograph the boot or trunk empty, including the cargo lip where scratches are common. Capture any missing items, such as a parcel shelf, spare, jack, tow hook, or warning triangle. If you are picking up near North Texas, for instance via car hire at Fort Worth DFW, you may be loading luggage immediately, so these photos help show any marks were pre-existing.
Dashboard proof: mileage, fuel, and warning lights
Next, turn the ignition on without rushing. Photograph the instrument cluster clearly showing the odometer mileage. Then photograph the fuel gauge. If the rental is not “full to full”, your photo should clearly show the actual level you received.
Take a photo of any warning lights that remain on once the engine is running. If a maintenance light stays on, capture it and consider notifying staff before leaving.
Paperwork and identifiers: tie the photos to the exact rental
Finally, document identifiers that connect your photos to your agreement. Take a photo of the rental agreement where it shows the vehicle registration or unit number, pick-up time, and fuel policy. Avoid photographing sensitive payment details if you will be sharing images later, but keep a private copy for yourself.
FAQ
Should I take photos even if the car looks perfect? Yes. A clean set of baseline photos showing no visible issues is still useful evidence, especially for wheels, glass, and the dashboard mileage and fuel.
Is a video enough, or do I need still photos too? Take both if you have time, but prioritise still photos. Stills capture sharp close-ups of chips, kerb rash, and interior marks, and they are easier to reference later.
What if it is dark in the pick-up garage? Use your phone’s night mode if available, and take two shots of key areas, one with flash and one without, to avoid glare on paint and glass.
Which dashboard photos matter most for fuel and mileage? Photograph the odometer mileage, the fuel gauge, and any warning lights that remain on after start-up.
How quickly should I report damage I find at pick-up? Ideally before leaving the car park. If that is not possible, report it as soon as you safely can, and keep your time-stamped photos to support the note on your agreement.






























































































