


Quick Summary:
- Match the seat to your child’s current height and weight limits.
- Check labels, dates, and instructions are present and readable.
- Inspect shell, foam, and straps for damage or missing parts.
- Test buckle and harness, then confirm a tight, correct installation.
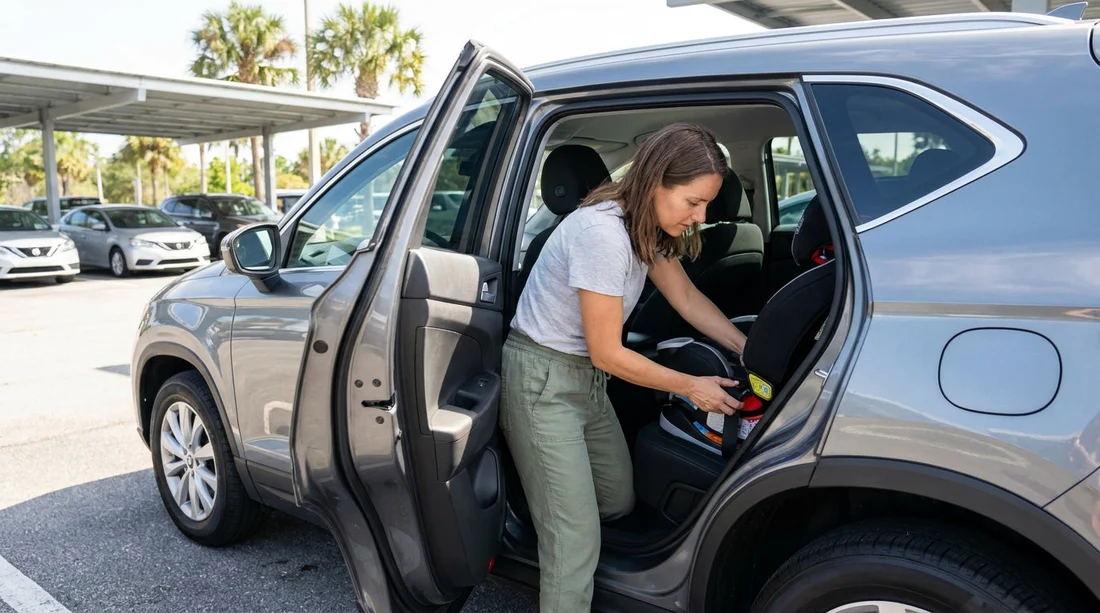
When you collect a rental car in Florida, the child seat handover often happens quickly in a busy car park. A few focused checks can help you avoid common safety and comfort issues, such as the wrong seat type, a sticky buckle, missing labels, or a loose install. This guide gives a practical checklist you can follow before you leave the lot, whether you are picking up near Miami or heading towards Orlando.
If you are arranging car hire through Hola Car Rentals, you may be collecting at major hubs like Miami or planning a family route that includes Orlando. Wherever you start, take five to ten minutes to inspect the seat in good light, and only set off once you are happy with the fit and function.
1) Confirm you have the right seat type for your child
Before checking any straps or latches, confirm the seat category matches your child’s current size. The correct seat is based on height and weight, not just age. A seat that is “close enough” can create slack in the harness or place the belt in the wrong location.
Rear-facing infant seat: Often used for babies and smaller toddlers. Check your child is within the listed weight and height limits, and that the harness slots are at or below shoulder level (as allowed by that seat’s instructions).
Forward-facing seat with harness: Suitable once your child exceeds rear-facing limits and meets the minimums for forward-facing. Confirm the harness slots are at or above shoulder level, depending on the seat’s design and manual guidance.
Booster seat (high-back or backless): Used when a child has outgrown a harnessed seat, but is still too small for an adult belt alone. The key check here is belt fit: lap belt low across hips, shoulder belt crossing mid-shoulder and chest, not the neck.
If you are travelling with more than one child, think about vehicle space as well. A larger vehicle can make correct installation easier, for example if you are considering minivan hire in Florida for extra room to access buckles and tighten belts.
2) Check labels: approval, limits and date information
Do not skip the labels. They are your quickest way to verify that the seat is suitable and that you are using it within the manufacturer’s stated limits.
Weight and height limits: Confirm your child’s current measurements fit within both limits. If your child is at the top end, you may need the next seat type up.
Manufacture date and model information: Child seats have a usable life, and date information helps identify whether it is within the manufacturer’s recommended period. It also helps if you need to check model-specific instructions supplied with the seat.
Instruction labels: Many seats have routing labels for the vehicle belt, top tether guidance, and recline indicators. If these are missing or unreadable, ask for a different seat, because correct installation becomes guesswork.
3) Inspect condition: shell, base, padding and hardware
Do a slow visual and hands-on inspection. You are looking for signs that the seat has been dropped, stressed, or has missing components.
Plastic shell and belt path: Check for cracks, deep gouges, whitening or stress marks around belt paths, LATCH connectors, and the area near the recline mechanism. Small scuffs are normal, but cracks are not.
EPS/EPP foam: If accessible, confirm the energy-absorbing foam is present and not broken into chunks. Do not remove padding beyond what the labels allow, as some seats rely on specific routing.
Missing parts: Common missing items include chest clips, harness pads, top tether straps, or the base for an infant carrier. If the seat seems incomplete, treat it as unusable.
It can help to do this check while the car boot is open, so you can compare the seat components against any included instruction sheet. If you are collecting at a busy site such as Miami Beach Airport, move to a safe, well-lit area of the car park before installing.
4) Test the harness and buckle for smooth, secure operation
Function matters as much as appearance. A harness that will not tighten properly, or a buckle that does not latch cleanly, can lead to unsafe slack.
Harness webbing: Pull the straps fully out and run them through your fingers. Look for fraying, cuts, hardening, or contamination that makes the webbing stiff. Check that the straps are not twisted from the shoulder down to the buckle tongues.
Adjuster action: Tighten and loosen the harness several times. It should tighten smoothly without slipping back. The release lever should work without sticking.
Buckle and chest clip: Insert both buckle tongues and listen for a clear click. Press the release button and confirm it releases cleanly. The chest clip should close and open properly, and slide to armpit level when fitted.
5) Verify installation: tightness, belt routing and top tether
Many issues happen at this stage. A seat can look secure but still move too much at the belt path, or be routed incorrectly. Use the seat’s built-in labels as your guide.
Choose your install method: Use either the vehicle seat belt or LATCH (Lower Anchors and Tethers for Children), depending on what the seat and vehicle allow. Do not use both unless the seat specifically permits it.
Correct belt path: Route the belt through the correct path for rear-facing or forward-facing. Misrouting is common and can cause severe looseness in a crash.
Tightness at the belt path: Grab the seat near where the belt or lower anchors hold it. Try to move it side-to-side and front-to-back. It should not move more than about an inch at that point.
Top tether for forward-facing: If the seat is forward-facing and has a tether, attach it to the correct anchor point in the vehicle and remove slack. This can significantly reduce forward head movement in a crash.
Once installed, do a final check with your child seated: harness snug enough that you cannot pinch slack at the shoulder, chest clip at armpit level, and no bulky coats that create hidden slack.
6) Quick vehicle-side checks that affect child seat safety
A hired seat can be perfect, but the vehicle environment still matters. Before you drive away, check the vehicle seat back is locked upright as required, and never place a rear-facing seat in front of an active front airbag.
If fitting multiple seats, confirm each seat is independently tight, because tightening one can loosen another. A wider vehicle can simplify this, such as with minivan hire in Brickell if your itinerary starts in central Miami.
7) When to request a different seat before leaving
With car hire, you are allowed to be picky. Ask for another seat if you see any crack in the shell, missing labels, missing parts, a buckle that does not latch securely, straps that will not tighten, or any uncertainty about the seat’s history. It is also reasonable to request a different type if your child is near the maximum limits or if the seat simply cannot be installed tightly in your vehicle.
If you are collecting via an operator page like Enterprise car hire in Florida, do the checks on site and resolve issues before you exit the premises, as it is far easier than returning later with a tired child.
FAQ
How long should I allow to check and fit a hired child seat? Plan for at least ten minutes at pickup. A first-time install in an unfamiliar vehicle can take longer, especially if you need to adjust recline or tether routing.
Is it better to install with LATCH or the seat belt? Either can be safe if allowed by both the child seat and vehicle and installed tightly. Choose the method that gives the firmest fit and correct belt path in your specific car.
What is the single most important quick check before I drive off? Tightness at the belt path. If the seat moves more than about an inch where it is anchored, reinstall before leaving.
What should I do if the seat labels are missing or unreadable? Request a different seat. Without labels you may not be able to verify limits, belt routing, or key warnings, and that increases the chance of incorrect use.
Can my child wear a puffy coat under the harness in Florida? Avoid bulky layers under the harness because they compress and create slack. Use thin layers, then place a blanket over the harness if needed for air-conditioned rides.






























































































