


Quick Summary:
- Match every marked scratch or dent to the correct body panel.
- Take clear photos of panels, wheels, glass, and dashboard readings.
- Get chips, scuffs, stains, and trim damage noted in writing.
- Confirm fuel level and mileage match the report before driving away.
Picking up a car hire in Orlando often feels like the easy part, until you realise the condition report is your main protection if a dispute comes up later. The damage report, sometimes called a vehicle condition report, should accurately reflect what you are handed on the day. Before you leave the counter and head to the car park, it is worth taking a few minutes to check the paperwork, then match it to the vehicle, your photos, and any extra notes you need added.
If you are collecting at the airport, build this into your routine. The process can be slightly different by desk, but the principles are the same whether you are arranging car hire at Orlando airport (MCO) or collecting from a nearby location. Your goal is simple, make sure the report tells the same story as the car in front of you.
1) Check the basics on the document before you even walk away
Start by reading the top section of the damage report while you are still at the counter. Confirm the registration or licence plate, vehicle make and model, colour, and the reported mileage. A mix-up is rare, but it happens, especially in busy Orlando periods when several similar cars are moving through the lot.
Pay attention to the fuel policy and what the report states the fuel level is at pick-up. If it says “full” but the gauge is not full, you want that corrected straight away. The same goes for EV charge level if you have an electric or hybrid vehicle, check what is written and what is displayed in the car.
If you are using a provider through an MCO desk, you might see slightly different paperwork depending on the brand. For instance, if you arranged a specific supplier like Thrifty in Orlando MCO, the layout of the condition diagram can differ, but you should still expect clear markings and legible notes.
2) Understand the diagram and the damage codes
Most reports include a car outline with numbered panels and a legend of symbols. Before you check the vehicle, make sure you understand what each symbol means, such as scratch, dent, chip, crack, scuff, missing trim, or wheel damage. Ask the agent if anything is unclear.
Also check whether the report distinguishes old damage from new damage. Some systems show dates or use different colours. If you cannot tell, document the current condition with photos, then ensure any unrecorded issues are added in writing.
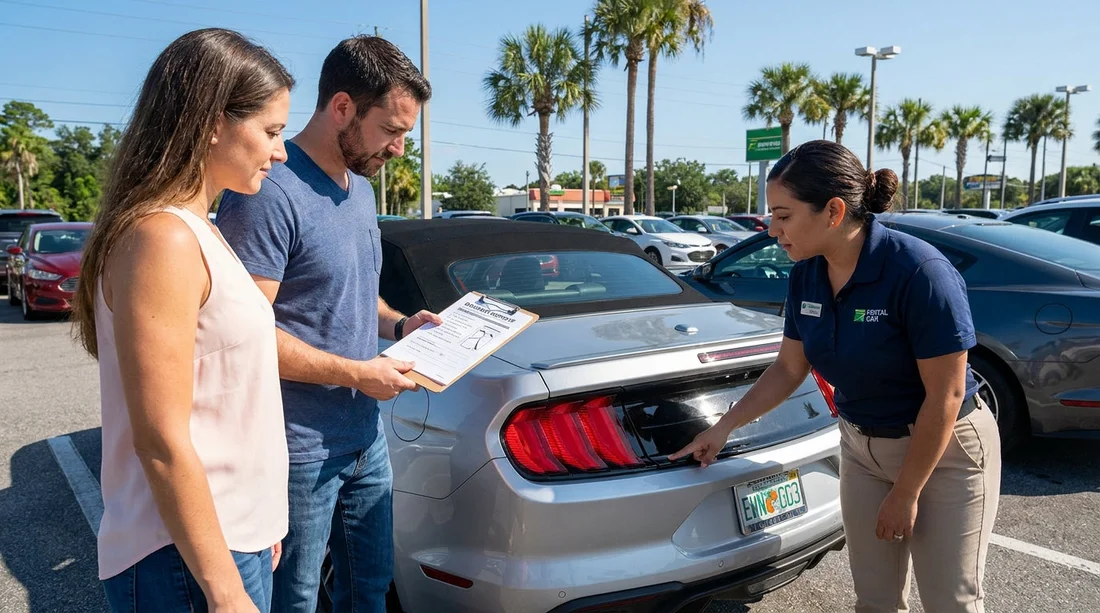
3) Walk around the car and match every mark, panel by panel
Do a slow lap around the car before you put bags in the boot. Compare the report to the vehicle in a consistent order, for example front bumper, bonnet, windscreen, roof, right side panels, rear bumper, left side panels, then wheels. Match the location and the size. If the report shows a scratch on the left rear door, confirm it is actually there, and that it is not on the quarter panel instead.
In Orlando sun, light can hide paintwork issues. Change your viewing angle, crouch slightly, and look along the body lines to spot dents. If you are picking up at night or in a covered garage, use your phone torch to highlight ripples in the paint.
4) Photograph and video, then link it back to the report
Your own images are valuable because they show timing and context. Take wide shots of all four sides, plus close-ups of any existing damage. Include the number plate in at least one shot, and take a short video walking around the car to show continuity.
Do not forget the wheels and tyres. Kerb rash on alloys is a common dispute area because it can be hard to see in the diagram. Photograph each wheel face-on and at an angle. Also capture the windscreen and side glass for chips, especially near the edges where cracks can start.
Inside the car, photograph the dashboard with the ignition on so warning lights, fuel level, and mileage are visible. If the infotainment screen shows existing alerts, capture those too. This is particularly useful if a tyre-pressure warning is on at pick-up.
If you are collecting under a general car rental at Orlando MCO arrangement, the car park can be busy. Step to the side so your photos are clear and you do not feel rushed by other drivers.
5) Check common “missed” areas that should be noted
Damage reports often focus on exterior panels, but you should also check items that may not be obvious on the diagram. Windscreen chips, mirror damage, missing trim, and interior stains should be documented clearly, because small items can turn into bigger disputes later.
If you are picking up a larger vehicle via van hire in Orlando MCO, inspect load areas for gouges or stains and ensure they are noted. Also check the roofline and upper edges, which are easier to miss in multi-storey garages.
6) Make sure written notes match what you found
If you find anything not shown on the report, do not rely on verbal acknowledgement. Ask for the agent to add it as a written note, or to update the digital record, and confirm you receive a copy. A simple note like “existing scratch, rear bumper, approx 6 cm” helps, particularly when paired with a photo.
If the agent suggests you can report it later, ask how. Some locations allow you to email photos within a set timeframe. If that is the process, confirm the method and the time limit, and keep proof of sending.
7) Do a quick functional check before you exit the car park
Sit in the car and do a two-minute check. Test lights, indicators, wipers, horn, air conditioning, and the parking brake. Make sure the boot opens and closes properly and the fuel flap works. If a warning light is on or a tyre looks low, return to the desk or the lot attendant immediately so there is a clear record that it existed at pick-up.
If your trip includes visiting the theme parks and you arranged car rental for Disney Orlando MCO pick-up, you may be parking in busy lots. That makes your initial documentation even more important, because new door dings can happen anywhere.
FAQ
Should I inspect the car before signing anything at the counter in Orlando? Ideally, review the report basics first, then inspect the car immediately afterwards and request amendments before you drive out. Some locations finalise records digitally, so deal with discrepancies straight away.
What if the report shows damage that I cannot find on the vehicle? Ask the agent to clarify the location and code, and make a note of your inspection. It is usually safer to ensure unconfirmed marks are explained, so you are not linked to unrelated damage later.
How many photos are enough for a car hire pick-up check? Aim for wide shots of all sides, close-ups of each wheel, glass, and any marked damage, plus a dashboard photo showing mileage and fuel. Add a short walkaround video for continuity.
Do I need the agent to physically see the damage to add it? Practices vary, but you should request written confirmation on the record. If they will not amend the report, document the issue clearly with time-stamped photos and keep any written messages or emails.
What details on the damage report cause the most disputes? Fuel level, mileage, wheel scuffs, windscreen chips, and bumper corner scratches are common. Clear notes and photos at pick-up usually prevent problems at return.




























































































