


Quick Summary:
- Exit Brightline arrivals and follow Terminal C signs to Ground Transportation.
- Use the nearest lift to Level 1, then follow Rental Cars.
- Walk the covered corridor to the Rental Car Centre in 6 to 10 minutes.
- At the counters, confirm your company, collect keys, then head to the garage.
Brightline’s Orlando Airport station is integrated into Orlando International Airport’s newer Terminal C complex. That layout makes getting to the Rental Car Centre straightforward, provided you follow the airport’s wayfinding signs and take the correct lift down to Ground Transportation.
1) From the train platform to the station concourse
After you arrive, step off the train and orient yourself on the platform. Brightline staff are usually visible during operating hours, but you should not need to ask for directions if you follow the posted signs.
Walk towards the exit end of the platform where the main concourse access is located. Look for station signage pointing to the concourse and Terminal C. The platform-to-concourse walk is normally 2 to 4 minutes at a steady pace, longer if you are waiting for a lift with luggage.
If you have heavy suitcases, choose the lift rather than the escalators. The lift doors are clearly marked, and you will typically share it with other arriving passengers. Once at the concourse level, you should see airport directional signs that include “Terminal C”, “Ground Transportation”, and “Rental Cars”.
2) Follow signs for Terminal C and Ground Transportation
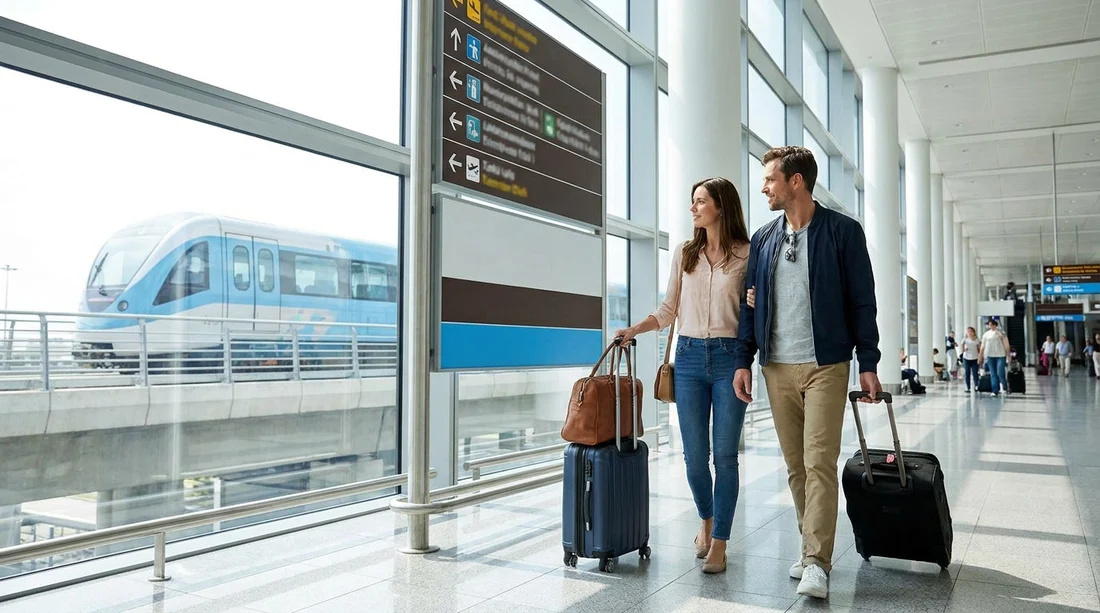
From the concourse, continue following the airport wayfinding signs for Terminal C. The key is to keep moving in the direction of the terminal’s main interior walkway, not towards parking areas. You will pass through bright, open corridors with multiple overhead sign boards.
As you approach the terminal area, you may also see signs for baggage claim and rideshares. For the Rental Car Centre, follow “Ground Transportation” and “Rental Cars” rather than “Arrivals Pickup” or “Rideshare”.
Typical time from concourse to the point where Ground Transportation signage becomes frequent is 3 to 6 minutes.
3) Take the lift down to Level 1 for Rental Cars
The most important navigation decision is going down to the correct level. In Terminal C, Rental Cars are accessed via Ground Transportation on Level 1. Look for lift banks with overhead signage indicating levels, including “Level 1 Ground Transportation” and “Rental Cars”.
With luggage, the lift is usually easier than ramps or long escalators. Enter the lift and select Level 1. The ride itself is quick, but allow a few minutes for waiting at busy arrival times.
Once you exit on Level 1, pause and check the overhead signs again. You should see “Rental Cars” clearly indicated, often alongside icons of a car. If you see signage primarily for hotel shuttles, buses, or rideshare pick-up, you are close, but make sure you pick the corridor marked specifically for Rental Cars.
4) Walk the covered corridor to the Rental Car Centre
From Level 1, follow the Rental Cars signage along a covered, well-lit pedestrian route. This section is generally a straightforward walk, without needing to go outside into traffic lanes. Expect a consistent flow of people doing the same journey, which can be reassuring if you are unfamiliar with Orlando.
Typical walking time from the Level 1 lift lobby to the Rental Car Centre is around 6 to 10 minutes, depending on your pace and how crowded the corridor is. If you are travelling with children, mobility needs, or multiple bags, allow closer to 10 to 12 minutes.
As you approach the Rental Car Centre, you will notice more prominent branding and counter area signs. Overhead boards often list rental companies and direct you either to counters or, for some providers, to specific kiosks.
5) Arriving at the rental desks, what to do next
When you enter the rental counter area, identify your provider on the overhead signage. If you arranged car hire through Hola Car Rentals, you can cross-check your paperwork for the supplier name and then head to that specific counter line. If you are comparing options for Orlando International Airport, you can also review Orlando MCO car rental and Orlando MCO car hire.
At the counter, you will typically present your driving licence, payment card, and reservation details. Some suppliers may offer an express pick-up lane if you pre-registered, but procedures vary. Listen for instructions about where to collect the vehicle, it is usually in the adjacent garage area connected to the Rental Car Centre.
After paperwork is complete, follow the signs to “Rental Car Pick-up” or “Garage”. These signs guide you into the parking structure where vehicles are parked by aisle or zone. If you have selected a larger vehicle for a family trip, you can review practical vehicle category expectations on minivan hire at Orlando MCO.
6) Accessibility and luggage tips for a smoother walk
For accessibility, lifts are available at the key transitions, platform to concourse and concourse down to Level 1. If you use a wheelchair or have limited mobility, the indoor route and covered corridors reduce the need to navigate kerbs or vehicle crossings.
For luggage management, keep heavier bags rolling behind you rather than in front. In busier stretches, stay to the right to let faster walkers pass. If you are travelling as a group, agree in advance that you will not stop in the middle of the walkway to reorganise bags, there are usually wider areas near sign boards where you can pull aside.
Allow extra time if your train arrives around peak flight arrival waves, as lift queues and counter lines can build quickly. Even then, the physical walk from Brightline to the Rental Car Centre is usually easier than many other airport transfers because it remains within the same terminal complex.
7) Common signage to follow, and what not to follow
To stay on track, prioritise signs reading “Rental Cars” and “Ground Transportation”. You may also see “Parking” and “Rideshare”, which are not the same as the Rental Car Centre route. If you accidentally follow “Rideshare”, you can generally backtrack to the nearest junction and rejoin the Rental Cars corridor.
Another common point of confusion is mixing up Terminal A and B directions. From Brightline at Orlando International Airport, your simplest route to rental desks is within the Terminal C environment.
8) Estimating total time from Brightline to your car
Most travellers reach the Rental Car Centre counter area in about 15 to 25 minutes from stepping off the train. A typical breakdown is 2 to 4 minutes platform to concourse, 3 to 6 minutes through the terminal walkways, 2 to 5 minutes for lifts and transitions, plus 6 to 10 minutes along the covered corridor to the Rental Car Centre.
If you want to reduce decision fatigue at the counter, it can help to familiarise yourself with supplier-specific expectations in advance. For example, you can read about pick-up processes for National at Orlando MCO or Dollar at Orlando MCO, then arrive knowing what documents and steps are most likely.
FAQ
Q: Is the Brightline station inside Orlando Airport, or do I need a shuttle? A: It is integrated into Orlando International Airport’s Terminal C area, so you can walk indoors to Ground Transportation and the Rental Car Centre without a separate shuttle.
Q: How long does it take to walk from Brightline to the Rental Car Centre? A: The walk to the rental desks is commonly 15 to 25 minutes total, including lift transitions. The covered corridor section from Level 1 to the Rental Car Centre is usually about 6 to 10 minutes.
Q: Are there lifts all the way from the platform to Ground Transportation? A: Yes. You can use lifts from the platform to the concourse, and then lifts down to Level 1 for Ground Transportation and Rental Cars, which is helpful with luggage.
Q: What signs should I follow to avoid getting lost? A: Follow “Terminal C”, then “Ground Transportation” and “Rental Cars”. Avoid following “Rideshare” or “Arrivals Pickup” unless you are intentionally leaving the rental route.
Q: Once I reach the Rental Car Centre, where do I collect the vehicle? A: After completing the counter or kiosk process, follow signs to “Rental Car Pick-up” or “Garage”. Vehicles are typically organised by supplier and zone within the connected parking structure.




























































































