


Quick Summary:
- Photograph every exterior panel, including bumpers, roof, sills, and corners.
- Capture wheels, tyres, windscreen, and mirrors close up for existing damage.
- Take interior shots of seats, carpets, boot, and any stains.
- Record dashboard warning lights, fuel level, mileage, and the pickup time.
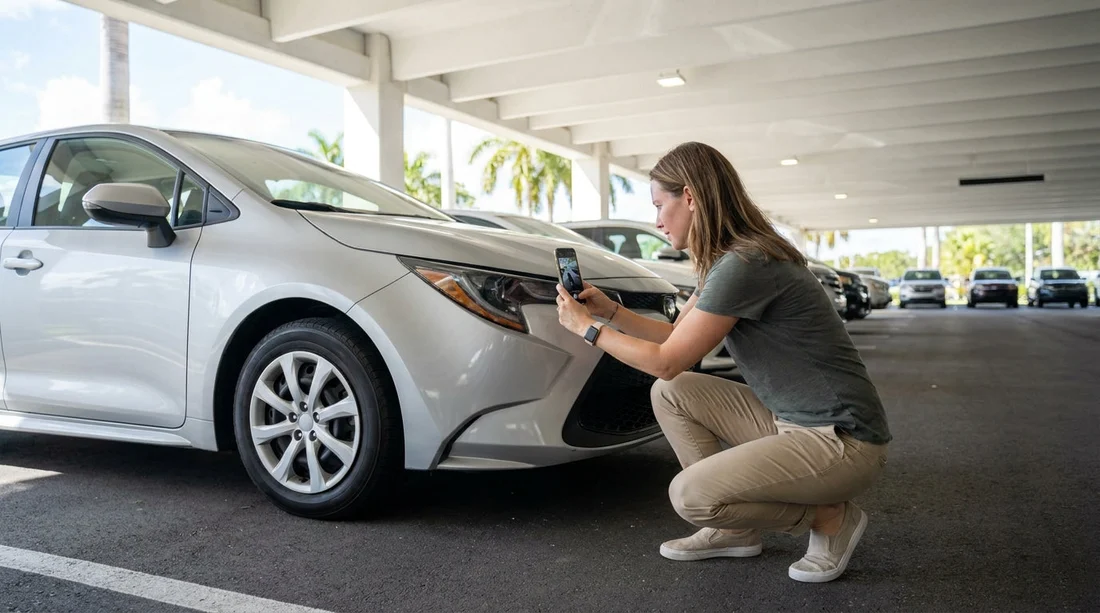
Taking thorough photos before you leave the pick-up area in Florida is one of the simplest ways to protect yourself during car hire. Most disputes come down to timing and detail, whether a scratch was already there, whether the fuel level matched the paperwork, or whether a warning light appeared after you drove away. A short, systematic photo set, taken in good light and backed up by a quick walkaround, gives you an accurate record of the vehicle’s condition at handover.
The aim is not to create an artistic gallery. It is to capture evidence that is clear and comprehensive enough to show pre-existing marks, missing items, and dashboard status. If you are collecting at a busy hub such as Orlando Airport (MCO), or a large South Florida location like Miami (MIA), a consistent checklist helps you stay calm and quick while still being thorough.
Before you start: set up your phone for usable evidence
Spend 30 seconds setting up so your photos stand up as documentation. Clean your camera lens, switch off beauty filters, and use the standard camera app. If possible, enable date and time in your photo metadata. Take photos rather than only video, as single frames are easier to reference later. If the lighting is harsh, tap to focus and adjust exposure so scratches and scuffs are visible.
Take one context photo first, showing the car in the pick-up bay with the number plate visible and the location background. This helps show you took the set before leaving the premises, which is the key moment for car hire condition checks.
Exterior photos: cover every panel, edge, and typical impact point
Start with a full walkaround. Take four wide shots, front, rear, left side, right side, each one angled slightly to show both the side and the nearest corner. Then move closer and photograph each panel in a steady sequence, so you do not miss anything: bonnet, front bumper, both front wings, both doors, rear quarter panels, rear bumper, and boot lid.
Pay special attention to the lower edges. Kerbs and parking stops often cause damage on sills, rocker panels, and the underside of bumpers. Squat down and take photos along the bottom edge on both sides, including the jack points if visible. If the car is an SUV or larger vehicle, which you might choose from SUV options in Fort Lauderdale (FLL), get a clear shot of side steps and any plastic cladding where scuffs can blend in.
Do not forget the roof. In Florida, bright sun can hide hail marks or dents until later. If you can safely do so, photograph the roof surface, roof rails, and the top edge of the windscreen. For taller vehicles, a quick angled shot from a slight distance can still show overall roof condition.
Wheels, tyres, mirrors, and glass: the high-dispute close-ups
Wheels and tyres: Photograph each wheel straight on, then angle slightly to show the rim edge. Kerb rash is common, especially on alloys. Include the tyre sidewall and tread if you can, plus the valve area. If there is a spare wheel, inflator kit, or tyre sealant, photograph it in the boot as well.
Windscreen and windows: Take a full windscreen shot from the front, then close-ups of any chips or cracks. Small chips can be hard to spot in bright light, so tilt slightly and use focus lock. Do the same for side windows and rear glass if there are noticeable marks.
Mirrors and lights: Photograph each wing mirror, including the housing and indicator lens. Take close-ups of headlights, tail lights, and reflectors. Cracks and moisture inside lamps are easy to overlook at pick-up but can be flagged at return.
Number plates: Take clear photos of the front and rear plates. This also anchors your photo set to the specific car, which matters if multiple similar vehicles are parked nearby.
Interior photos: document cleanliness, damage, and included equipment
Interior condition is often about stains, tears, burns, and missing accessories. Open all doors and take a wide shot from each side so the seats and door panels are visible. Then capture close-ups of any wear on seat bolsters, armrests, and door pulls.
Photograph the driver footwell, including the mat and carpet. Sand, damp patches, or pre-existing dirt can be blamed on the last driver, so it is worth recording. Take similar shots for the rear footwells, especially if you have a family vehicle such as a minivan in Tampa (TPA), where third-row areas and cupholders are common spill zones.
Next, photograph the boot or cargo area with the floor uncovered if possible. Capture the parcel shelf, spare wheel well, and any tools. If there are child seats, boosters, or other extras, photograph them installed and again showing their condition labels and straps.
Finally, take shots of the key items people forget to check: the glovebox (manuals, registration documents if provided), the centre console (aux cables, USB ports), and the sun visors and mirrors. If anything is missing, photograph the empty compartment and note it to staff before you drive away.
A simple shot order you can follow in five minutes
If you want a fast routine that still covers the essentials, use this order: context shot with plate, four wide exterior angles, close-ups of each wheel, glass and mirrors, all lower bumper edges, interior wide shots front and rear, boot area and spare kit, then instrument cluster with mileage and fuel, finally any pre-existing marks as close-ups. The key is consistency, so you can show you did a complete check rather than a few random pictures.
Tips specific to Florida pick-up areas
Florida pick-up zones can be bright, reflective, and busy. Sun glare can hide dents, so change your angle and take at least one shot per side with light raking across the panel. Afternoon thunderstorms can start suddenly, so if you see dark clouds, prioritise the exterior walkaround first. If the car is wet, water can disguise scratches, so take extra close-ups of panels and rims.
If you are collecting from a high-turnover coastal area such as Miami Beach (MBC), salt air and sand can increase minor wear on trims and carpets. Photograph door sills and floor mats carefully, and check the boot lip for scuffs from luggage loading.
What to do if you find damage before leaving
If you notice anything, photograph it from three distances: wide to show location on the car, mid-range to show the whole damaged area, and close-up for detail. Then ensure it is recorded on the check-out report or digital inspection. If staff are busy, take a photo of the report screen or paperwork where the damage is noted. Keep your photo set backed up until after the final invoice is settled.
FAQ
Should I take photos or video of a rental car at pick-up? Photos are usually best because they are easy to review and share. A short walkaround video can help, but still take key photos of wheels, glass, and the dashboard.
How many photos is enough before driving off in Florida? Aim for 25 to 40 photos: four wide exterior shots, close-ups of each wheel, glass and mirrors, interior and boot, plus dashboard mileage and fuel. Add extra close-ups for any marks.
Do I need to photograph tiny scratches? Yes, if you can see it clearly, photograph it. Small marks can be hard to judge later, so include a wide shot for context and a close-up for detail.
When should I take the photos, exactly? Take them before you leave the pick-up area, ideally immediately after you locate the vehicle. If you drive away first, it becomes harder to prove the condition at handover.

























































































