


Quick Summary:
- Follow Ground Transportation, then Rental Cars signs from Terminal A to Level 3.
- Take the Terminal Link tram to the main terminal, then walk indoors.
- Allow 10 to 20 minutes from gate exit to rental car counters.
- Keep licence, booking confirmation, and payment card ready to save time.
If you are arriving into Orlando Airport (MCO) and landing at Terminal A, reaching the rental car centre is designed to be straightforward. The key is knowing which level you should be on, which signs to trust, and how much time to allow between stepping off the aircraft and standing at the car hire counters.
At MCO, most on-airport rental car desks are in the main terminal complex, accessible from both Terminal A and Terminal B. You do not need a shuttle bus for the standard on-airport brands. Instead, you will use the airport’s people mover, often called the Terminal Link tram, plus a short indoor walk following clear signage.
For an overview of car hire options at the airport, see Orlando Airport car rental, which covers the general pick-up setup.
Step-by-step: Terminal A to the rental car centre
1) Arrive at the main terminal via the tram
After you disembark, follow the signs for “Tram” or “Terminal Link” from your airside concourse. Terminal A serves multiple gates, and the route funnels you towards the tram platforms. Take the tram towards the main terminal. Trams run frequently and the ride is short, but waiting time can vary if you arrive during a peak bank of flights.
2) Go to Level 3 (the key level for rental cars)
Once you enter the main terminal building from Terminal A, you want to be on Level 3. This is the level where the on-airport rental car counters are located. If you come in on another level, use the escalators or lifts to reach Level 3 before you start looking for specific brands.
3) Follow the signs: “Ground Transportation” then “Rental Cars”
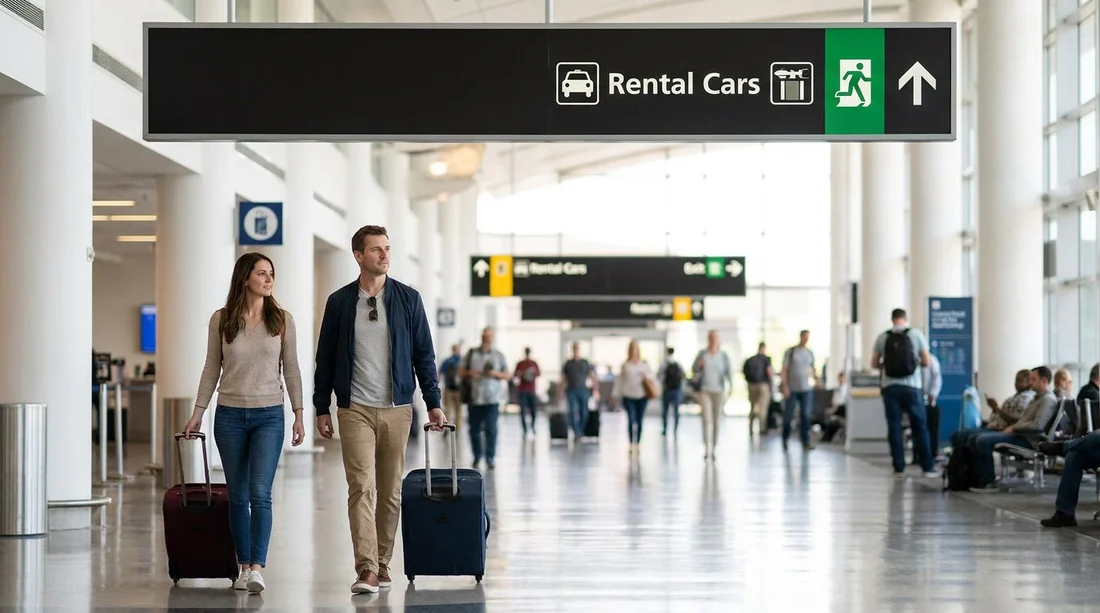
Orlando Airport does a good job with wayfinding, and the most reliable sequence is “Ground Transportation” first, then “Rental Cars”. Follow the overhead signs and you will be directed to the rental car lobby area where the desks are grouped together. If you see signs for baggage claim, you are still close, but you will need to move back towards the rental car area on Level 3.
4) Check in at your car hire desk
At the counter, you will typically confirm your driver details, show your driving licence and payment card, and review the agreement. If you are unsure which companies are available and where, this page on car hire at Orlando MCO is a handy reference point before you travel.
5) Head to the garage to collect your vehicle
After the desk process, you will follow directions to the lifts or escalators that take you down to the parking garage where the vehicles are kept. The exact level can vary by company and vehicle type, so use the printed directions on your agreement and the signs near the lift lobby. Once in the garage, each brand has lanes or bays with clear branding above them.
Typical walking times from Terminal A
Walking times depend on where your flight parks, how busy the tram platform is, and whether you stop at baggage claim first. As a practical guide, allow:
Gate to tram platform: 3 to 7 minutes, depending on gate location and crowding.
Tram wait plus ride: 4 to 10 minutes, most of that is waiting.
Main terminal to rental car counters on Level 3: 3 to 6 minutes.
Counter process: 5 to 20 minutes, longer at peak arrival periods.
Counter to vehicle bays: 5 to 10 minutes including lift time and walking.
In total, many travellers reach the counter in around 10 to 20 minutes from leaving the aircraft, but it can be closer to 30 minutes if the terminal is busy or if you need to wait in line.
Which signs to follow (and which to ignore)
If you are tired from a long flight, signage is the difference between a smooth start and an unnecessary loop through the terminal. From Terminal A, prioritise these sign cues:
First: “Terminal Link” or “Tram” to reach the main terminal.
Second: “Ground Transportation” once you are in the main building.
Third: “Rental Cars” to reach the counter area.
Try not to be distracted by signs for hotel shuttles, ride-share pick-up, or taxi ranks, unless that is specifically what you need. Those options can take you to different levels and exits. For car hire, stay focused on the “Rental Cars” direction and Level 3.
Tips that make pick-up quicker
Have documents ready before you reach the desk. Keep your driving licence, passport, and payment card accessible, along with your confirmation details. This reduces counter time, especially when staff need to verify names and addresses.
Know your vehicle category. If you are expecting a larger vehicle for a group, it helps to be clear about seating and luggage needs. If you have planned for a larger option, this guide to minivan hire at Orlando MCO is useful to understand what is typically offered.
Take a moment in the garage before driving off. Check tyres, fuel level, and any existing marks, then adjust mirrors and child seats while stationary. It is easier to resolve any questions while you are still near the staff and signage.
Where you will end up: the main terminal rental car area
From Terminal A, you are not travelling to a distant, separate building for standard on-airport car hire. You will be directed to the main terminal rental car area where multiple brands are clustered, then down to the adjacent garage for pick-up. If you have previously rented at airports that require a dedicated shuttle bus, MCO may feel easier, as most of the route is indoors and signposted.
If you want to familiarise yourself with the airport rental process and the brands people commonly compare, you can read about Hertz car rental at Orlando MCO and how pick-up typically works at the airport.
Common mistakes to avoid
Going to the wrong level. If you find yourself outside at kerbside transport areas, you have likely drifted away from the rental car route. Head back inside and look for Level 3 signage.
Following “Ground Transportation” all the way to exits. “Ground Transportation” is a broad category. Once you see “Rental Cars”, switch to following that label specifically.
Assuming you need a shuttle bus. For the main on-airport rental counters, the tram and indoor walk are the standard route from Terminal A.
FAQ
Q: Do I need to take a shuttle from Orlando Airport Terminal A to the rental car centre?
A: For most on-airport car hire desks at MCO, no. Use the Terminal Link tram to the main terminal, go to Level 3, then follow “Rental Cars”.
Q: How long does it take to reach the rental car counters from Terminal A?
A: Many travellers reach the counters in 10 to 20 minutes from leaving the aircraft, but it can be longer during peak periods or if you collect checked baggage.
Q: Which signs should I follow from Terminal A for car hire?
A: Follow “Tram” or “Terminal Link” first, then “Ground Transportation”, then “Rental Cars”. These should keep you on the correct indoor route.
Q: Are the rental cars located in the main terminal or a separate building?
A: The rental car counters are in the main terminal on Level 3, and the vehicles are in the adjacent parking garage reached by lifts or escalators.
Q: What should I do if I cannot find my rental company desk?
A: Double-check you are on Level 3 in the rental car lobby, then look for overhead brand signage. If needed, ask an airport staff member to point you to the correct desk area.

























































































