


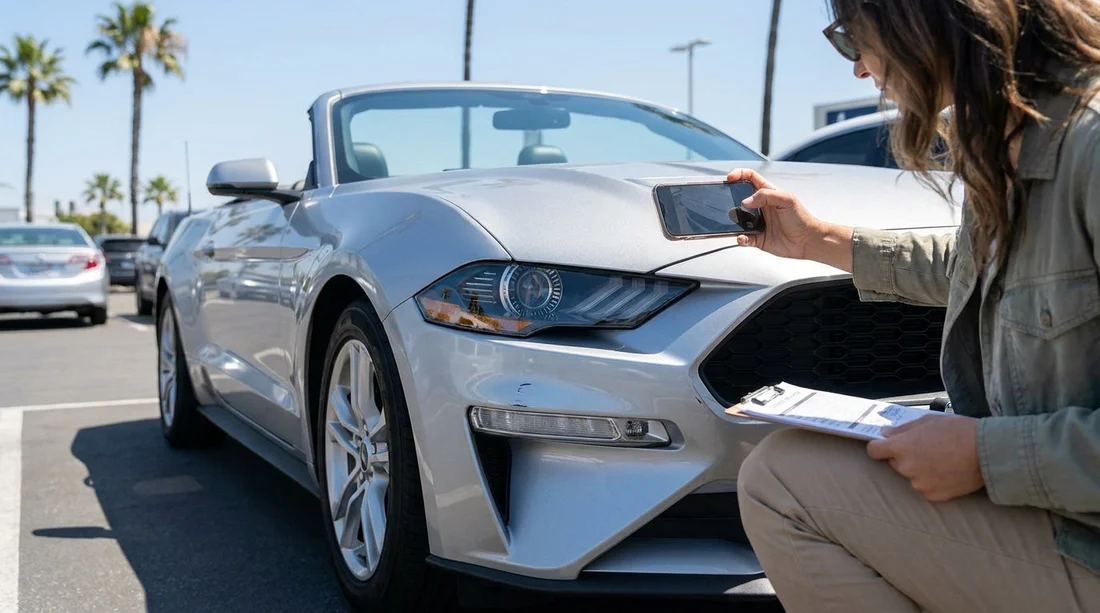
Quick Summary:
- Film a full walkaround showing date, time, and the licence plate.
- Photograph every panel closely, including bumpers, wheels, roof, and windscreen.
- Match each mark to the damage sheet with clear location notes.
- Capture dashboard warnings, fuel level, odometer, and missing accessories.
When you collect a car hire in California, the most important minutes of your trip can be the first ten, before you leave the lot. Your goal is simple, create a clear, time-stamped record of the vehicle’s condition and ensure the damage sheet matches what you can see. Doing this reduces the chance of disputes about scratches, chips, wheel scuffs, or interior marks that were already there.
This checklist focuses on what to photograph and what to write down, so your documentation is useful, readable, and hard to challenge. It also helps you notice practical issues that could affect safety or comfort on California roads, such as tyre damage, windscreen cracks, or warning lights.
If you are collecting at major hubs such as San Francisco SFO or San Jose SJC, you may be moving quickly through a busy pick-up area. A repeatable routine keeps you efficient and consistent, even when the queue is long or the lighting is poor.
Before you start: set up your phone for usable evidence
Turn on location services and ensure your camera saves the correct date and time. If your phone allows it, enable “live” photos or short video clips, they help show continuity and prevent claims that images were taken at another time.
Clean your lens, switch off any beauty filters, and use the standard camera app rather than a social app that strips metadata. Take photos in good light where possible. If you are in a covered garage, use your phone’s flash sparingly and step back to avoid glare on paintwork.
Start with proof you collected the right vehicle
Begin with a wide photo of the car in its bay showing the surroundings. Then photograph the front and rear with the licence plate clearly visible. Add a close photo of the VIN plate area if easily accessible, and the rental agreement paperwork that shows the vehicle class or model. These images help connect your condition record to that specific car.
Next, take a brief walkaround video, 20 to 40 seconds is enough, moving slowly and keeping each side in frame. Narrate what you see if you like, for example “front bumper scuff, passenger side”, but keep it factual.
Exterior photos: what to capture panel by panel
Work clockwise and do not skip any areas. For each side, take one full-side shot, then closer photos of each door, quarter panel, and the lower sills. Lower panels often have scuffs from kerbs and parking blocks.
Photograph both bumpers carefully. In California, parallel parking and tight lots mean bumpers are commonly scratched. Capture the corners and the underside lip where scrapes are easy to miss.
Take close photos of lights and reflectors. Cracks, moisture inside a lens, or missing clips should be documented. Then photograph the windscreen straight on and at an angle to reveal chips. If there is any chip or star crack, get a close-up and a wider shot showing its position relative to the wipers or edge.
Do not forget the roof, bonnet, and boot lid. Small dents and paint chips are frequently missed here. This is especially relevant if you have chosen a larger option such as an SUV rental at Los Angeles LAX, where roof rails and tailgates can have prior marks from luggage loading.
Wheels, tyres, and underbody edges: the high-dispute zones
Wheel rims are one of the most disputed areas because kerb rash is common and repairs can be costly. Photograph each wheel straight on, then take angled close-ups of the rim edge. Include the tyre sidewall in the frame to show any gouges, bubbles, or cracking.
Also photograph the wheel arches and mudguards. If there is heavy road tar or scraped plastic trim, note it. For the underbody, you do not need to crawl underneath, but do photograph the lowest visible edges of the front bumper and side skirts, especially if the car sits low.
Interior photos: document cleanliness, damage, and missing items
Open each door and take a wide interior shot. Then capture close-ups of common wear points, seat bolsters, door sills, armrests, and seat backs. Look for tears, burns, stains, pet hair, and deep scuffs on plastic trim.
Photograph the dashboard with the ignition on. Capture any warning lights, service reminders, or error messages. Then photograph the odometer and the fuel gauge. If the agreement indicates a specific fuel level, your photo helps prove what you received.
Check the boot area. Photograph the boot floor, side panels, and the parcel shelf if present. Lift the boot floor panel if accessible and photograph the spare wheel or inflator kit, plus any tools.
What to write on the damage sheet (and how to make it unambiguous)
Photos are strongest when your paperwork matches them. On the damage sheet, each note should include three elements, location, type, and approximate size. For example, “rear bumper, left corner, scuff, 6 cm” is clearer than “scratch on bumper”. Use the diagram on the form, but also add a short written note if there is space.
If the form already marks damage, verify it matches reality. If you find damage not shown, insist it is added. For tiny chips, you can group them sensibly, for example “multiple stone chips on bonnet front edge”.
For busy locations such as Budget at San Francisco SFO or Budget at San Jose SJC, lines can move fast and staff may rely on pre-printed condition reports. Your job is to make sure the report reflects what you actually collected, not what is convenient.
Timestamps and handover proof: small steps that matter
After the agent updates the damage sheet, photograph the completed form, including any initials, date, time, and the vehicle details at the top. If you receive a digital inspection report, take screenshots that show the time and any marked damage.
Take one more “departure” photo of the car still in the pick-up area, showing the plate. This creates a neat end point to your pre-departure record.
FAQ
How many photos should I take at pick-up in California? Aim for 30 to 60 photos plus a short walkaround video. That typically covers every panel, each wheel, the windscreen, the dashboard, and the boot.
Should I photograph minor marks like tiny stone chips? Yes, especially on the bonnet, windscreen, and bumper. Small chips can be reclassified as larger damage if not documented, so take a close-up and a wider location shot.
What if the desk says there is no time to update the damage sheet? Ask politely but firmly for the mark to be added, or request written acknowledgement on the agreement. Also photograph the damage, the form as issued, and the vehicle plate before leaving.
Do timestamps and location data on my phone actually help? They can, because they show when and where images were captured. Keep the original files, avoid edits that remove metadata, and save backups in case you need them later.
What should I do if I notice a warning light after driving off? Pull over somewhere safe, photograph the warning light and odometer, then contact the rental provider promptly. If you can, return to the location to have the issue logged and the vehicle checked.






























































































