Quick Summary:
- Follow Ground Transportation and Rental Cars signs from Terminal C arrivals.
- Go to Level 1, then board the Terminal Link train.
- Get off at Terminal A/B and follow Rental Car Center signs.
- In the Rental Car Center, find your company desk and queue.
Orlando International Airport, also known as MCO, has a newer Terminal C that connects to the main Terminal A and Terminal B complex where the Rental Car Center is located. If you have just landed in Terminal C and you are collecting a car hire vehicle, the key is to follow the airport’s wayfinding to Ground Transportation, then take the Terminal Link train across to A/B and continue to the rental desks.
This walkthrough focuses on the practical cues you will see on signs, floors, and junctions, so you can move confidently even if it is your first time arriving in Orlando.
Before you set off, confirm where your car hire pick-up happens
At MCO, most major companies issue vehicles from the on-airport Rental Car Center attached to Terminal A/B. Terminal C arrivals typically use the inter-terminal train to reach that hub. If you want a quick overview of Orlando Airport car hire options and how pick-up generally works, you can cross-check details on car hire at Orlando Airport (MCO) and the broader guide to car rental at Orlando MCO.
Also check your confirmation for any notes about after-hours desks, partner shuttles, or specific instructions. In most cases, though, the path from Terminal C to the desks is straightforward and well signposted.
Step 1: Arrivals in Terminal C, follow the right sign family
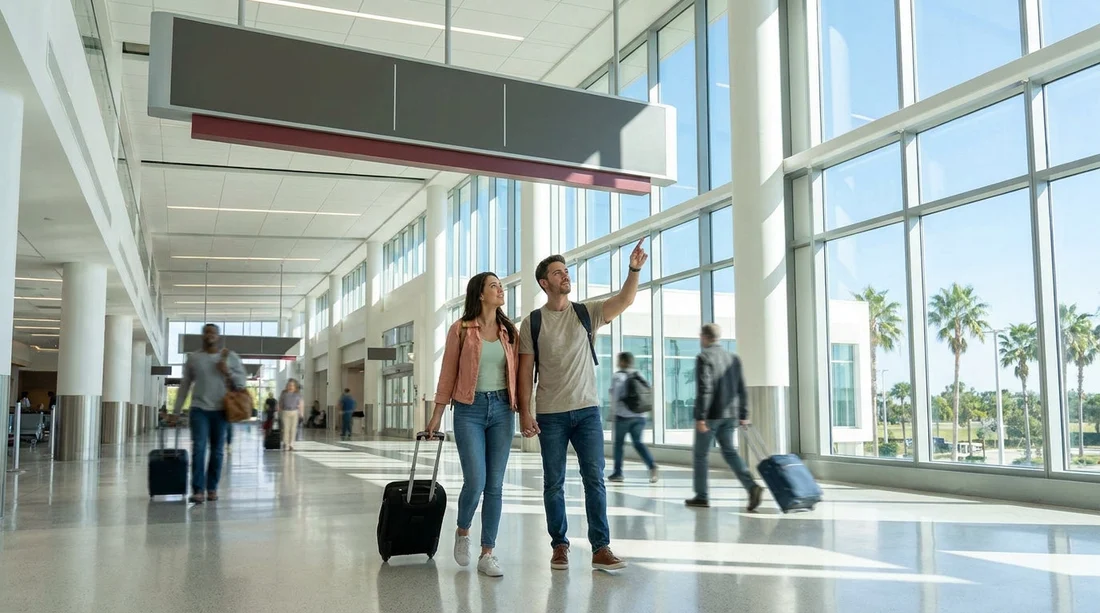
Once you exit the aircraft and enter Terminal C’s arrivals corridors, look for overhead signs pointing to baggage claim, ground transportation, and rental cars. At decision points, prioritise any sign that mentions “Ground Transportation” or “Rental Cars”. These are usually placed above the main flow of foot traffic, with arrows that keep you moving away from secure areas and towards the public arrivals hall.
If you are arriving internationally, complete passport control and customs first, then continue into the public arrivals space. If you are arriving domestically, you will typically head directly towards baggage claim and the ground transportation routing. Either way, you are aiming for the public-side connections, not airline check-in.
Step 2: Collect bags, then aim for Ground Transportation
If you have checked luggage, collect it at Terminal C baggage claim. The clearest cue at this stage is the cluster of transport icons and directional arrows that include rental cars. Once you have your bags, keep them with you, you will take them on the inter-terminal train.
Useful wayfinding tip: if you find yourself near airline ticketing or security screening lanes, you have drifted towards departures. Turn back towards arrivals and look again for Ground Transportation signage.
Step 3: Go to Level 1 and enter the Terminal Link train
From the Terminal C public areas, you will be directed to Level 1 for the Terminal Link. Use the lifts if you have heavy cases, a pushchair, or more than one large suitcase. Escalators are fine if you can comfortably manage your bags.
As you approach the train entrance, you should see clear signs for Terminal A/B. This is the connection you want, because the Rental Car Center is accessed from the main terminal complex, not from the aircraft gates in Terminal C.
Step 4: Ride to Terminal A/B and follow the Rental Car Center direction
The train ride is short, and announcements and screens generally indicate the next stop. When you arrive at Terminal A/B, follow the crowd and the overhead signs for “Rental Car Center”. If there are multiple arrows, choose the one that continues you towards ground transportation rather than departures or airline check-in.
Expect a few junctions where you might also see signage for hotels, ride share, shuttles, and taxis. Ignore those for now and stay with the Rental Car Center direction.
Step 5: Enter the Rental Car Center and locate your car hire desk
When you reach the Rental Car Center building, the environment changes to a dedicated rental hall. This is where you will find rows of company desks, digital boards, and queue stanchions. Look for your company name on overhead signs and walk directly to that counter.
Have your driving licence, payment card, and reservation details ready. If you reserved through Hola Car Rentals, you can refer to your confirmation details while queuing, as it often lists the supplier name you will see on the desk signage. For extra context on picking up at MCO specifically, this guide to car hire at Orlando MCO can help you align the desk location with your booking notes.
Step 6: From the desk to your vehicle, know what happens next
After the desk finalises your paperwork, you will be directed to the parking structure where vehicles are stored. Some companies will give you a bay number or aisle letter, others will point you to a section where an attendant assigns a car. Follow the signs for “Rental Cars”, “Pick-Up”, or the specific company zone if provided.
Before you drive out, do a quick walk-around. Check for obvious marks, windscreen chips, wheel scuffs, and the fuel or battery level shown on the dashboard. If you spot anything you want recorded, return to the booth or flag an attendant before leaving the pick-up area.
Time expectations and practical planning
How long it takes from Terminal C to the desks depends on baggage, queues, and time of day. As a rough planning guide, allow enough time for walking from the gate to baggage claim, waiting for bags, moving to Level 1, the short train ride to Terminal A/B, then walking into the Rental Car Center and queuing.
If you want to reduce decision-making on arrival, it helps to know your vehicle type in advance. For families, you might compare people-carriers and larger options using the minivan hire at Disney Orlando MCO page, which provides useful context on space and luggage capacity even if you are collecting at the airport.
Wayfinding cues that stop you taking a wrong turn
Terminal C is modern and spacious, but it is still easy to follow a general “Exit” sign and end up in the wrong area. Use these cues to stay on track.
Look for the words “Ground Transportation” rather than just transport icons. When you see “Terminal Link”, confirm it is pointing to Terminal A/B. Once you arrive at A/B, stay focused on “Rental Car Center” and do not follow ride share or hotel shuttle signs.
FAQ
Do I need to take a shuttle from Terminal C to the car hire desks? Usually no. From Terminal C you typically take the inter-terminal train to Terminal A/B, then walk into the on-airport Rental Car Center where the desks are located.
Where do I follow signs to from Terminal C arrivals? Follow “Ground Transportation” and “Rental Cars” signage, then look specifically for the Terminal Link to Terminal A/B before continuing to the Rental Car Center.
Can I take my luggage trolley onto the train? In most cases, yes, you can bring luggage and trolleys with you, but keep them controlled and out of doorways so other passengers can board and exit safely.
How long does it take to reach the rental desks from Terminal C? It varies with walking speed, baggage delivery, and queues. Plan for at least 30 to 60 minutes from gate arrival to reaching the desk, longer at peak times.
What should I have ready when I reach the car hire counter? Bring your driving licence, payment card, and reservation details. It also helps to know the lead driver’s information and any coverage options you intend to take.