


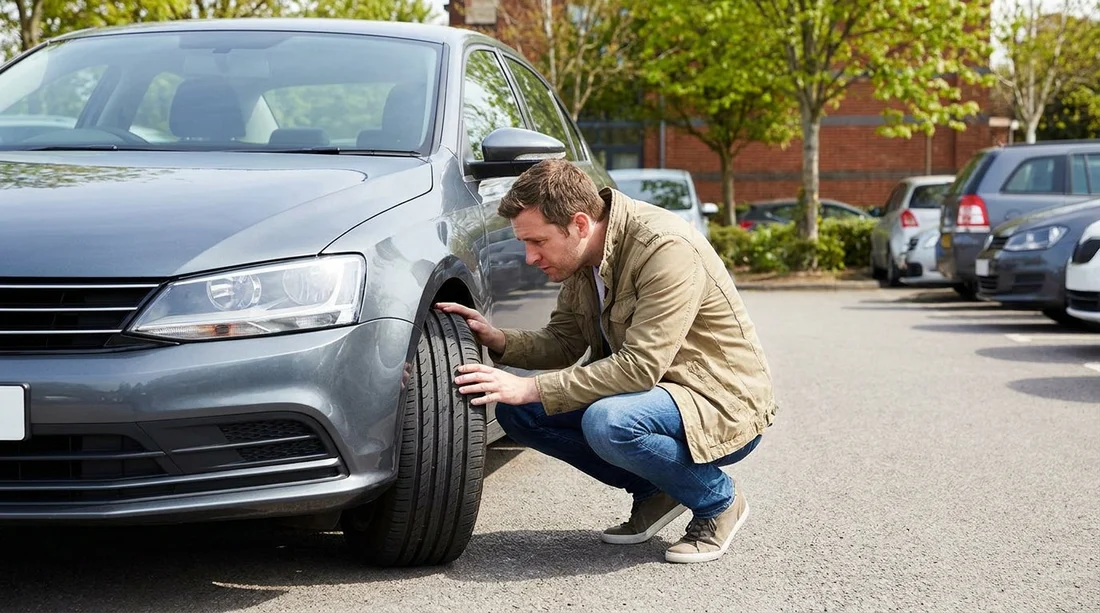
Quick Summary:
- Walk around first and match tyres and glass to the report.
- Check tread depth, sidewalls, valve caps, and warning lights carefully.
- Inspect windscreen edges, wipers, washer spray, and existing stone chips.
- Photograph issues, get them recorded, then leave only when satisfied.
In Pennsylvania, most rental pick-ups happen in a hurry, a queue at the counter, bags in hand, then straight into a car park. That is exactly when small pre-existing issues get missed. A practical tyre and windscreen check takes a few minutes, protects you from disputes later, and helps you start your trip safely, especially if you are heading onto I-76, I-95, or rural roads where debris and potholes are common.
This guide is built for the moment you collect the keys. It focuses on matching what you see to the vehicle condition report, and creating a clear record before you drive off. If you are arranging car hire around Philadelphia, the same steps apply whether you collect in the city or at the airport. For location context, you can compare pick-up options on Philadelphia Airport car rental and Philadelphia car rental pages, then use this checklist at the car.
Before you start: get the paperwork and your phone ready
Ask for, or open in the app, the current condition report and note whether it includes a tyre and glass section. Some reports mark damage with diagrams, others list notes like “chip” or “scratch”. You are not trying to be difficult, you are trying to align what is on the form with what is on the vehicle.
Set your phone to record high-resolution photos. Turn on flash if the garage is dim. Take a short walk-around video first, then still photos of anything you will mention. Photos should include a wide shot showing the part on the car, plus a close-up that captures detail. If your phone shows time and date in file info, even better.
Tyre checks you can do in the car park
Tyres are the easiest place for a disagreement later because wear is gradual and hard to describe without evidence. Your goal is to confirm four things: the tyres look roadworthy, they match the report, they look consistent across the axle, and there are no obvious risks that will ruin your day.
1) Confirm the tyre size and type look consistent
Look at each tyre sidewall for the size markings. You are not memorising numbers, you are checking that the left and right tyres on the same axle appear to be the same size and type. Mixed tyres can happen after a repair, but mismatches can affect handling, especially in wet conditions.
2) Tread depth, do a quick, realistic check
Use a simple visual check: tread grooves should be clearly visible across the full width, not smooth at the shoulders. If the car has a built-in tyre tread indicator bar, you should still see groove depth above it. If any tyre looks significantly more worn than the others, photograph it and ask for it to be noted.
3) Sidewalls and bead area, scan for cuts and bulges
Sidewall damage matters more than cosmetic scuffs. Look for bulges, bubbles, deep cuts, or cords showing. Pay attention to the area where the tyre meets the rim, impacts with kerbs can pinch the sidewall there. If you see a bulge, do not drive off, request a different vehicle.
4) Rim and valve, small details that flag bigger issues
Check that valve caps are present. Missing caps are minor, but they can hint at rushed maintenance. Look at the rim edge for heavy kerb rash or bends. A bent rim can cause slow leaks or vibration, and you do not want to discover that at speed.
5) Tyre pressure monitoring and dashboard warnings
Before leaving your bay, start the car and check the dashboard for tyre pressure warnings. If there is a warning, do not assume it will clear. Ask staff to check pressure or swap the car. In Pennsylvania’s temperature swings, pressure can drop overnight, but it still needs to be corrected before you drive.
If you are selecting a larger vehicle for family luggage, it can be useful to compare requirements on an SUV hire in Philadelphia page, then apply the same tyre checks, because bigger wheels are still vulnerable to sidewall damage from potholes.
Windscreen and glass checks that prevent later disputes
Windscreen damage is often blamed on the last driver because chips can be tiny, and because cracks can spread after heat, cold, or a bump. Your job is to find existing chips before they become a crack, and to ensure they are recorded.
1) Inspect the windscreen from outside and inside
Stand at the front and look across the glass at a shallow angle, then move to the driver’s side and repeat. Small chips show up as bright dots when light hits them. Then sit in the driver’s seat and look through the windscreen at the sky or garage lights, because chips are often easier to see from inside.
2) Pay special attention to the edges
Damage near the edge of the windscreen is more likely to spread into a crack. Run your eyes along the perimeter, especially the lower edge near the wiper rest area. If you see a chip at the edge, photograph it clearly and get it added to the report.
3) Wiper blades and washer jets, a safety check not just cosmetic
Turn on the washers and wipers briefly. Check that washer fluid sprays onto the screen and that the blades clear without smearing or skipping. Poor blades can turn glare and rain into a visibility issue. If the wipers chatter or leave streaks, ask for blades to be replaced or note it.
4) Check for pitting and haze in strong light
Some windscreens have fine sand pitting that makes night driving harder because oncoming headlights scatter. You can often spot this by looking at reflections. If visibility is noticeably compromised, request a different car. This is most relevant if you expect dusk or night driving.
How to match what you see to the condition report
Use a simple “find, photo, flag” routine. For every tyre or glass issue you notice, do three things in order: find it clearly, photograph it from wide and close angles, then flag it to staff so it is written on the report or acknowledged in the app. If the report uses a diagram, ask them to mark the correct section, for example front windscreen, rear right tyre, and add a note like “existing chip, 3mm, passenger side”.
Be specific, not dramatic. “Small chip” is vague. “Stone chip on passenger side, lower third” is clearer. For tyres, “scuffed sidewall” is less useful than “sidewall gouge, rear left, about 2cm”. Specific language helps the next inspector see it matches your photos.
Make sure the final version is saved. If the agent says it is updated, ask to see the updated record. If you are using an app-based inspection, ensure your annotations upload before you leave the car park.
If you are comparing supplier policies while arranging car hire, you may see differences in inspection style depending on provider. For example, pages such as Enterprise car rental Philadelphia and Avis car hire Philadelphia can be useful for choosing, but the same documentation habits protect you whichever desk you collect from.
What to do if you find a serious issue
If the tyre has a bulge, exposed cords, or very low tread, do not drive. Ask for a replacement vehicle. A tyre failure is not worth the risk, and it can create liability questions later.
If the windscreen chip is large or in the driver’s line of sight, do not accept “it is fine”. A chip can spread into a crack with temperature changes or a door slam. If the damage interferes with your view, request another car.
If staff are busy, stay calm and keep everything documented. Take clear photos, note the bay number, and politely insist the report is updated. It is easier to spend five extra minutes now than to argue after drop-off.
FAQ
How long should tyre and windscreen checks take before I drive off? Usually five to ten minutes. A quick walk-around, a dashboard warning check, and a focused scan for chips and sidewall damage is enough.
What tyre damage is serious enough to reject the rental car? Bulges, deep sidewall cuts, exposed cords, very uneven wear, or a persistent low-pressure warning are strong reasons to ask for another vehicle.
Where are windscreen chips most important to spot? Along the edges and in the driver’s viewing area. Edge chips spread more easily, and anything in the line of sight can affect safety and may fail inspection standards.
Should I photograph minor chips and scuffs even if they seem small? Yes. Small chips can grow, and light kerb marks can be misread later. A wide photo and a close-up, matched to the report, prevents confusion.




























































































