


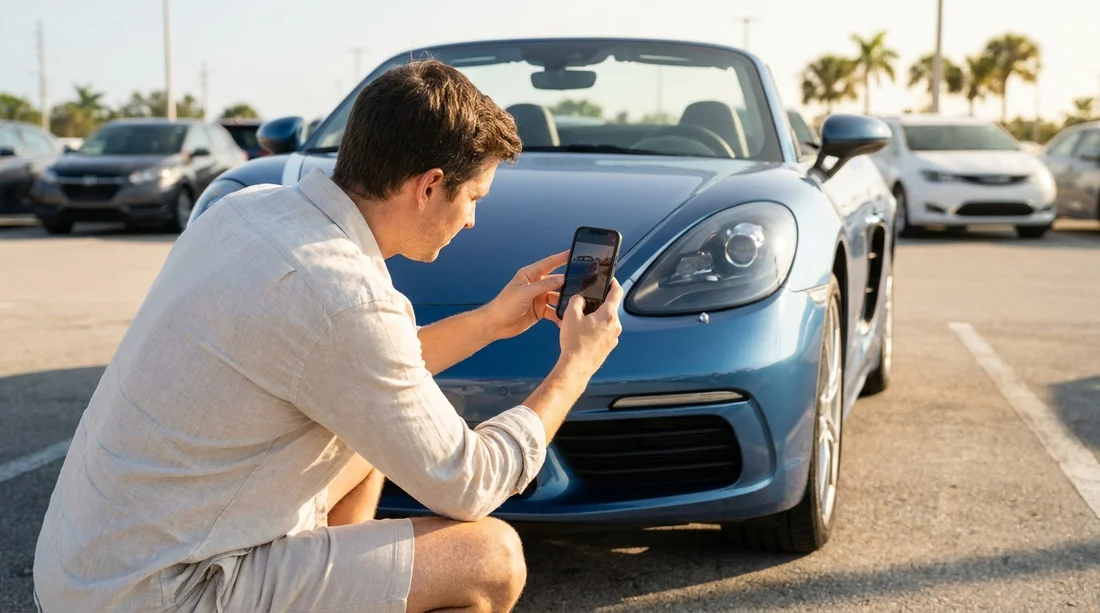
Quick Summary:
- Photograph every panel, wheel and bumper, plus close-ups of any scuffs.
- Capture dashboard showing mileage, fuel level, warning lights, and time context.
- Record interior, boot and roof, including stains, tears, chips and smells.
- Photograph rental documents and any attendant damage notes before leaving.
In Florida, car hire pick-up areas can be busy, lighting can be harsh, and cars often turn around quickly. A clear set of photos, taken before you drive out, is one of the simplest ways to show what was already there if a dispute comes up later. The goal is not to create hundreds of random images, it is to create a complete, time-ordered visual record that covers the whole vehicle, the key readings on the dash, and any existing issues.
Use your phone’s normal camera (no filters), switch on location tagging if you are comfortable with it, and make sure the date and time are correct. If possible, take photos in a consistent loop around the car so the sequence is easy to follow. If you are collecting at a major hub such as Orlando MCO airport, expect dim garage lighting, so steady your hands and take an extra shot if anything looks blurry.
Before you start: set up for clear evidence
Stand back and take two wide shots that include the whole car and the parking bay or signage. Then take a photo of the licence plate. These establish identity and context, especially if multiple similar cars are lined up. If your phone supports it, keep HDR on, it can help in the mix of Florida sunshine and shadowy garages.
Next, do a slow walkaround video of 20 to 40 seconds, starting with the plate and ending on the plate. A video helps show continuity, but still photos are better for proving specific marks, so use both.
Exterior checklist: the images that prevent most disputes
Most disagreements come from exterior marks that are easy to miss when you are in a rush. Take photos in this order so you do not skip anything:
1) Four corners, then each side. Photograph front-left corner, front-right corner, rear-right corner, rear-left corner. Then take a full side shot of each door side, standing far enough back to capture the entire side in one frame. If you are picking up in the city, such as around Brickell, tight parking can mean more door dings, so do not rush the side panels.
2) Bumpers and lower edges. Crouch slightly and photograph the full front bumper, including the lower lip, grille and fog light area. Repeat for the rear bumper, including the lower diffuser area. Florida kerbs and parking stops often scrape the underside, and those marks are sometimes only visible at a lower angle.
3) Wheels and tyres. Take one photo of each wheel straight on, then a close-up of the rim edge where kerb rash shows. Also photograph the tyre sidewall for bulges, cuts, or unusual wear.
4) Windscreen, windows and mirrors. Chips and cracks can be hard to see in bright sun. Take a wide shot of the windscreen, then a close-up of any chip, with your finger near (not touching) the spot for scale. Photograph each mirror housing and mirror glass. Include the rear window and any small quarter windows.
5) Roof, bonnet and boot lid. Use a slightly raised angle or step back to catch reflections. Florida’s sun can hide shallow dents, so tilt the camera until the panel reflection makes dents or ripples visible. If you have an SUV, this matters even more because the roof may be out of sight in normal walkarounds.
6) Lights and reflectors. Photograph headlights, tail lights and indicators. Look for moisture inside lenses or cracked plastic. These are common damage points and easy to document at pick-up.
Close-ups: how to photograph existing damage properly
For each mark you find, take three images: a close-up that shows the detail, a mid-range shot that shows where it is on the panel, and a wider shot that shows that panel in context. This trio prevents arguments that a close-up could be from somewhere else.
Avoid using flash on glossy paint if it creates glare. Instead, change angle or block the sun with your body. If the mark is faint, use a short video clip while moving the phone slightly, the changing reflection can make the scratch easier to see.
Dashboard and operational proof: mileage, fuel, warnings
Before you leave the car hire lot, switch the ignition on and photograph the instrument cluster clearly. You want at least these shots: mileage (odometer), fuel gauge, and any warning lights or messages. For extra time context, take one photo that includes the dashboard and your phone lock screen showing the current time, while still keeping the dash readable.
If you are collecting near Orlando, such as via car rental around Orlando MCO, you may be in a garage where the dash backlight is brighter than the surroundings. Tap the screen to focus on the numbers so the odometer is not blown out.
Interior checklist: what to capture inside the cabin
Interior disputes are less common than exterior ones, but they do happen, especially with stains, tears, and missing accessories. Take wide shots first, then detail shots: front seats and dashboard, rear seats, floors and mats, and the boot (trunk) area. If the boot has a spare tyre well, open it and photograph what is there.
You cannot photograph a smell, but you can photograph evidence that supports it, such as ash residue, burn marks, or heavy air fresheners. If the car smells strongly of smoke or mildew, note it immediately with the desk or gate staff and keep any written acknowledgement.
Documents and labels: the overlooked photos that help later
Take a clear photo of the rental agreement pages that show the vehicle registration or plate number, your check-out time, the fuel policy, and any pre-marked damage diagram. If the staff member notes damage on a tablet, ask to see it and photograph the final screen if permitted.
Also photograph the car’s VIN plate area if it is easily visible (often by the windscreen), plus any barcode or inventory sticker the company uses. These identifiers help if there is ever confusion over which vehicle you had.
If you pick up through a specific operator, for example Avis in Doral, documenting the operator’s own condition report alongside your images strengthens your record because it ties your photos to their process.
How many photos are enough, and how should you store them?
A practical set is usually 30 to 60 photos plus one short walkaround video. The right number is enough to cover every surface and every existing issue, not a fixed count.
Create an album named with the date, location and car plate. Do not edit the images, as edits can remove metadata. Back them up straight away to cloud storage or email them to yourself while you still have signal.
Common Florida-specific situations to watch for
Sun glare and sudden rain can hide marks. If a rain shower hits, pause under cover, then retake key exterior angles when the surface is dry enough to see scratches.
Parking garage lighting may create noise and blur. Take an extra shot for anything important, especially the odometer and fuel gauge.
Sand, salt and bugs can make minor paint wear look worse at return. If the car is already dusty or bug-splattered at pick-up, take a wide photo showing the general condition so you are not blamed for a pre-existing mess.
FAQ
Do I really need photos if the agent already checked the car? Yes. Your own photos create an independent record of pre-existing marks, especially small scratches the agent may miss or not log.
Should I take a video or photos, and which carries more weight? Take both. Photos are best for proving specific damage clearly, while a walkaround video helps show continuity and context.
What if I find damage after leaving the car hire lot? Pull over somewhere safe as soon as possible, take the same close-ups and wide shots, then contact the rental provider promptly to log it.
How do I photograph scratches so they show up properly? Take a close-up, a mid-range shot, and a wide shot. Change angles to catch reflections, and avoid flash glare on paint.
Which dashboard photos matter most at pick-up? Odometer, fuel gauge, and any warning lights or messages. Make sure the numbers are in focus and readable.




























































































