Quick Summary:
- Confirm the TPMS light appears at start-up, then turns off.
- Inspect all tyres for damage, matching sizes, and safe tread.
- Locate the inflator kit or spare, check tools and sealant expiry.
- Photograph tyres and wheels, and note warnings on the report.
When you collect a car hire in Texas, tyre-related issues are among the most common causes of delays, roadside stops, and disputed damage. Texas roads can be hot, long, and fast, and tyre pressure can swing as temperatures change from an air-conditioned garage to the midday sun. A quick, consistent check at pick-up helps you drive away confident that the tyres are safe, the tyre-pressure monitoring system (TPMS) is behaving normally, and the inflator or spare setup is actually present and usable.
This guide is a practical pre-drive checklist you can complete in about five minutes at the rental bay, plus a few things to note on the condition report before you leave.
If you are picking up near Austin, Dallas Fort Worth, or Houston, the same checks apply whether you arranged your car through Hola Car Rentals at Austin Airport, Fort Worth DFW, or Houston IAH.
1) Do a fast TPMS warning-light check before moving
Start with the dashboard, because it can reveal a slow puncture before you even look at the tyres. With the ignition on, most cars briefly illuminate warning lights during the self-check. You want to see the TPMS symbol appear and then turn off after the engine starts.
Step A: Start the car and watch the instrument cluster for 10 to 20 seconds. If the TPMS light stays on, assume at least one tyre is low or the system has a fault.
Step B: Check for a message screen that shows individual tyre pressures. If the car displays values, photograph the screen. If one tyre reads noticeably lower than the others, ask for pressure to be corrected before leaving, even if it does not feel obviously flat.
Step C: If the TPMS light is flashing, that often indicates a system fault rather than low pressure. Note it on the condition report and request that it is addressed or the vehicle is swapped.
Tip for Texas: the light might come on shortly after you drive away if the tyres were set for a cooler morning. That is still worth documenting at pick-up, because you can show you noticed the system behaviour immediately.
2) Walk-around tyre inspection, focus on safety and evidence
Even when the TPMS looks fine, do a visual check of all four tyres. Aim for two goals: confirm the tyres are roadworthy, and create a clear record of pre-existing issues.
Check sidewalls: Look for cuts, bulges, bubbling, or cords showing. Sidewall damage is not a quick fix at a service station, so you want it resolved before departure.
Check tread and wear pattern: Uneven wear, like smooth shoulders or a bald strip, can signal alignment issues and may reduce grip in heavy rain. You do not need a tread gauge, just compare front left to front right, then rear left to rear right.
Check tyre sizes match across an axle: The two tyres on the front axle should be the same size, and the same goes for the rear. Mismatched sizes can upset handling and confuse TPMS readings.
Check valve stems and caps: A missing cap is small, but it can let dirt into the valve. A cracked or leaning valve stem can slowly leak.
Check wheels: Note scuffs, gouges, or bent rims, especially on the outer edge where kerb impacts show. Wheel damage is frequently disputed, so photograph each wheel face.
If you are collecting a larger vehicle, the same walk-around matters even more. With a van rental the tyres carry higher loads and a slow leak can become noticeable sooner. If that is your trip style, compare vehicle options on van rental in Austin and build in extra time at pick-up for a proper inspection.
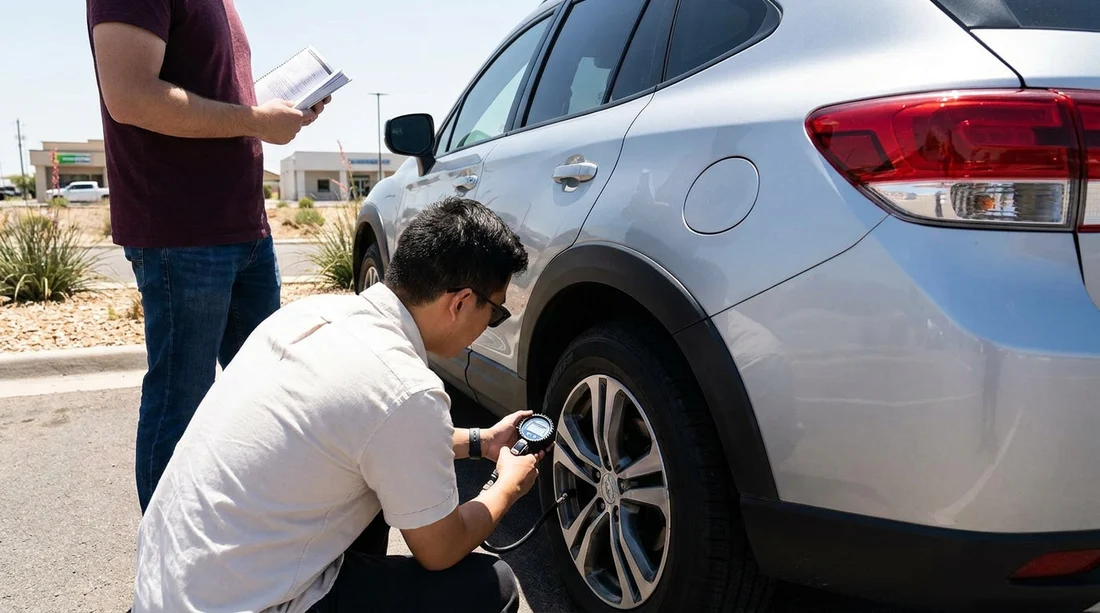
3) Confirm the correct tyre pressures, even if you lack a gauge
Use the door-jamb sticker: Open the driver’s door and look for the tyre information label. It lists the recommended pressure for front and rear tyres. Take a photo of it. If the dashboard shows actual pressures, compare them to the sticker. A few PSI difference can occur with temperature, but large differences should be corrected before you leave.
Check for obvious under-inflation: Stand a few metres back and compare tyre shapes. A significantly low tyre often looks slightly squashed at the bottom compared with the others.
In Texas summer heat, pressure rises as tyres warm up. The important thing is that the cold pressures are set sensibly at pick-up and all tyres are in the same ballpark.
4) Locate the inflator kit or spare before you leave the lot
Do not assume the kit is present. In a car hire, missing tools happen, and discovering that at the roadside is frustrating and potentially unsafe.
Find the kit location: Check the boot, under the boot floor, or a side compartment.
Identify what you have: You will typically find a temporary spare wheel, a full-size spare, a tyre inflator and sealant kit, or run-flat tyres. If you have run-flats, confirm whether a compressor is still provided and what driving limits apply after a puncture.
5) Inflator and sealant checks that take under one minute
Sealant expiry date: Many canisters have an expiry date printed on the label. Photograph the label, especially if it is close to expiry or already expired, and note it on the report.
Hose and connector condition: Look for cracks, missing O-rings, or a damaged valve connector. If it is broken, the kit is effectively useless.
Power connection: Confirm it is a 12V plug or USB-C type power pack. If it needs a 12V socket, check the car actually has one accessible, since some newer cars have only USB ports in the cabin.
Important limitation: sealant is typically for small tread punctures only, not for sidewall damage or a blowout. If you see sidewall damage at pick-up, request the issue is fixed or the vehicle replaced.
6) What to write on the condition report, keep it factual
A good condition report note is short, objective, and backed by photos. Use your phone to take clear pictures of each tyre and wheel, plus any dashboard warnings.
TPMS status: Note whether the TPMS light stayed on after start, or whether it flashed, with a photo.
Tyre and wheel condition: Note any sidewall scuffs, bulges, unusually low tread, or kerb rash, with close-ups.
Kit issues: Note if sealant is expired or tools are missing, with a photo of the label or compartment.
Keep the language neutral. You are not assigning blame, you are recording condition at pick-up for your car hire agreement.
7) After you drive off, do a short confirmation loop
Once you leave the bay, do a slow loop of the car park or first safe area and recheck the dashboard. Some TPMS systems only update after a few minutes of driving. If a warning appears, return immediately while you are still close to the pick-up point.
This is especially useful after airport collection. If you collected through Hola Car Rentals at a branded counter, such as Hertz in Austin or Dollar at Dallas DFW, staff can typically advise whether to top up, swap cars, or log a maintenance note.
FAQ
Why can the TPMS light come on even if the tyres look fine? Tyres can be several PSI low without looking flat, especially with low-profile tyres. Temperature changes can also drop pressure overnight, triggering the TPMS once you start driving.
Should I top up tyre pressure myself during a car hire in Texas? If the pressures are only slightly low and there is no visible damage, topping up at a service station can be reasonable. If the TPMS is flashing, one tyre is much lower than the rest, or there is sidewall damage, report it and request help before continuing.
Is an inflator and sealant kit as good as a spare wheel? It depends on the puncture. Sealant can help with small tread punctures, but it will not fix sidewall damage or a blowout. A spare offers more flexibility, but only if the jack and tools are present and usable.
What photos are most useful for the condition report? Take one photo of each wheel and tyre, a close-up of any damage, the tyre-pressure label in the door jamb, and a dashboard photo if any TPMS message appears.
What if the sealant canister is expired at pick-up? Note it on the report and ask for a replacement kit or a different vehicle. An expired canister may not seal effectively, and it is better to address it before you leave the location.


