


Quick Summary:
- Inspect the windscreen in shade, using angles to reveal tiny chips.
- Photograph every wheel face and rim edge, including close-ups of scuffs.
- Match photos to the condition report, and insist omissions are added.
- Record mileage, fuel level, and timestamp before leaving the pick-up bay.
Picking up a car hire in Las Vegas can feel fast-paced, especially after a flight, in bright sun, and with other travellers waiting. That is exactly when small issues like windscreen chips and wheel scuffs get missed, then questioned later. A few minutes of methodical inspection, clear photos, and the right notes on the rental agreement makes the handover far less stressful.
Whether you are collecting at the airport or in town, the same principle applies, do not drive off until you can prove the car’s condition at pick-up. If you are arranging car hire at the terminal, it helps to know the practical pick-up flow at Las Vegas airport, where lighting and space can affect how well you can see glass and wheels.
Before you reach the car, set yourself up for a proper inspection
Have your phone ready with enough storage and battery. Turn on the camera settings that capture date and time, or be prepared to take one photo that clearly shows the day, such as the terminal signage behind the vehicle. If your phone supports it, enable location tagging. Bring sunglasses, but do the inspection with them off when checking glass, because polarised lenses can hide fine chips.
Ask for a few minutes to check the vehicle before you accept the keys as “all good”. Most desks expect this, and it is normal. If the car is parked in harsh direct sun, request to pull it into shade or reposition slightly. In Las Vegas, glare can mask the very defects that later become a dispute.
How to spot pre-existing windscreen chips in Las Vegas light
Windscreen chips are often tiny, but they catch the light. Start outside the car. Stand at the front corner and look across the glass at a shallow angle, then repeat from the opposite corner. This side-to-side scan makes small impact points sparkle. If you only look straight on, you can miss them.
Next, check the most common chip zones, the lower third of the windscreen, the area in front of the driver, and the passenger side where stones can bounce up from the road. Also inspect around the edges near the rubber seals. Edge chips are important because they can spread into cracks later.
Use your hand as a shade to reduce glare. In bright Las Vegas sun, block the reflection and slowly move your head to change the angle. Then step inside the car and repeat the scan from the driver’s seat looking outward. Some chips are more visible from the inside because the light refracts differently.
If you are comparing options for car hire across the city, you will find the same basic inspection steps apply whether you collect centrally or from a satellite lot. The main difference is lighting, so plan a little extra time when picking up in open-air parking areas common with car hire in Las Vegas.
How to spot wheel scuffs and rim damage quickly
Wheel scuffs usually happen from kerbs, and the marks tend to be on the outer rim edge or the wheel face near the perimeter. Start with one wheel and use a consistent routine so you do not miss a side. A good approach is clockwise around the vehicle, front-left, rear-left, rear-right, front-right.
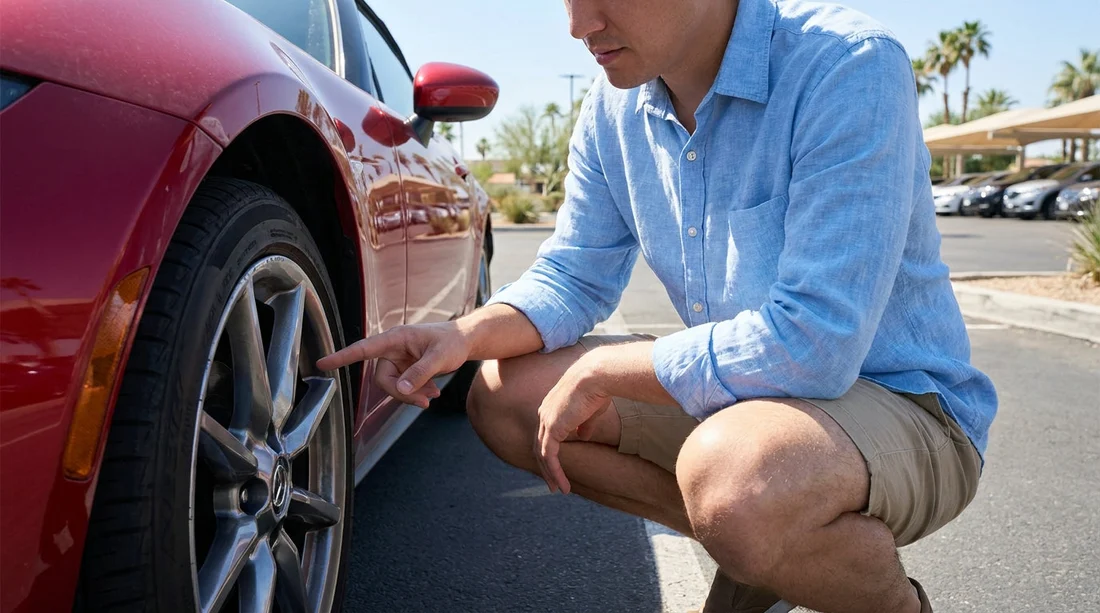
For each wheel, take two photos. First, a wider shot showing the whole wheel and tyre with part of the car body visible, so it is clearly that vehicle. Second, a close-up of any scuff, scrape, gouge, or missing paint. Take the close-up from two angles, because shallow scrapes can disappear in a single view.
Also check the tyre sidewalls for bubbles, cuts, or abrasions. While the question is focused on scuffs, tyre condition can be linked to rim impacts. If you see a chunk missing from the rim, photograph the tyre in the same frame.
Do not forget hubcaps if fitted. They can be cracked or heavily scraped, and some agreements treat them similarly to wheel damage. If the vehicle is an SUV or larger, wheels can be more expensive to repair, so be even more careful documenting the condition. If you are considering different vehicle types, browsing SUV hire in Nevada gives you a sense of what you might be handed at pick-up, including larger alloys that show kerb rash clearly.
Get the damage properly noted before you drive off
The crucial step is matching what you found to the condition report or the electronic check-out screen. Some reports use small diagrams with marked zones. If a windscreen chip exists, it should be explicitly written, for example “windscreen chip lower passenger side”, not just “glass” ticked. For wheels, the note should identify which wheel, for example “front-right rim scuff”. Vague notes can be interpreted later.
Ask the agent to add missing items, and wait until you see the updated record. If the location is busy, be patient but firm. If you are told “it is fine, it is already in the system”, ask to see it on the agreement, or request an email copy showing the notes. Your photos support the notes, but the best outcome is both.
If you are travelling beyond the city, the same documentation protects you on return in other parts of the state. Planning routes across Nevada car hire often involves highway miles where a pre-existing chip could spread, so it is worth ensuring it is recorded at pick-up.
Different suppliers have slightly different paperwork, but the inspection logic is the same. If your rental is through a specific brand, it can help to understand typical processes for Avis car rental in Las Vegas, including where condition notes usually appear on the agreement.
Common mistakes to avoid at Las Vegas pick-up
The biggest mistake is inspecting only the body panels and ignoring the glass and wheels. Windscreen chips and rim scuffs are easy to miss and easy to argue about. Another mistake is taking photos that are too close, with no context showing which wheel or which part of the windscreen it is. Always pair close-ups with a wider frame.
Do not rely on memory or assume you will “sort it out later”. Once you have left the lot, it can be harder to get notes added. Also avoid cleaning the windscreen before photographing defects. Wiping dust off might make a chip more obvious, but it can also create smears that make photos less clear. Photograph first, then clean if needed for safe driving.
FAQ
How long should a windscreen and wheel inspection take at pick-up? Plan 8 to 12 minutes for a focused check, including photos and getting notes updated.
What counts as a windscreen chip worth recording? Record any visible impact mark you can see or feel, especially near edges or in the driver’s view.
How do I label wheel scuffs so the note is unambiguous? Use the position and type, such as “front-left rim edge scuff” or “rear-right wheel face scrape”.
If the agent says the scuff is ‘normal wear’, do I still need it noted? Yes, ask for it to be written on the condition report, because “normal” is subjective later.
Should I take photos again when returning the car? Yes, repeat key shots of the windscreen and wheels at drop-off, ideally in good light.





























































































