Quick Summary:
- Match the seat type to your child’s height, weight, and age.
- Inspect shell, harness, buckles, and padding for cracks or missing parts.
- Check labels, manufacture date, and any signs of recall or tampering.
- Install in the car, then confirm tight fit and belt routing.
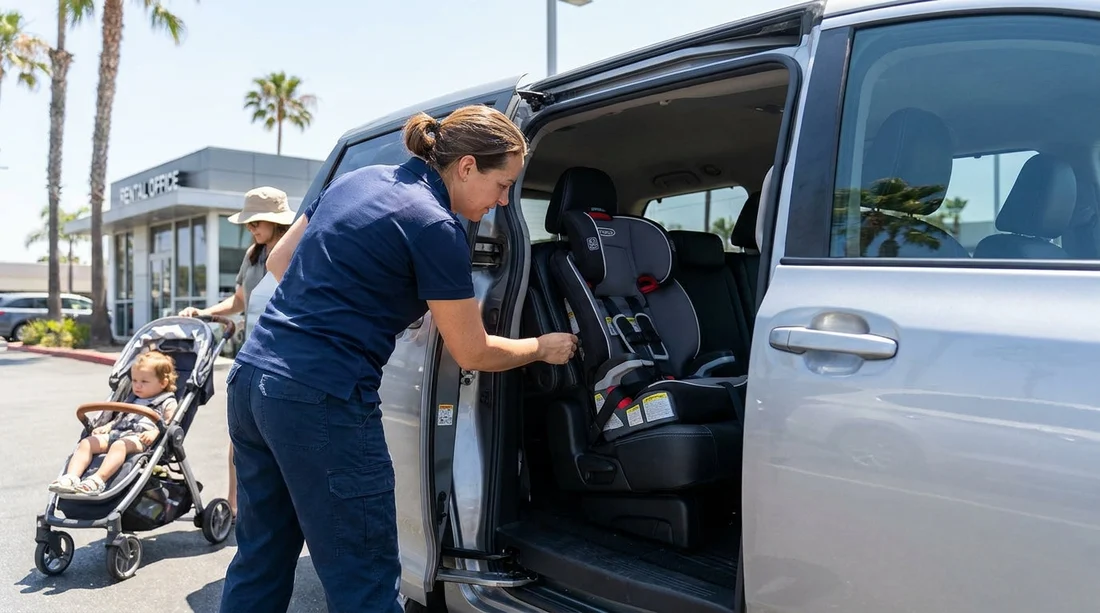
Picking up a hired child seat with your California car hire can feel like a simple add-on, but it is a safety-critical piece of equipment. Before you leave the counter or car park, take a few minutes to confirm the seat is the correct kind for your child, is in good condition, carries the right labels, and can be fitted securely in the specific rental vehicle you have been allocated. If anything feels off, ask for a different seat or a different vehicle while you are still on site.
This checklist focuses on what you can realistically verify during pick-up, without specialist tools. It also helps you avoid common fitting mistakes that can undermine protection even when the seat itself is sound.
1) Confirm the correct seat type for your child
Start with the basics. The right seat depends on your child’s current size, not what they were last season. In California, you will commonly encounter rear-facing infant seats, convertible seats, and forward-facing seats with a harness. For older children, a belt-positioning booster may be offered, but ensure your child meets the minimum size for safe booster use.
Ask the counter staff which model you are being issued and check the seat’s stated weight and height ranges on the label. If the range does not clearly cover your child, swap it. Avoid accepting a seat that is “close enough”, because poor fit can allow excess movement in a crash and can place the belt or harness in the wrong position.
Also check practicality for your journey. A bulky convertible seat may technically fit your child but can be harder to install correctly in some vehicles, especially if you are travelling with multiple passengers. If you are picking up a larger vehicle category to make family travel easier, you might compare options like SUV rental in Los Angeles LAX or a people carrier via minivan hire in San Jose SJC, then confirm your child seat fits the chosen layout.
2) Check required labels and basic compliance markers
Before you inspect parts, look for the manufacturer’s label. It should identify the make and model, provide instructions or routing diagrams, and list weight and height limits. A missing or unreadable label is a red flag because it removes the guidance you need to install and use the seat correctly. You should also see a label showing the date of manufacture. Many child seats have a recommended use period, and while this can vary by manufacturer, the date helps you judge whether the seat is likely near the end of its service life.
Scan for signs of tampering such as labels peeled away, writing that obscures instructions, or substitute parts. If you see anything that suggests the seat has been modified, request another one.
It is also sensible to ask if the seat has ever been in a collision. Reputable rental processes track damage reports, but you are entitled to raise the question. If the answer is uncertain, treat that uncertainty as a reason to switch seats.
3) Inspect the seat’s condition, part by part
Do a slow visual and hands-on check. You are looking for damage, excessive wear, missing components, or anything that could affect how the seat restrains your child.
Shell and base: Check for cracks, stress whitening, warping, or deep gouges on the plastic. Pay attention near belt paths, the harness anchors, and around the base where forces concentrate. A seat with any crack should not be used.
Harness webbing and stitching: Run the straps through your fingers. Look for fraying, cuts, fuzzing, or stiff, shiny patches that can indicate heat or chemical exposure. Stitching should be intact and even.
Buckle and chest clip: Buckle should click positively and release smoothly. The chest clip should close securely without slipping. If the mechanism sticks, feels gritty, or fails to latch consistently, request a different seat.
Adjusters and recline: Test the harness adjuster pull, height adjustment (if present), and recline positions. A jammed adjuster makes it hard to achieve a snug harness, which is essential for safety.
Cushions and inserts: Ensure any newborn inserts match the seat model and are installed as intended. Do not improvise with extra padding. If the rental seat arrives with add-ons that do not look original, decline the seat.
Cleanliness and odour: This is not just comfort. Strong chemical smells or sticky residue can hint at cleaning methods that may degrade plastics or webbing. If it smells harshly of solvent or seems unusually brittle, swap it.
4) Make sure you have the right install method for the rental vehicle
Rental fleets vary, and you might not know the exact make and model until you arrive, whether you collect at car rental at Los Angeles LAX or elsewhere in the state. Once you have the keys, take the seat to the car and identify your installation options.
Most US vehicles have lower anchors (often referred to as LATCH). The child seat may also be installed with the vehicle seat belt, depending on the seat design and your child’s size. Check the seat’s label for lower-anchor weight limits. If your child exceeds that limit, you must use the seat belt installation even if anchors are available.
Locate the lower anchors in the vehicle seat bight and identify the top tether point if you are using a forward-facing harnessed seat. The tether is a key safety element for forward-facing seats because it reduces head movement in a crash. If you cannot find a usable tether point, ask the rental agent for help or request a different vehicle category before leaving.
5) Install it at the counter-side and verify a tight fit
Do not wait until you reach your accommodation. Install the seat while you are still at the rental location, when staff can assist and alternative seats are available. If you are arriving via a major airport and collecting in Southern California, the process is similar whether you are using car hire at San Diego Airport SAN or another branch.
When installing, follow the seat’s belt path instructions exactly. Route the belt through the correct path for rear-facing or forward-facing, buckle it, then remove slack. For a seat belt installation, lock the belt as required by the vehicle system or use the seat’s built-in lock-off if it has one, following the label directions.
Then do the tightness test: grip the seat at the belt path with your non-dominant hand and try to move it side-to-side and front-to-back. It should not move more than about one inch at the belt path. Movement at the top of the seat can be misleading, so focus your test where the seat is secured.
Check the recline angle if it is rear-facing. Too upright can cause head slump in younger children, and too reclined can reduce stability. Use the seat’s built-in angle indicator if present, rather than guessing.
FAQ
Do I need to check the child seat even if it comes from the rental counter? Yes. Rental processes vary, and installation errors are common. A two-minute check can catch missing parts, incorrect fit ranges, or a loose install.
What labels should I look for on a hired child seat? Look for the manufacturer’s label with model details, weight and height limits, basic instructions, and the date of manufacture. Missing or unreadable labels are a good reason to request a different seat.
How tight should the seat be once installed? Test at the belt path. If you can move the seat more than about one inch side-to-side or front-to-back at that point, it is not tight enough.
Can I use lower anchors (LATCH) for any child weight? Not always. Many seats set a child weight limit for lower-anchor use. If your child exceeds it, install using the vehicle seat belt and follow the seat’s instructions.
What is the quickest way to know the harness is snug enough? Use the pinch test at the shoulder. If you can pinch a fold of webbing, tighten more. Also keep the chest clip positioned at armpit level.