


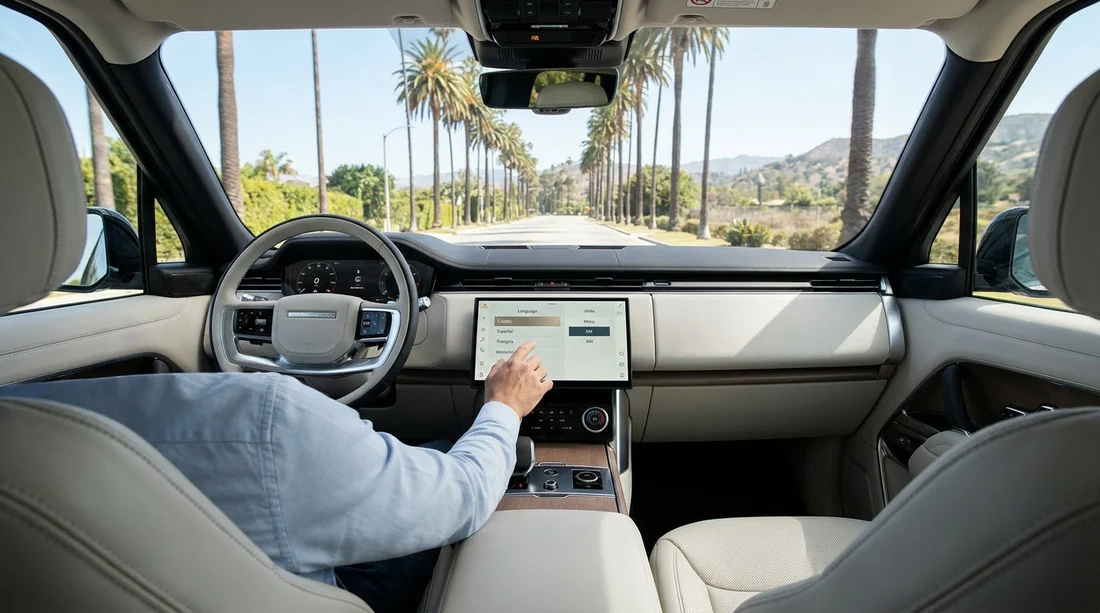
Quick Summary:
- Open Settings, choose Language, and set the display and voice to English.
- Switch units to miles, mph, and your preferred temperature format.
- Check navigation region, guidance volume, and toll road avoidance preferences.
- Confirm clock, Bluetooth prompts, and clear old driver profiles before leaving.
Modern rental cars often arrive with a previous driver’s preferences still saved, especially if the vehicle has a central touchscreen with connected services. Before you roll out of the pick-up bay in California, spend two minutes setting language, units, and navigation behaviour. It reduces wrong turns, speed misunderstanding, and distracting menu hunting once you are already in traffic. This checklist is designed for typical infotainment systems across major brands, with notes on where the options normally sit.
If you are collecting your vehicle at a busy hub such as Los Angeles, allow a moment to do this before joining airport traffic. The pick-up environment can be noisy and rushed, but a calm configuration check is part of sensible car hire practice, just like adjusting mirrors and seat position. If you are comparing pick-up points, you can review Hola Car Rentals location pages such as car rental Los Angeles LAX or car rental San Diego for general collection context, then use the steps below once you are inside the car.
Before you touch the screen: do these two safety basics
First, make sure the car is in Park and the parking brake is applied if needed. Many systems lock certain settings while moving. Second, start the ignition properly. Some menus only appear when the car is in accessory mode, others need the engine on. With push-button start, press once without braking for accessory power, or press with the brake to fully start. If the screen is slow to load, wait until the home screen and status icons settle.
Now set your baseline for a California drive. You want English, miles, and a navigation setup that matches how you will drive, including toll road preferences. Do it before you connect your phone, because Apple CarPlay or Android Auto can hide the car’s own Settings menu until you exit projection mode.
Step 1: Set the infotainment language to English
On most touchscreens, tap a gear icon labelled Settings, Setup, Options, or sometimes Vehicle. Look for a tab called General, System, or Personal. Language is commonly inside General, then Language and Keyboard, or it may be under Display. If the language is unfamiliar, use icons: a globe symbol often indicates language or region.
When you select English, you may be asked to confirm. Accept the change, then watch for a reboot or brief screen refresh. If the system has both “Display Language” and “Voice Language”, change both. Voice guidance for navigation and voice assistant prompts can stay in a different language if you only change the display.
Step 2: Switch units to miles, mph, and preferred temperature
Units are usually found in Settings under General, Display, or Vehicle. You are looking for Units, Measurement, or Formats. In California, distances and speed limits are posted in miles and mph, so set distance to miles and speed to mph. Many cars link those automatically, but some allow separate choices.
Temperature is personal preference, but confirm it before you set climate controls. Some systems offer Celsius or Fahrenheit independently of distance. Fuel economy may show as mpg, which is standard in the US, but some imported models can display L/100km. Change it if it will distract you while driving.
Also check the clock format. If your screen shows 24-hour time and you prefer 12-hour, change it now. Correct time helps with timed hotel check-ins and knowing when you need to refuel before returning the vehicle.
Step 3: Set the region and navigation preferences
Even when language and units are correct, navigation can still be set to a different region, causing odd address formats or unavailable map features. In Settings, look for Navigation settings, Map settings, or Regional settings. Confirm the region is United States, and if there is a state option, select California when available.
Toll options matter in California. Some routes around major cities include toll lanes or toll roads. In the navigation settings, look for Avoid toll roads or Toll preferences. Choose what suits your trip. If you are unsure how tolls are handled with your rental agreement, do not guess on the screen, ask at the counter, then set the navigation to match.
If you are collecting near Sacramento for a Northern California drive, traffic patterns and toll choices can differ from coastal routes. Hola Car Rentals’ partner pages, such as Thrifty car hire Sacramento SMF, can help you orient yourself to the pick-up point, but the in-car settings should still be confirmed before leaving the bay.
Step 4: Connect your phone without losing access to settings
Bluetooth pairing and smartphone projection can improve your drive, but pair after you finish language and unit changes. Once you are ready, enable Bluetooth on your phone, then in the car choose Phone, Connections, or Add device. Confirm the pairing code matches on both. Allow contacts and notifications only if you are comfortable doing so, and consider disabling message previews for privacy.
For larger groups and more devices, you may be using a people carrier where multiple passengers want charging and audio control. In that case, it helps to know the layout in advance, and you might compare vehicle types on pages like minivan rental Santa Ana SNA or van hire California LAX, then apply the same screen setup steps on collection.
Step 5: Clear old profiles and set driver assists to match your comfort
Many cars keep driver profiles, navigation favourites, and recent destinations. For privacy and to reduce confusion, look for Driver profile, Users, or Personalisation. Select Guest if available, or create a new profile with your name. If there is a Clear personal data option, use it cautiously. You want to remove old phone pairings and addresses, but avoid resetting critical vehicle functions unless you understand what will change.
Now check driver assist displays, because they can change units and warning language too. In Vehicle settings or Driver assistance, confirm lane-keeping alerts, collision warnings, and speed-limit display are enabled as you prefer. The goal is not to switch everything off, it is to avoid surprises such as loud beeps you did not expect while merging.
FAQ
How long should it take to change language and units before driving off? Usually two to five minutes, provided the car is in Park and the system has finished loading.
Why does the car still show kilometres on one screen after I changed units? Some vehicles have separate unit settings for the instrument cluster, head-up display, and infotainment, so check each settings menu.
Will Apple CarPlay or Android Auto automatically use miles in California? Your phone navigation typically follows your phone’s region settings, but the car’s own cluster can still be set differently, so confirm mph.
What if the language menu is locked or greyed out? Ensure the vehicle is stationary, in Park, and not in valet mode, and try turning accessory power off and back on.
Should I reset the whole infotainment system to factory settings? Only if necessary, as it can remove pairings and preferences. A guest profile and clearing old phones is usually enough.

























































































