


Quick Summary:
- From Terminal A arrivals, follow signs for Ground Transportation and Rental Cars.
- Use lifts or escalators to Level 1, then walk to the A-side car hire counters.
- Allow 5 to 10 minutes walking, plus extra for queues.
- Keep your driving licence and card ready, then proceed to the garage.
Orlando International Airport (MCO) is designed to make car hire straightforward, but first-time arrivals can still hesitate at the kerbside signs and split levels. Terminal A sits within the main terminal complex, and the rental car desks are not in a separate building, so you do not need a shuttle if you are collecting from the on-airport counters. The key is to know which level you are on, then follow the clear “Rental Cars” or “Ground Transportation” wayfinding to the counters.
This guide covers the practical, step-by-step route from Terminal A arrivals to the car hire desks, including lift access, typical walking times, and a few time-saving tips that matter when you are tired after a flight.
If you are comparing options in advance, these pages summarise car hire at MCO and Orlando pickup details: car hire at Orlando Airport (MCO) and Orlando MCO car hire overview.
Step 1: Confirm you are in Terminal A and at “Arrivals”
MCO’s main terminal is split into A-side and B-side. If you arrive at Terminal A, you will see A-side signage near baggage reclaim and the exits. Most passengers start in the arrivals/baggage claim area after leaving the secure airside gates.
Before you start walking, do two quick checks:
1) Your floor/level. Arrivals and baggage claim are commonly on Level 2 at MCO’s main terminal, with ground transportation and many rental car counters on Level 1.
2) Your collection plan. This article is for the on-airport car hire desks in the main terminal. Some off-airport providers require shuttles from designated pickup points, which follow different signs. If you have arranged a larger vehicle, the same counters apply, but you may want to review the options and typical requirements for bigger groups: van hire at Orlando MCO.
Step 2: From baggage reclaim, look for “Rental Cars” and “Ground Transportation” signs
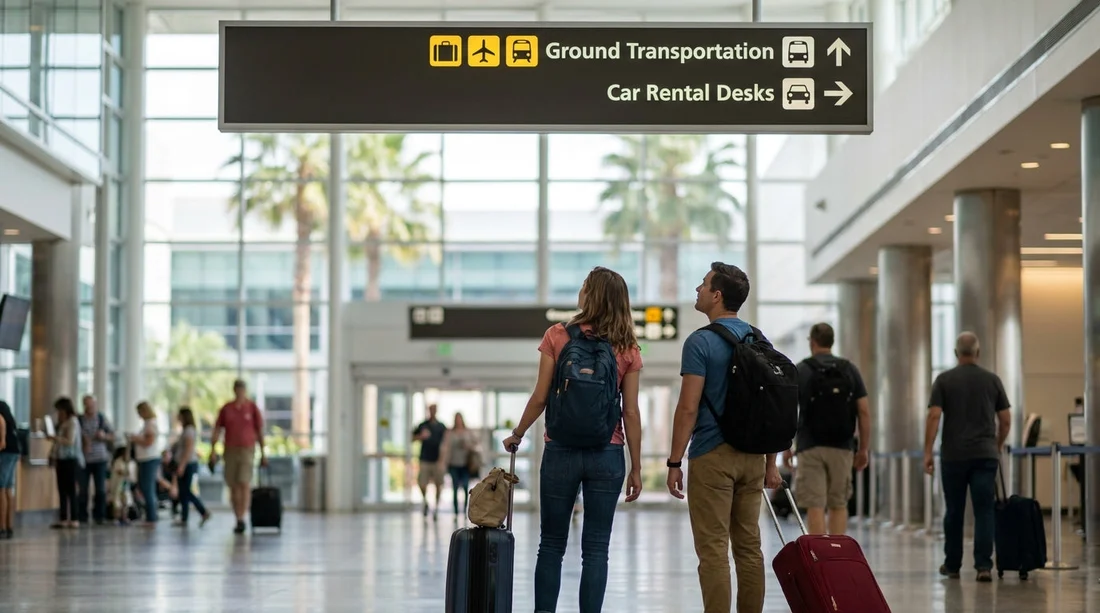
Once you have your luggage, face the main hallways leading away from the carousels and look up. MCO uses frequent overhead signs. You are aiming for the directions that mention:
Rental Cars (often paired with “Car Rental”) and Ground Transportation.
In Terminal A, you will typically be routed towards the public-side corridors leading to the transportation level. If you feel you have walked towards the wrong side, do not worry. The main terminal layout is symmetrical, and staff are used to pointing passengers back towards A-side rental counters.
Step 3: Go down to Level 1 using lifts or escalators
From Terminal A arrivals, you generally need to go down one level to reach the rental car counter area. Most travellers choose escalators because they are prominent and fast, but lifts are available and clearly signposted.
Accessible route (recommended if you have heavy luggage). Use the lift down to Level 1. This is the easiest option with pushchairs, mobility aids, or multiple suitcases, and it avoids balancing bags on escalators.
Typical time: 2 to 4 minutes from baggage claim to the correct lift or escalator, depending on which carousel you used and how busy it is.
Step 4: Follow “Rental Cars” to the A-side car hire counter area
When you reach Level 1, stay alert for the next set of overhead signs. At MCO, the rental car desks for on-airport providers are grouped together, so you should not need to go outside for long walks just to find the counters.
As you follow the signage, you will pass through open terminal corridors with other transport options. Keep tracking “Rental Cars” rather than “Taxi” or “Ride Share”, since those can pull you in different directions.
Typical walking time on Level 1: 3 to 6 minutes at a normal pace, longer if you are weaving around queues or luggage trolleys.
For a broader view of the pickup process and what to expect at the airport desks, this overview is useful: car rental at Orlando MCO.
Step 5: Arrive at the car hire desks and check the queue and counter numbers
The rental car area can look busy at peak arrival times, especially late afternoon and evening when multiple flights land close together. The best approach is to identify your provider’s branding and join the correct queue, rather than stopping in the middle of the walkway.
Have the essentials ready before you reach the front:
Your driving licence (and any additional driver’s licence if applicable), payment card, and booking reference if you have one. This is also a good time to confirm the name on the reservation matches your ID, as corrections can delay the transaction.
Typical counter time: 5 to 20 minutes depending on staffing, time of day, and how many customers are ahead of you. If you land at a quiet time, it can be faster, but it is sensible to budget for a queue.
Step 6: After the desk, follow signs to the car pick-up garage
After your paperwork is complete, you will be directed to the car collection area, typically in the adjacent parking garage for on-airport rentals. Follow the “Rental Car Pick-Up” signs and any instructions on your agreement, which may include a zone number or level.
Walking time from desk to vehicle area: often 3 to 8 minutes, depending on where your assigned bay is and how quickly you can navigate the garage with luggage.
If you are travelling with children, it can help to send one adult ahead with paperwork while another waits with bags, but only if your provider allows it and you are comfortable doing so. Otherwise, keep the group together and move steadily to avoid blocking garage lanes.
Lift access and step-free navigation tips
Terminal A’s route to car hire is generally step-free because lifts connect the levels. For the smoothest accessible trip:
Choose lifts over escalators if you have a trolley, pushchair, or mobility device. Lifts can be busier, so allow a few extra minutes.
Stay indoors until you are directed to the garage. The rental counters and main corridors are inside the terminal, which helps in Florida heat, heavy rain, or high humidity.
Ask staff to confirm the nearest lift if you feel turned around. A small detour can add time and unnecessary effort with luggage.
Realistic timings from Terminal A arrivals to the car hire desk
Walking times vary by your baggage carousel location, crowds, and how quickly you find the correct level. As a practical rule of thumb:
Fastest case (quiet period, light luggage): 5 to 7 minutes from the arrivals hall to the desk area.
Typical case (average crowds, luggage in tow): 8 to 12 minutes.
Slower case (busy period, lift wait, family group): 12 to 18 minutes.
These figures do not include baggage reclaim time or time spent at the desk. If you are arriving on an international flight, add extra time for border formalities and customs before you even reach baggage claim.
Common pitfalls and how to avoid them
Following “Ground Transportation” without checking for “Rental Cars”. Ground transport covers many options. Keep an eye out for the rental-specific arrows at each junction.
Ending up on the wrong side of the terminal. If you drift toward B-side signage, do not continue hoping it will loop back. Re-check overhead signs for A-side and Rental Cars, or ask a staff member to point you back.
Assuming you need a shuttle. Many MCO rentals are on-airport and walkable from the main terminal. Only use shuttles if your paperwork explicitly says off-airport pickup and provides shuttle instructions.
Not budgeting time for the counter. The walk is usually quick, but queues can be the real delay. If you have plans in Orlando immediately after landing, build in a buffer.
FAQ
Q: Do I need to take a shuttle from MCO Terminal A to the car hire desks?
A: For on-airport rentals, no. You can walk inside the main terminal by following “Rental Cars” signs down to Level 1 and the counter area.
Q: How long does it take to walk from Terminal A arrivals to the car hire desks?
A: Most travellers take about 8 to 12 minutes, depending on crowds, luggage, and whether you wait for a lift.
Q: Is the route step-free if I need lift access?
A: Yes. Lifts connect arrivals levels to Level 1, and the corridors to the rental car area are generally accessible and indoors.
Q: What should I have ready when I reach the car hire counter?
A: Bring your driving licence, a payment card, and your reservation details. Having these ready can reduce counter time when it is busy.
Q: Where do I go after I collect keys or paperwork?
A: Follow “Rental Car Pick-Up” signage from the desk area into the adjacent garage, then look for your assigned zone or bay number.

























































































