


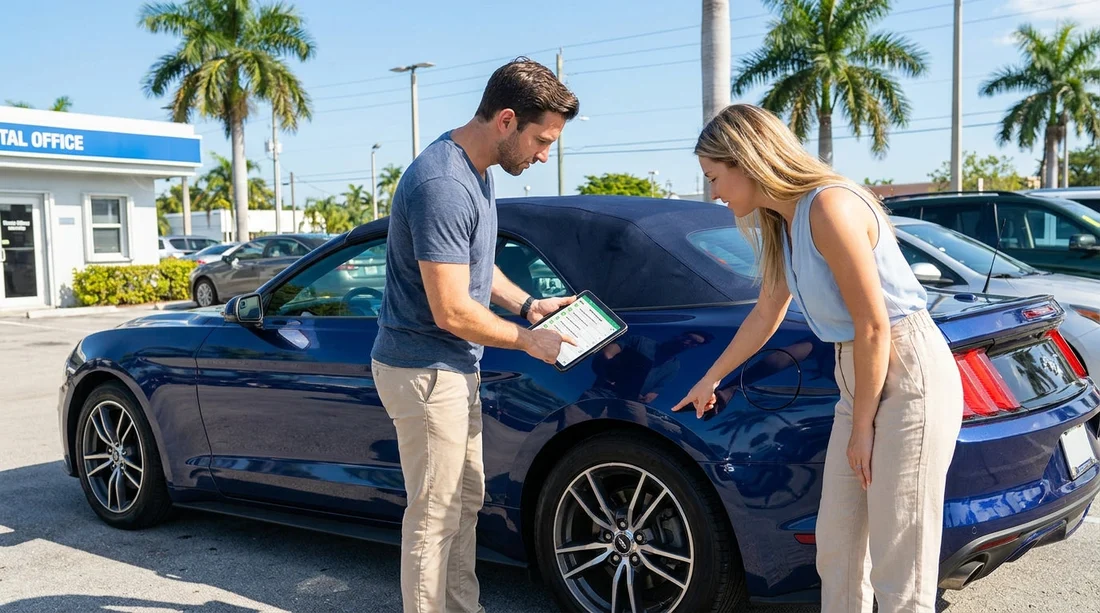
Quick Summary:
- Walk around the car and match every marked scratch and dent.
- Compare fuel gauge and odometer with the report, then photograph both.
- Check wheels, glass, and interior for unlisted damage and stains.
- Get corrections written, initialled, and time stamped before driving off.
When you pick up a car hire in Miami, the vehicle condition report, sometimes called the check-out sheet, is your proof of what you received. It should match the car’s current state for damage, fuel level, mileage, and any missing items. If it does not, you can end up disputing charges later for marks you never caused.
The good news is that checking the report properly usually takes under ten minutes, even after a long flight. Do it before you leave the bay or car park, while staff can still verify and amend the document. This matters whether you collect near the terminal via Miami Airport car rental options or in the city via Downtown Miami car rental locations.
Know what the condition report is actually recording
Most check-out sheets include a simple diagram of the vehicle with symbols for dents, scratches, chips, and scuffs, plus notes for windscreen damage, tyre condition, and interior marks. They also record fuel (often shown as fractions or bars), odometer reading, and sometimes key items such as a spare tyre, charging cables, or toll transponder.
Before you even walk outside, read the report and look for three basics: the registration or vehicle identification, the stated fuel level, and the odometer. If staff have pre-filled these, you are checking accuracy rather than starting from scratch. If anything is blank, ask for it to be completed now, because missing fields make later disputes harder.
Step-by-step: match the sheet to the actual car
Start with a slow, systematic walk-around. Use your phone torch if you are in a dim garage. The aim is to confirm that every mark shown on the diagram exists, and that any existing damage not shown is added. Work in one direction so you do not miss panels.
1) Front end and bonnet. Check the bumper corners, grille area, and lower lip for scrapes. Look closely at the bonnet for stone chips and any denting that catches light at an angle. If the report uses codes, make sure a “scratch” is not actually a dent, because severity matters.
2) Windscreen and windows. Look for small chips and cracks near edges. In Miami, bright sun can make fine cracks obvious, but indoor collection areas can hide them, so move your viewing angle. If you spot a chip, photograph it with a wider shot showing the whole windscreen, and a closer shot for detail.
3) Left side panels. Check the wing, doors, and side skirts. Pay special attention to door edges and handles where scratches are common. Compare each mark to the diagram location. If the sheet shows “left rear door scratch” but the scratch is actually on the arch, get the location corrected.
4) Wheels, tyres, and hubcaps. Kerb rash on alloys is one of the most disputed items. Examine each wheel face and rim edge. Also check tyre sidewalls for cuts or bulges. If the report does not track wheel condition, ask for a note like “alloy scuffed front right” to be added.
5) Rear end and boot. Check bumper corners and the boot lip where luggage can cause scratches. Confirm the boot opens properly and that any parcel shelf or cover is present if applicable. If you are collecting a larger vehicle, such as through minivan rental in Florida options, check sliding door rails and rear loading height areas for scrapes that are easy to miss.
6) Right side panels. Repeat the same method. If you find damage not listed, do not accept a verbal assurance. Ask for it to be written on the report or added digitally, then initialled.
Fuel level: confirm the gauge matches the report
Fuel can be recorded as “full to full”, “same to same”, or a specific fraction. Sit in the driver’s seat, turn the ignition to accessory mode, and confirm the gauge. Take a clear photo of the instrument cluster with the fuel indicator visible. If the sheet says full but the gauge is three-quarters, you want it amended before you drive off.
If the vehicle is a hybrid, confirm whether the “fuel level” refers to petrol only, not battery charge. Battery charge should not be treated like fuel unless your agreement explicitly says so.
Mileage: match the odometer precisely
Odometer readings should match exactly or be within a minimal rounding difference if the report uses “km/mi” conversions. Photograph the odometer with the ignition on. If the report lists 12,340 miles and the car shows 12,470, query it. A mismatch can affect mileage limits, maintenance flags, and your return check-in.
Also confirm the car’s unit setting, miles is standard in the US, but some cars can display kilometres. If it is set incorrectly, ask staff to note the accurate reading and, if possible, switch it to miles so you do not accidentally breach a mileage allowance through misunderstanding.
Interior check: seats, smells, electronics, and warning lights
Interior condition is often summarised as “clean”, but you should still check quickly. Look for tears, burn marks, heavy stains, and damage to door cards. Take a photo of any pre-existing staining, especially on light upholstery. Check the boot carpet too, because sand and spills are common in coastal driving areas around Miami Beach, particularly if you are using car hire in Miami Beach areas.
Turn the car on fully and look for warning lights that remain on after start-up. If a tyre pressure or engine light is illuminated, raise it immediately. Also test essentials: indicators, headlights, wipers, windows, mirrors, air conditioning, and the infotainment screen.
Documenting evidence: photos that actually help in disputes
Take a short, calm set of photos and a video. Start with a 10 to 20 second walk-around video showing the whole vehicle and the surrounding area, then capture still photos of each side, the wheels, the windscreen, the fuel gauge, and the odometer. For any damage, take two photos: one close-up and one that shows its position on the car.
Make sure your phone time and date are correct, and keep the files until after the final invoice is settled. If you are handed a paper report, photograph it as well. If it is digital, take a screenshot or request an emailed copy.
What to do if the report does not match
If you spot differences, stay polite and specific. Point to the exact panel and ask for the report to be updated. The best outcome is an amended report that includes the extra mark, clarifies severity, and is initialled or confirmed by the agent. If the company uses a digital system, ask to see the update on screen before you accept the keys.
If staff are busy, wait. Driving off with unresolved discrepancies shifts the burden onto you later. If you are collecting in a high-traffic area like Brickell, where pick-ups can feel rushed, it is still worth taking the time. Location pages such as budget car hire in Brickell are useful for planning collection timing so you can build in a few minutes for checks.
If they refuse to amend the sheet, ask for a supervisor, request that your notes are added, and ensure you have clear photos showing the mismatch. In the rare case you are not comfortable taking the car, discuss switching to a different vehicle before completing checkout.
FAQ
Do I need to check the report even for a short car hire in Miami? Yes. Short rentals are still billed for damage and fuel differences, and disputes are easier to prevent at pick-up than after return.
How detailed should my photos be before leaving? Take wide shots of each side, plus close-ups of any damage, and clear photos of fuel and mileage. A short walk-around video helps show context.
What if the fuel gauge moves after I start the engine? Wait a moment with the ignition on, as some gauges stabilise after start-up. If it still differs from the report, ask for the report to be corrected.
Is kerb rash on wheels important to record? Yes. Wheel scuffs are common and often charged. If there is any visible rash, get it noted on the condition report.
Should I sign the vehicle condition report if I disagree with it? Only sign after corrections are made or your written notes are added, and you have a copy showing the final agreed condition.





























































































