


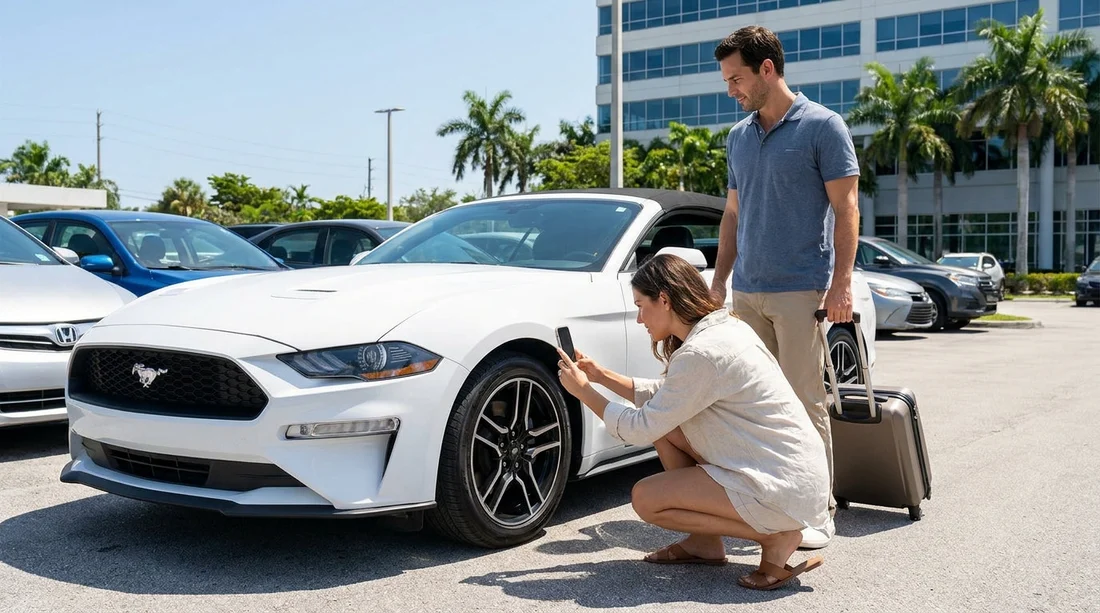
Quick Summary:
- Photograph all four sides, roofline, and bumpers before leaving the bay.
- Zoom in on wheel rims, tyres, and kerb rash at each corner.
- Capture windscreen, windows, lights, and mirrors, including close-ups of chips.
- Record dashboard mileage, fuel gauge, warning lights, plus the signed condition report.
Taking the right photos at pick-up is one of the simplest ways to protect yourself during car hire in Miami. Busy airport garages, bright Florida sun, and tight parking bays can make small marks easy to miss. A clear, time stamped set of images helps ensure the condition report matches what you actually received, and it can reduce misunderstandings at return.
Plan on spending five to eight minutes walking around the vehicle. Use your phone’s normal camera mode, avoid heavy filters, and turn on the grid if it helps you keep shots level. If your phone allows it, keep location services enabled so metadata shows where the photos were taken. Also take a quick video sweep after the stills, but rely on still photos for close-up evidence.
If you are collecting at the terminal, the lighting at Miami MIA car hire bays can be uneven. Step a pace back and take wider shots first, then move in for detail shots of any marks you find.
1) Start with wide exterior coverage
Begin with four wide, corner-to-corner images, front left, front right, rear left, rear right. These show the overall condition and help establish that you photographed the whole car at pick-up. Then take a straight-on photo of the front, rear, driver side, and passenger side.
Add one photo of the roofline if you can safely capture it, especially on SUVs and minivans where roof scrapes can happen. If the vehicle is parked close to another car, take a wider shot showing how tight the space is, because nearby vehicles can obscure existing damage.
Pay special attention to the front bumper and lower grille area, where stone chips and scuffs are common, and to the rear bumper lip, which often gets scratched by luggage. These wide shots support your close-ups later, showing where each mark is located.
2) Bodywork close-ups: document every scuff, scratch, and dent
Walk the car slowly and scan panels at a shallow angle. In Miami sun, micro-scratches can disappear head-on, so tilt the phone slightly. When you find a mark, take two photos: one close-up that shows the texture, and one mid-range shot that shows the mark in context on the panel.
Common hotspots include door edges, door handles, side skirts, wheel arches, and the area around the fuel door. Photograph any paint transfer, dents, or cracked plastic trim. If there is damage larger than a coin, include something for scale that is not personal data, such as your fingertip held nearby, without covering the mark.
If you are picking up through car hire near Miami Beach, sand and salt air can leave fine abrasion marks on lower panels. Those are exactly the kinds of issues you want clearly recorded at the start.
3) Wheels and tyres: the most disputed area
Wheels are frequently checked at return, so photograph them thoroughly at pick-up. For each corner, take:
One straight-on photo of the entire wheel and tyre, one close-up of the rim edge for kerb rash, and one angled shot showing the wheel face and spokes. Include the valve area if visible, as bent valves can indicate impact.
Also capture tyre condition. Photograph the tread face and sidewall, looking for bulges, cuts, or uneven wear. If the car has alloy wheels, reflectivity can hide scuffs, so move the phone slightly until the light reveals the damage.
Do not forget the spare wheel area if accessible, or at least photograph the tyre inflation kit or spare tyre indicator on the boot floor. It is quick evidence of what equipment was present.
4) Glass, lights, and mirrors: chips matter
Take dedicated photos of the windscreen from outside and from the driver’s seat. Small chips can be hard to see until sunlight hits them at the right angle. Photograph the upper and lower corners, where cracks can start, and include the area around the wiper sweep.
Then photograph each side window, the rear window, and any sunroof glass. For mirrors, take a close-up of the mirror surface and the housing. If the car has integrated indicators, photograph those lenses too.
Finish this section with lights: headlights, tail lights, fog lights, and reflectors. Look for hairline cracks, moisture inside the lens, or missing trim. Take one wide shot per light cluster and one close-up if you see a defect.
5) Interior photos: cleanliness, damage, and missing items
Interior condition can affect cleaning charges and damage claims. Start with a wide shot of the cabin from each door opening. Then photograph seats, seat backs, headrests, and door cards. Look for tears, stains, burn marks, and deep scuffs on plastics.
Take clear photos of the dashboard, centre console, and infotainment screen, especially if there are scratches or dead pixels. Capture the gear selector area, cup holders, and any charging ports. For the boot, take one wide shot empty and one of the boot lip, as that edge often gets scratched by suitcases.
Document provided accessories. Photograph the key fob, any additional keys, the parking pass holder if present, floor mats, parcel shelf, and child seat anchors. If a spare wheel kit or triangle is supplied, photograph it in place.
If you are collecting a larger vehicle, this is even more relevant. With minivan rental in Miami, extra seats, rails, and folding mechanisms are easy to nick, so a few extra interior angles are worth it.
6) Dashboard proof: mileage, fuel, and warning lights
Before you drive away, sit in the driver’s seat and take a photo of the instrument cluster with the ignition on. You want the odometer mileage clearly readable, plus the fuel gauge. If the car uses a range display, photograph that too.
Also photograph any warning lights that remain on after start-up. Some lights are normal briefly, but if anything stays illuminated, capture it. Take a second photo that includes the steering wheel and centre stack so it is clear you are in that specific vehicle.
If the agreement states a specific fuel policy, your fuel gauge photo is key evidence. For hybrids or EVs, photograph the battery state of charge screen and any range estimate, plus the charging cable and connector type if supplied.
7) Condition report and timestamps: make photos match paperwork
Your photos are strongest when they align with the check-out paperwork. Photograph the rental agreement header showing date and time, plus the vehicle registration or unit number, without sharing sensitive personal details. If you receive a separate damage diagram, photograph the full page and any marked notes.
After you take your own photos, compare them to the report. If you see damage not listed, ask the desk or attendant to note it before you depart. Keep your images in a single album so you can find them quickly at return.
When picking up through car rental at Miami MIA, it can be busy, so having a simple order helps: wide exterior, close-ups, wheels, glass, interior, dashboard, paperwork. That routine is fast and repeatable.
8) A practical pick-up routine for Miami lots
Miami conditions can add a few quirks. After rain, water droplets can hide swirl marks, so check panels under the garage lighting if possible. In strong sun, move to a shaded area for glass shots to make chips stand out. If traffic is tight, take your wide shots first, then pull forward to a safer space and finish the detail photos.
If you are hiring an SUV for city driving and parking garages, consider extra wheel and bumper photos. Urban kerbs and tight turns are where disputes often arise, and your pick-up evidence should reflect that. For neighbourhood collections, see details for SUV rental in Downtown Miami where multi-storey car parks are common.
FAQ
Should I take photos before or after I sign the paperwork? Take photos as soon as you have access to the vehicle, ideally before you leave the pick-up bay. If paperwork is completed first, still photograph the car before driving away.
How many photos are enough to document a car hire pick-up properly? Aim for 25 to 40 photos: 8 wide exterior shots, 8 wheel shots, 6 glass and lights shots, 6 interior shots, plus dashboard and paperwork.
Is a walkaround video better than photos? A video is helpful for context, but photos are clearer for small scratches, chips, and kerb rash. Use both if possible, with photos as the primary record.
What if I notice damage that is not on the condition report? Photograph it clearly, then request the attendant or desk to add it to the report. Keep a photo of the updated report page as confirmation.
What details should I avoid photographing? Avoid capturing other customers’ faces, payment screens, or personal documents. Focus on the vehicle, the mileage and fuel display, and the condition report details relevant to the car.





























































































