


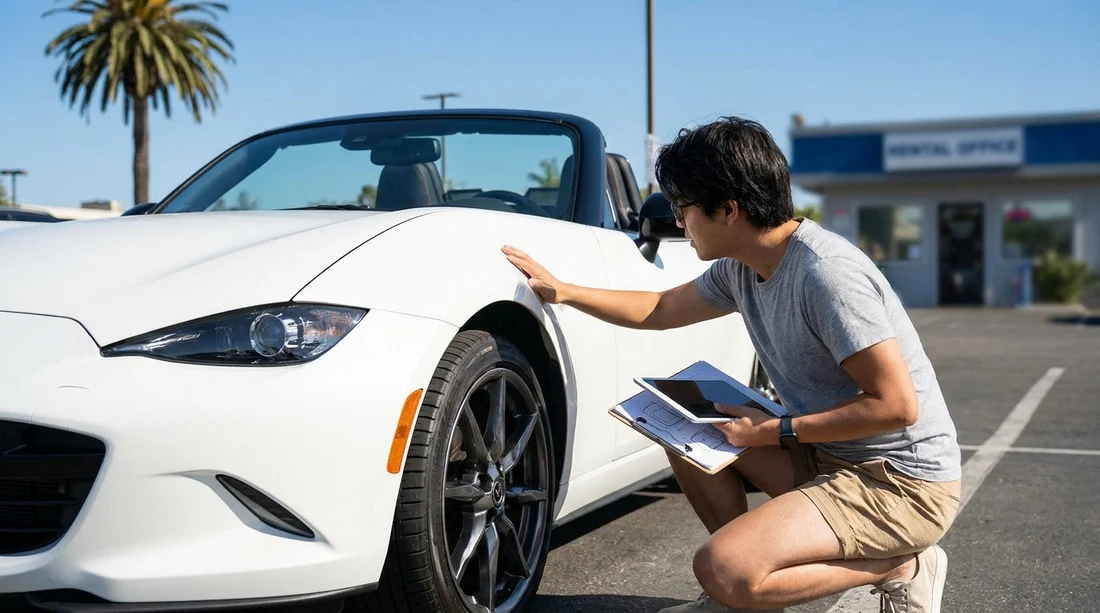
Quick Summary:
- Ask for the damage diagram before collecting keys, not afterwards.
- Walk around slowly, matching each marked panel to visible damage.
- Add clear notes for anything unclear, including glass and interior.
- Keep a time-stamped copy or photo of the signed report.
When you pick up a car hire in California, the quickest way to avoid disputes later is to check the pre-existing damage diagram before you drive off. This diagram, sometimes called a vehicle condition report, is the rental company’s map of dents, scratches, chips, and other defects that already exist. Your job is to make sure the paper or screen matches the actual car in front of you, then document any mismatch clearly while you are still on-site.
This matters whether you are collecting at a major airport location or a city branch. For instance, the pick-up flow at Los Angeles Airport (LAX) can be fast paced, while smaller desks can be quieter, but the risk is the same: if damage is not recorded before departure, it may be attributed to you on return.
What the damage diagram is, and what it is not
A damage diagram is typically an outline of the car with panels labelled, plus a key for different kinds of marks. It is not always detailed. Some reports only record damage above a certain size, and many do not note light scuffs, small chips, or wheel rash unless it is obvious. Do not assume “blank diagram” means “perfect car”. Treat it as a starting point, and verify everything yourself.
Also note that a diagram is only one part of your protection. Photos, a short video, and a written addendum provide context that a tiny mark on a schematic cannot. If you are using a supplier desk through Hola Car Rentals, you still want to complete this process because it supports your position regardless of which staff member checks the car on return.
Before you step outside, get the right paperwork on hand
Ask for the condition report before you go to the vehicle. If the agent says you will find it in the glovebox, ask for a printed version or for it to be shown on a device so you can read it first. Confirm the report matches the vehicle you are being given by checking the licence plate and the VIN (usually visible through the windscreen on the driver’s side).
If you are collecting from a high-volume counter such as San Jose Airport (SJC), it helps to be organised: have your phone ready for photos, enable time and location metadata if you use it, and keep the report accessible so you can point to specific panel marks while you inspect.
How to match the diagram to the actual car, step by step
Start with a slow, clockwise walk-around. Look at the car from two distances: about two metres back to spot dents and panel misalignment, then close in to find chips, scuffs, and cracked trim. As you move, keep the diagram oriented the same way as the car to avoid mixing up left and right.
Work panel by panel, and verify each marked item:
1) Confirm the location is accurate. A mark shown on the rear bumper may actually be on the quarter panel edge. If the location is vague, it needs a note.
2) Confirm the type of damage. A line might be recorded as a scratch, but could be paint transfer that wipes off, or a crack in plastic. Write what you see.
3) Confirm the size and severity. Some diagrams use circles, triangles, or letters to indicate size bands. If the damage is larger than the marking suggests, note the approximate length in inches or centimetres. Be consistent, and avoid emotional language.
4) Look for missing items. Anything unmarked is the most important part of your inspection. Check the lower bumper corners, door edges, rocker panels, mirror housings, and around the boot lip, these areas are easily missed and often get scraped.
Repeat the same approach for the wheels and tyres. Wheel scuffs are a common end-of-rental dispute point. If the diagram has separate wheel circles, ensure each wheel’s condition matches. If it does not, write “front left rim scuff at 3 o’clock” or similar. Check tyre sidewalls for cuts or bulges too, because these are not always captured on diagrams.
How to add notes so they are accepted later
When you find something missing or misrepresented, you want to record it in a way that another employee can understand quickly.
Use plain descriptions: “Scratch” “dent” “scuff” “crack” “chip” “paint transfer” are clearer than “damage”.
Use precise locations: “Rear bumper, left corner, lower edge” beats “rear”. If possible, reference orientation such as “driver side” and “passenger side”, as those are commonly used in the US.
Estimate size: “Approx 4 inch scratch” is usually enough. Do not guess wildly, you can use your hand or a card for scale in photos.
Note pre-existing missing items: Missing hubcap, missing tow hook cover, cracked reflector, or loose trim should be written down.
Then ask staff to initial or confirm the note. If they cannot initial it, request that it is entered into the system and that you receive an updated report. Even if the desk is busy, stay polite and firm. A two-minute delay now can save hours later.
Get a copy before you drive off, and check it is complete
The final step is the one many people miss: obtain a copy of the signed or acknowledged condition report before leaving the lot. This can be a printed sheet, an email, or a photo of the screen showing the marked diagram and any notes. If you are given a paper form, photograph it as backup in case it gets lost.
Before you pull away, verify your notes appear on the copy you keep. If the staff member says “it’s in the system”, ask for something you can retain. This is especially valuable at busy locations such as San Diego (SAN), where returns may be processed quickly and different staff may inspect the vehicle than the person who handed it over.
Extra California-specific tips for leaving the lot confidently
California sunlight can hide or reveal damage depending on angle, and coastal fog or garage lighting can make the car look different later. If the vehicle is in a dim structure, ask to pull into brighter light before finalising your check. If you collect after dark, use your phone torch to inspect bumpers, wheel arches, and door bottoms.
Also consider road conditions. If you will be driving in dense traffic or parking frequently, minor scuffs can happen easily. Starting with a clear, agreed record of the car’s condition is the best way to avoid arguments about when a mark occurred.
If you want to compare pick-up setups between locations, you can check options at Santa Ana (SNA) and other nearby branches before you travel.
FAQ
Q: What if the rental company says the diagram only records major damage?
A: Still note anything you can see, especially wheels, glass chips, and bumper scuffs. Ask for your notes to be added, and keep photos as supporting evidence.
Q: Should I inspect the car before I sign the agreement?
A: Ideally, review the condition report first, then inspect the car, then sign or confirm once any discrepancies are noted. If the process is digital, ask how to add comments before final confirmation.
Q: If I take photos, do I still need the diagram updated?
A: Yes. Photos help, but an updated diagram or written note acknowledged by staff reduces ambiguity and speeds up resolution if a dispute arises.
Q: What areas are most often missed on a pre-existing damage diagram?
A: Wheel rims, lower bumper edges, rocker panels, mirror caps, windscreen chips, and interior stains. Check these deliberately, even if the diagram looks clean.































































































