


Quick Summary:
- Check paperwork, then confirm camera and sensor icons inside the car.
- Select reverse and confirm a live camera image with guidelines.
- Creep towards a safe wall and listen for changing sensor beeps.
- Enable parking alerts, set volume, and adjust screen brightness.
San Francisco parking can feel like a skills test: tight kerbside spaces, steep hills, busy cyclists, and garages with unforgiving pillars. If you have arranged car hire expecting a rear-view camera and parking sensors, confirm both systems before you leave the lot. It only takes a few minutes, and it avoids the frustration of discovering missing features when you are already in traffic.
This guide gives you a quick counter-side checklist you can do at pickup, plus the settings worth checking so the aids work the way you expect in city driving. If you are collecting near the terminals, the same approach applies whether you used car hire at San Francisco SFO or arrived via the South Bay and need an alternative pickup like car hire at San Jose SJC.
Step 1: Confirm what you were promised, before inspecting the vehicle
Start with your rental agreement, vehicle checkout sheet, or the counter agent’s printed summary. Look for wording like “rear camera”, “backup camera”, “parking assist”, “rear parking sensors”, or “park distance control”. Some fleets list features under “safety” or “driver assistance”. If the document only shows a broad class, such as compact or SUV, treat it as non-specific and rely on your physical checks.
When you are choosing vehicle types, note that higher trims and larger models more often include full parking aids. For example, people carriers commonly include them, which is one reason some travellers compare options like minivan hire at San Francisco SFO for family trips with lots of luggage.
Step 2: Identify the hardware, in 60 seconds at the car
Before you even get in, do a fast walk-around. A rear-view camera is usually mounted above the number plate, near the tailgate handle, or integrated into a badge. It looks like a small lens, often recessed. If you see no lens at all, it does not guarantee the car lacks a camera, but it is a warning sign.
Parking sensors are typically small round discs embedded in the bumpers, most often the rear bumper and sometimes the front too. Count them, then check they look intact and not painted over. If the bumper looks heavily scuffed or recently repaired, sensors can be present but faulty, so you will still need the functional test.
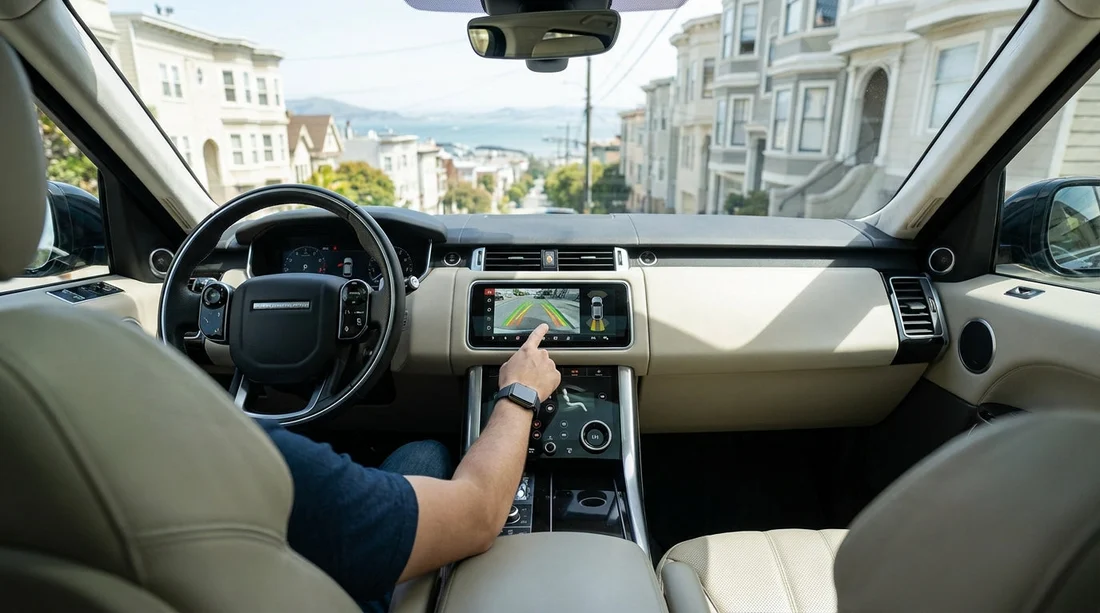
Now sit in the driver’s seat and locate the screen. Many modern cars show the camera view on the centre display, while some older models use the rear-view mirror screen. If there is no screen anywhere, a camera is unlikely.
Step 3: Run a clean camera test, without leaving the bay
Use a method that is safe and easy for staff to observe if you need help.
With the engine on and your foot firmly on the brake, select reverse. You should immediately see a live image. Look for a few specific signs that confirm it is a camera and not a static graphic.
First, wave your hand briefly behind the car, visible through the rear window, and check you can see the movement on the screen. Second, turn the steering wheel slightly. Many cars show dynamic guidelines that curve as you steer. Some only show fixed guidelines, but the live video should remain clear and stable.
Next, check low-light performance. If you are in a dim garage, the image should brighten and remain usable. If the view is black, heavily distorted, or delayed, the camera may be faulty or the lens may be dirty. Wipe the lens gently with a clean cloth if you have one, then retest.
Step 4: Run a practical sensor test using a safe reference
Parking sensors should respond with beeps that increase in frequency as you approach an object, and many cars also show coloured distance bars on the display. To test them without risk, choose a wide, controlled area. A concrete pillar, kerb, or wall can work if you have plenty of space and move slowly.
Put the car in reverse, release the brake slightly, and creep back at walking pace. As you get closer, you should hear the first intermittent beep. Keep moving slowly until the beeps increase. Stop well before contact. If there is no sound, look for a visual distance indicator on the display. If there is neither sound nor visuals, the vehicle may not have sensors, or they may be disabled in settings.
Also confirm the sensor pattern makes sense. If the beeps sound continuous when nothing is behind you, a sensor may be obstructed by dirt, tape, or damage. If only one side reacts, a sensor might be faulty.
San Francisco’s steep streets can change angles and distances quickly, so you want alerts that feel predictable before you rely on them near a tight kerb or a sloped driveway.
Step 5: Check and adjust settings before you drive off
Even when the hardware is present, settings can be muted or switched off by previous drivers. Spend one minute in the menus so you do not miss important cues.
Look for a “Driver Assistance”, “Parking”, or “Vehicle” section. Then confirm:
Parking sensor alerts are enabled. Many cars let you toggle rear sensors on or off. Ensure rear is on. If front sensors exist, turn them on too for tight garage ramps.
Alert volume is audible. Set it high enough to hear over ventilation and city noise. If there is a separate volume for “parking” or “assistant”, change that, not just the radio.
Camera guidance lines are enabled. If guidelines are off, turn them on. For unfamiliar vehicles, guidelines make it easier to judge distance in narrow bays.
If you are collecting after a flight, do these checks before pairing your phone or setting navigation. It is easier to spot problems while you are still near the counter and staff can confirm the vehicle spec.
What to do if the aids are not working at pickup
If you cannot confirm a live camera image and predictable sensor beeps, raise it before you leave. Explain what you tested: reverse selected, no image, no audible alerts, settings checked. Staff can often swap you into a comparable vehicle with the features you expected, or they can show where the feature is located if it is hidden in a menu.
If you want to compare fleets, Hola Car Rentals provides provider-specific landing pages that help set expectations, such as National car hire at San Francisco SFO or Dollar car hire at San Jose SJC. Regardless of provider, your best protection is doing the functional checks before entering San Francisco traffic.
San Francisco-specific parking tips when using cameras and sensors
Use the aids as confirmation, not as your only reference. On steep hills, your camera angle can point high or low, and a low kerb can disappear from view. When parallel parking, use mirrors to track the kerb line, then use the camera to judge distance to the vehicle behind. If sensors trigger early near sloped surfaces, slow down and use visual checks, because the system may be reading the angle rather than a true obstacle.
Also be careful in garages with metal grates, bike racks, or protruding bolts. Sensors can react to small objects, and the camera can miss low posts if the lens is high. A slow approach and a quick glance around the vehicle still matters, even with good parking aids.
FAQ
How do I confirm the rear-view camera is actually live video? Select reverse with the engine on, then wave your hand behind the car and watch for movement on the screen. Live video will update instantly.
Do all San Francisco car hire vehicles include parking sensors? No. Many newer cars do, but inclusion varies by model, trim level, and fleet. Always verify at pickup with a quick functional test.
What should parking sensors sound like when working correctly? They usually start with slow beeps when an object is detected, then beep faster as you get closer, often ending in a continuous tone at very short distance.
Why does the camera look blurry or washed out in a garage? The lens may be dirty, or the screen brightness may be set too low or too high. Wipe the lens gently, then adjust display brightness and retest in reverse.
Can I disable the sensors if they beep constantly on steep streets? Many vehicles allow toggling sensors in the parking menu or via a dashboard button. If you switch them off, re-enable before parking in tight spaces.






























































































