


Quick Summary:
- Match each damage code to panel, size, severity, and exact location.
- Walk around slowly, checking roof, wheels, glass, bumpers, and lower sills.
- Take dated photos and a short video, then save copies offline.
- Ask the agent to update the report before signing, if needed.
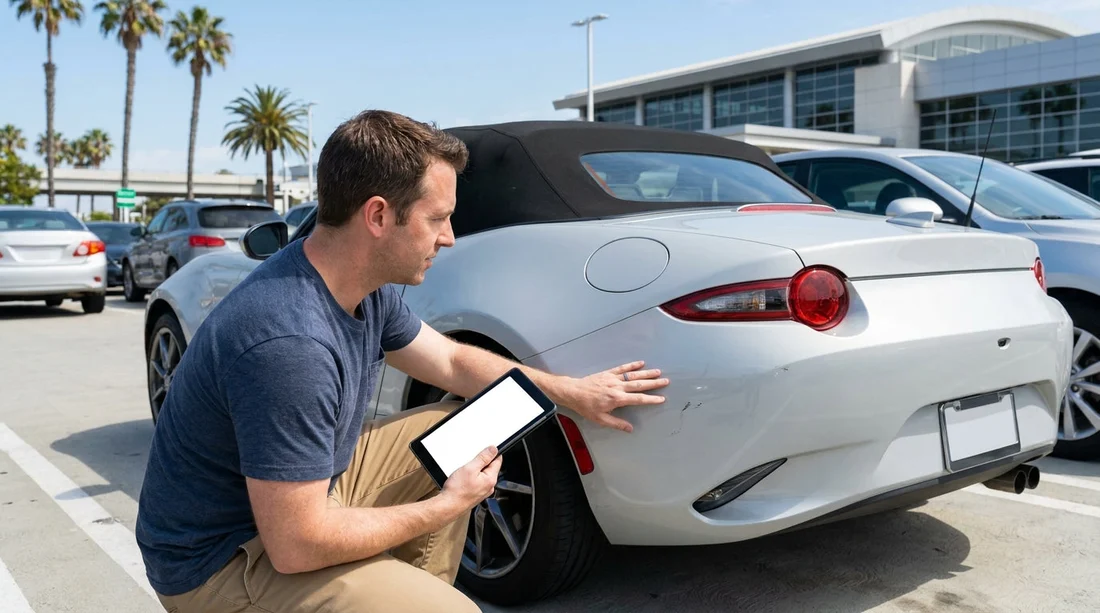
At pick-up, a rental car condition report is your baseline record of the vehicle’s state. In California, you may see a mix of printed diagrams, short damage codes, and tick boxes that mark existing issues. These codes are not universal, but most follow the same logic: identify the type of damage, the part of the car, the size, and sometimes the severity. Understanding them helps you avoid disputes later, especially when you are tired after a flight or collecting keys in a busy airport garage.
Pick-up routines differ by location and brand, but the documentation style is similar across California airports. For instance, collection environments can be fast-paced at San Diego or Santa Ana (SNA), and that is exactly where it helps to know what the shorthand means before you reach the barrier.
Why rental car condition reports use codes
Rental fleets process high volumes, so staff need a quick way to record damage consistently. Codes keep the report readable, allow the same issue to be referenced on a vehicle diagram, and make it easier for the company to assess whether damage is chargeable. Typically, the report will show a vehicle outline diagram, a legend of abbreviations, notes for size, and sometimes a severity level such as minor, moderate, or major.
Even if the codes differ slightly between providers, the practical approach is identical: use the code to locate the damage on the car, then verify it with your eyes and camera.
Common damage codes you may see at pick-up
Below are common abbreviations often used on condition reports, inspection tablets, or key-wallet printouts. The exact letters can vary, but the meanings are usually close.
SCR or SC, Scratch. A line mark that has not necessarily removed paint. Check the direction of the scratch and whether it appears through to primer or metal.
SCF, Scuff. Often found on bumpers, wheel arches, and door edges. Scuffs can look minor in low light but can be large when photographed with flash.
CH, Chip. Usually stone chips on bonnet/hood, windscreen edges, or leading roofline. If chips are clustered, they may be described as “multiple chips”.
DN or DENT, Dent. A depression in a panel, sometimes with a size measurement. Look at reflections along doors and quarter panels to reveal dents.
CRK, Crack. Common for lights, mirror housings, or bumpers. Cracks can spread, so capture them clearly from two angles.
MS or MIS, Missing. Often used for missing hubcaps, trim, or accessories. If you expect items like a parcel shelf, check the boot.
WHL or RIM, Wheel/Rim. Kerb rash is frequently marked. Photograph each wheel straight-on and at an angle to show edges.
INT, Interior. Could refer to stains, tears, odours, or burns. Check seat bases, door cards, centre console, and cargo area.
How to read panel locations and diagrams
Most reports use a top-down or side view car outline divided into zones, for example front bumper, bonnet/hood, left front door, right rear quarter, and so on. Some also use a clock-face method on each panel, or lettered zones like LF (left front), RF (right front), LR, RR.
To avoid confusion, orient yourself as the report does. “Left” and “right” are usually from the driver’s seated perspective, not from where you stand facing the car.
Size and severity, what the numbers imply
A code is often followed by a measurement, such as “SCR 6cm” or “DN 2in”. This measurement matters because many rental policies and internal standards use thresholds. You do not need to debate thresholds at the counter. Instead, ensure the size written matches reality and that the mark is visible in your photos.
Some reports also indicate severity like “M” for minor, “MD” for moderate, and “MJ” for major, or use colour coding on the diagram. If the severity seems higher than the actual condition, ask for clarification and a correction. Your goal is a fair and accurate baseline, not a perfect car.
A step-by-step pick-up inspection that prevents disputes
1) Start with wide shots. Before focusing on details, photograph all four sides, then the roofline if you can safely do so. A slow, continuous walkaround video is useful for context.
2) Check high-miss areas. People often only look at doors. Instead, include bumpers, lower sills, wheel arches, and the area under the front bumper lip. These spots pick up scuffs and scrapes that are easy to miss at a quick glance.
3) Photograph wheels and tyres individually. Wheel damage is common and sometimes not recorded well. Take a clear image of each rim edge and tyre sidewall.
4) Inspect glass and lights. Windscreen chips can be tiny. Photograph the windscreen from outside and inside. Check headlamps and tail lamps for cracks.
5) Confirm interior condition. Photograph the front seats, rear seats, dashboard mileage display, and boot/cargo area.
6) Compare against the report line-by-line. If the report lists “SCR RF door 8cm”, find it and photograph it. If you find an unlisted dent or scuff, photograph it, then ask for the report to be updated.
This process is especially helpful when collecting larger vehicles, where damage can hide on tall panels. If you are using a people carrier, see notes specific to larger bodywork on minivan rentals in San Diego.
How to request corrections without slowing everything down
When you spot a discrepancy, keep it simple and factual. Show the agent the mark, point to the missing or incorrect entry on the report, and ask them to add it.
Different desks and brands can have different tools, but the principle is identical whether you pick up via Dollar in San Diego or another provider. What matters is that the final version you leave with reflects the car you actually received.
What to do if the car is wet, dirty, or poorly lit
California coastal areas can mean morning dew, marine layer, or recent rain, which can hide scratches. If the car is wet, look from multiple angles and use reflections to reveal dents. If it is dirty, ask if a quick rinse is possible, or at least photograph the dirt-covered panel and note that visibility was limited.
If you are collecting at a location like Sacramento (SMF), you may have more daylight in open lots, but do not assume it will be easier. Glare can hide marks just as much as darkness, so change angles and take two photos per panel where you suspect an issue.
Keep your records organised until after return
Create a single album on your phone titled with the date and rental location. Include pick-up photos, the report copy, and return photos. Save them offline or to your cloud so they are not lost if your phone is damaged.
If you want more consistency across trips, it can help to use the same routine regardless of provider, including when collecting through a branded desk like National at Santa Ana (SNA). A consistent checklist reduces the chance of missing something when you are in a hurry.
FAQ
What if the damage code list on my report is different? Use the diagram and the written notes as your guide, then confirm each marked point on the vehicle. If any abbreviation is unclear, ask the agent to spell it out and add plain-language notes.
Do I need to photograph every tiny scratch? Focus on anything not already recorded and anything that looks more than superficial, especially on bumpers, doors, wheels, and glass. Wide shots plus clear close-ups of unlisted marks are usually sufficient.
Is a pre-printed condition report always accurate? Not always. Cars move quickly between renters, and new marks can appear after the report was generated. Compare the vehicle to the paper or tablet record before you sign.
Should I sign if I have not checked the car fully? It is better to pause and complete your walkaround first. If you must leave quickly, at least photograph all sides, wheels, glass, and any obvious damage, then ask for the report to be updated immediately.
What evidence is most useful if there is a later dispute? A time-stamped set of pick-up photos and video, the final signed condition report, and a clear image of the mileage and fuel level at pick-up and return.




























































































