


Quick Summary:
- Match every scratch and dent to the condition report before signing.
- Photograph all sides, wheels, glass, roof, and interior with timestamps.
- Record fuel level, mileage, warning lights, and tyre tread condition.
- Ask staff to countersign additions, then keep copies of all notes.
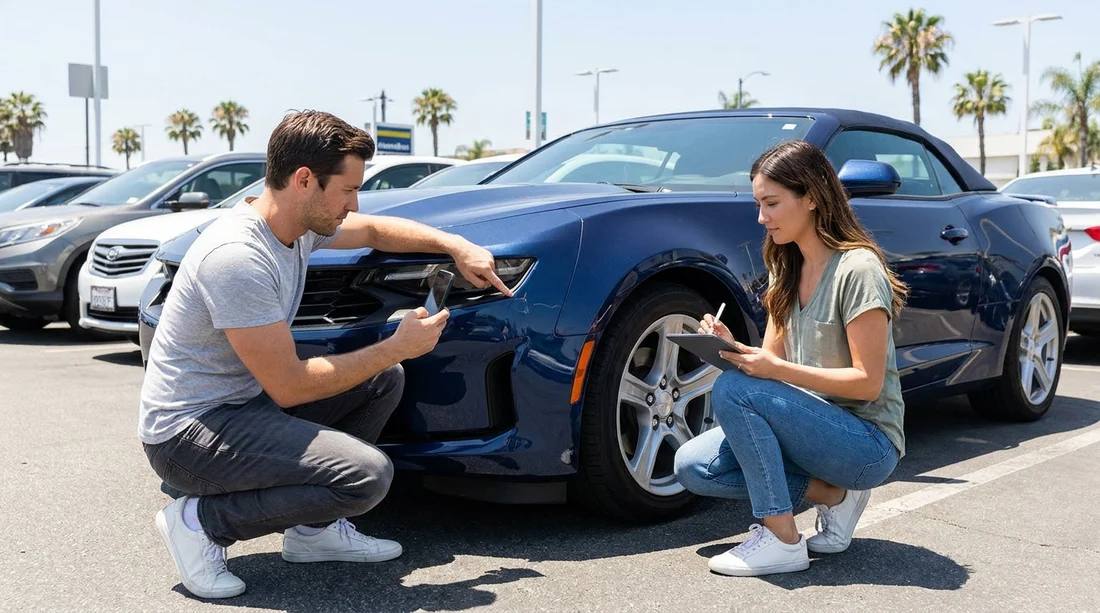
A rental car walkaround inspection is your best chance to prevent disputes about damage when returning your vehicle after car hire in Los Angeles. The goal is simple, create a clear, time-stamped record that matches the rental company condition report, with any missing items added before you drive away. In busy Los Angeles pick-up locations, it is easy to feel rushed at the counter, but spending an extra 10 minutes can save hours of follow-up later.
This checklist is designed to be counter-ready. It focuses on what should be recorded, how to record it, and how to confirm that the paperwork and your photos agree. If you are comparing options for different pick-up points and vehicle types, you can also review Hola Car Rentals pages for car hire at LAX, budget car hire options at LAX, minivan rental at LAX, and van hire at LAX.
Before you start: get the right documents and settings
Before walking to the car, open your phone camera settings and ensure date and time are correct. If your phone supports it, enable location tagging, it can help demonstrate the inspection occurred at the pick-up site. Bring a small torch or use your phone torch to spot light scratches and scuffs, especially in shaded garages common around Los Angeles.
Ask for the condition report or damage diagram at the counter and check it is for your specific vehicle, with the correct registration number or VIN last digits where shown. If the document is digital, ask how you will receive a copy and when. If it is paper, keep it flat and readable for your own photos, as you may want to photograph the report as well.
What to record on the exterior, panel by panel
Work in a consistent loop so you do not miss anything. Start at the front left corner, then move clockwise. For each area, record both what you see and where it is. A note like “scratch on door” is weak. A note like “20 cm horizontal scratch, driver door midline, above handle” is strong.
Front bumper and grille: Record scrapes underneath, paint transfer, cracks near parking sensors, and number plate damage. Take a wide shot plus a close-up at an angle that shows depth.
Bonnet and wings: Note stone chips, dents, and mismatched paint. These are common on highway-driven cars and can be easy to overlook unless you change viewing angles.
Doors and side panels: Record dents from door impacts, scuffs along lower sills, scratches around door handles, and any rubber trim that is loose. Check the B pillars for scratches from seatbelt buckles.
Mirrors: Record cracked housings, scratched caps, and mirror glass chips. Confirm mirrors fold and adjust correctly.
Rear bumper and boot: Look for loading scuffs, cracks at corners, and dents under the boot lip. Check that the boot opens smoothly and closes without forcing.
Roof: If you can see it safely, record dents, scratches, and any glass roof chips. If you cannot access it, take upward angled photos from both sides to show you attempted a roof check.
Wheels, tyres, and underbody items that often cause disputes
Wheel and tyre claims are a common surprise because renters focus on bodywork. Photograph each wheel straight-on and at a 45 degree angle, plus close-ups of any kerb rash. Record which wheel it is, front left, rear right, and so on.
For tyres, record visible tread depth condition (for example, “tread looks even, no bald edges”), any sidewall cuts, bulges, or embedded objects. If there is a spare wheel or inflator kit, confirm it is present and note its condition.
Also check and record mud flaps, undertrays hanging loose, and the presence of tow hooks or covers. Do not crawl under the vehicle, but do take low-angle photos of front and rear lower edges.
Interior checks: document cleanliness and wear, not just damage
Interior condition can lead to cleaning fees or damage claims. Before putting luggage inside, photograph the cabin in a wide shot from each door. Record stains, tears, burns, heavy odours, and broken trim.
Dashboard and controls: Turn the ignition on and photograph the instrument cluster with any warning lights, and the mileage. If a warning light is present, record it in writing and have staff acknowledge it.
Air conditioning: In Los Angeles, A/C matters. Record if it is weak, noisy, or smells musty. You do not need a long test drive, but a 30 second stationary check is reasonable.
Fuel, mileage, and key items to match against the paperwork
Condition reports often include fuel level and odometer, but they can be wrong. Photograph the fuel gauge and the odometer together if possible. If not, take separate clear photos. Record the stated fuel policy (full to full, same to same, prepaid) as written on your agreement, then ensure the gauge matches what you are being charged for.
Record the number of keys provided and any key fob damage. Check for the presence of essential items if listed, for example, parcel shelf, charging cables, or sat nav units where supplied. If the rental includes toll equipment or a transponder, photograph it in place and note its ID number if visible.
How to take time-stamped photos that stand up at the counter
Take two types of images, wide context shots and close-up evidence. Aim for a complete set that shows the vehicle’s overall condition and identifies the specific defects.
1) Walkaround video: Record a slow 30 to 60 second video circling the car. Pause briefly at each corner and each wheel.
2) Eight core photos: Front, back, left side, right side, front left wheel, front right wheel, rear left wheel, rear right wheel.
3) Damage close-ups: One close-up per defect, plus a second shot pulled back to show where it is.
4) Interior set: Driver seat and dash, rear seats, boot, and any visible stains or tears.
To keep the record consistent, do not use filters. Make sure your images are sharp and bright enough to show scratches. If lighting is poor in a garage, use the torch setting or step into better light if safe.
How to get the condition report updated and aligned with your notes
After your inspection, compare your notes against the condition report line by line. If a defect is not marked, return to the counter and ask for it to be added. The key is alignment, your written notes, the report, and your photos should describe the same issue in the same location.
Use clear language, location, size, and type. For example: “rear bumper, left corner, scuffing 10 cm, paint transfer.” Ask staff to initial changes on paper or confirm updates in the digital system. Before leaving, keep a copy of the updated report or a screenshot, and photograph the final document for your records.
If you are picking up outside Los Angeles and driving in, the same approach applies. For comparison of nearby locations, Hola Car Rentals also provides information on car rental at Santa Ana airport and car hire in Santa Ana.
Final counter-ready checklist to record before driving off
Use this as your last scan before leaving the pick-up area. Confirm you have recorded: vehicle identification (plate and model), all existing exterior damage, wheel and tyre condition, glass chips, interior issues, fuel level, mileage, warning lights, keys and accessories, and an updated condition report that matches your notes. Once that is done, store your photos and video in an album labelled with the rental date and location, so you can find them quickly at return.
FAQ
Do I need to record tiny scratches during a walkaround inspection? Yes, record anything you can see, especially on bumpers, doors, and wheels. Small marks can be reclassified as bigger damage later if they are not documented at the start.
What photos are most important before car hire in Los Angeles? Prioritise four side photos, all four wheels, windscreen close-ups, the instrument cluster showing mileage and any warning lights, and any existing damage with both close and wide shots.
Should I sign the condition report if it does not match the car? Do not sign until missing damage is added or confirmed in writing. If the system is digital, ask for an updated copy or on-screen confirmation before you leave.
How can I prove my photos were taken at pick-up time? Use time-stamped images, keep original files, and avoid editing. Location data and a short continuous walkaround video can also support the timing.
What if the pick-up area is dark and I cannot see everything? Ask to move the car into better light if possible, or use your torch and take extra angled photos. If you still cannot confirm an area, note that limited visibility affected the inspection.





























































































