


Quick Summary:
- Follow Rental Car Center signs and take the MIA Mover train.
- Use your bay number and zone markers to locate the car.
- Check fuel policy, damage notes, and agreement details before leaving.
- Choose the correct exit lane, stop at the booth, and wait.
Miami International Airport uses a dedicated Rental Car Center, often shortened to RCC, where most major brands collect customers and hand over vehicles. If it is your first time using car hire at MIA, the building can feel large and busy, especially at peak arrival times. The good news is that the process is predictable once you know the order of steps and the key signs to follow.
This guide walks you from the terminal to the correct floor, then through vehicle location, paperwork checks, and the garage exit lanes so you can drive off calmly and legally.
1) Get to the Rental Car Center from the terminal
After collecting luggage, look for signs that say “Rental Car Center” or “MIA Mover”. The MIA Mover is the elevated people-mover that takes you from the terminal area to the RCC. Follow airport wayfinding rather than relying on memory, because different concourses connect through central corridors before you reach the train platform.
Keep your essentials accessible: driving licence, passport or ID, and the payment card used for the deposit. You may also want your booking confirmation on your phone. If you arranged car hire that is tied to Miami Airport, it helps to know the brand name and any membership number before you join a queue. For a quick overview of options tied to MIA, see Miami Airport car rental.
Once on the MIA Mover platform, take the next train towards the Rental Car Center. The ride is short. When you arrive, you will enter a large lobby with clear signage for individual rental desks, lifts, escalators, and garage access.
2) Find the correct counter or skip the desk if you are eligible
In the RCC lobby, locate your rental company’s desk. Some companies allow you to go directly to the garage if you have already completed online check-in or you are part of their loyalty programme. Others require a brief stop at the desk to confirm your details, collect a rental agreement, and receive your bay or stall location.
If you do need the counter, join the correct queue and keep your documents ready. If you have extra drivers, confirm whether they must be present at the desk. Ask for clarification on any unfamiliar terms before signing, because it is easier to correct issues at the counter than at the exit gate.
Travellers sometimes confuse “Miami Airport” with nearby pick-up points in the wider area. If you are staying by the coast and later need a different location, it can help to compare with Miami Beach car rental so you understand which site you are heading to.
3) Understand what your paperwork should show
Before you leave the desk or kiosk, check that the rental agreement matches what you expect. Focus on a few specific items that affect your exit at the garage and your costs later.
Name and licence details: Ensure spelling, address, and licence number are correct, because mismatches can cause delays at the gate or in the event of a roadside stop.
Vehicle class and plate details: Some agreements list the exact registration plate, others list only the class until you are assigned a car. If you are given a bay number, the class should still match what you reserved.
Fuel policy: Confirm whether it is full-to-full or another option. If it is full-to-full, make sure the gauge at pick-up is close to full and documented.
Tolls: Miami has toll roads, and policies vary. Confirm whether you are opted in to a toll programme, whether it is per day, and what happens if you pay cashless tolls without a plan.
Insurance and deposit: Check the level of cover recorded on the agreement and the amount held as a security deposit. If you are unsure what is included, ask for a plain-language explanation.
4) Follow signs to the right garage level and zone
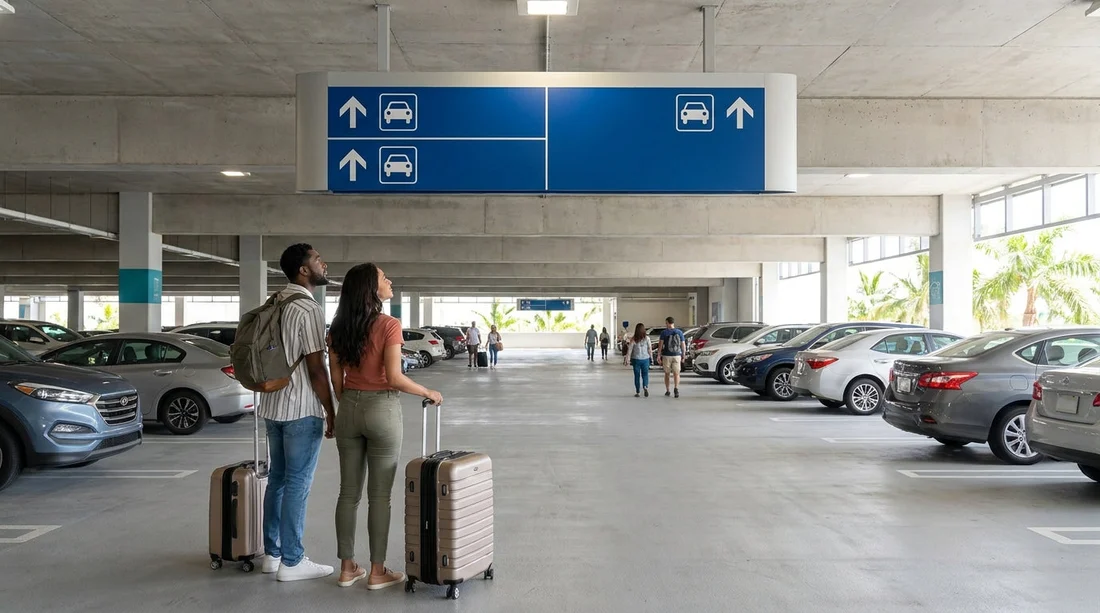
From the lobby, take the escalators or lifts to the level indicated for your rental company. Many brands have dedicated floors or sections. You will usually see overhead signs with company names and arrows, plus colour-coded zones and bay numbering.
When you step into the garage, pause and orient yourself. Look for three clues that get you to the correct row quickly: the company name on hanging boards, the zone letters or colours on pillars, and the bay or stall number on your paperwork. If you are directed to a “ready line” rather than a specific bay, join the correct lane and wait for an attendant to allocate a vehicle.
Some travellers choose a brand-specific location away from the airport for later in a trip, such as Doral. If you are comparing pick-up experiences, Alamo Car Rental Doral is an example of a non-airport site with a different flow and less garage signage to interpret.
5) Locate your specific vehicle and do a fast but thorough walkaround
Once you find the vehicle, match the make, model, and colour if those were specified. Then confirm the registration plate if it is printed on your agreement or displayed on the key tag. Do not rely on bay number alone if several similar cars are parked together.
Before loading luggage, do a quick inspection while the lighting is good.
Exterior: Walk around the car and look for scratches, dents, cracked lights, scuffed wheels, and windscreen chips. Check the bumpers carefully, as damage there is common.
Interior: Check seats, dashboard, and boot area for stains or tears. If there is a child seat, confirm it is the correct size and securely fitted.
Tyres and fuel: Look for obviously low tyres and verify the fuel level. Photograph the fuel gauge and odometer if you like to keep a record.
If you spot damage not listed on the check-out sheet or app, report it before you reach the exit lanes. In many garages, an attendant can note damage on the spot, or you can return briefly to the booth for documentation. This small step can prevent disputes later.
6) Navigate to the correct exit lanes inside the RCC garage
Exit lanes are usually marked with large overhead signs such as “Exit”, “Gate”, or “Contract Check”. Follow the arrows and stay at low speed. Miami Airport’s rental garage can have pedestrians, trolleys, and drivers stopping unexpectedly to check paperwork.
As you approach the gate area, you may see multiple lanes. Choose the lane that matches your situation.
Attended booth lanes: Most drivers use these. An attendant checks your agreement, may scan a barcode, and confirms the vehicle details.
Membership or express lanes: If your agreement indicates an express exit, use that lane. Do not enter it unless you are authorised, because you could be redirected and lose time.
Problem resolution area: If you notice a warning light, a flat tyre, or a paperwork mismatch, move out of the main flow if possible and ask for help before reaching the barrier.
Keep your agreement and driving licence within reach, but do not hold documents while the car is moving. When you reach the booth, stop fully, follow the attendant’s instructions, and wait for the barrier to rise before moving forward.
If your trip includes driving beyond Miami, it can be useful to understand other airport flows, too. For comparison, car hire at Fort Lauderdale Airport has a different layout and signage pattern, which can affect return-day planning if you are flying out from a different airport.
FAQ
Do I have to take the MIA Mover to reach the car hire centre? Yes, the main Rental Car Center is reached via the MIA Mover from the terminal area, and airport signs guide you to it.
How do I find my exact vehicle once I am in the garage? Use the company zone and bay or stall number on your agreement, then confirm the vehicle class and registration plate if listed.
What should I check on the paperwork before heading to the exit lanes? Confirm driver details, vehicle class, fuel policy, insurance selections, deposit amount, and any toll programme listed on the agreement.
What happens at the exit gate in the Rental Car Center? An attendant typically scans your agreement, verifies the vehicle details, and lifts the barrier once the rental is validated.
If I spot damage after loading luggage, should I still report it? Yes, report it immediately before leaving the garage area, so the damage can be recorded on your check-out documentation.





























































































