Quick Summary:
- Take the entry ticket, photograph it, and note the garage name.
- Pay at the kiosk before returning, then exit within the grace period.
- If your UK card fails, try tap-to-pay, chip-and-PIN, or another machine.
- Keep the ticket, receipt, and transaction proof if the barrier will not open.
Pay-on-foot parking garages are common around Miami Beach, especially near popular beachfront areas, shopping streets, and hotel zones. If you are visiting Miami on car hire, understanding the pay-on-foot flow matters because you usually cannot pay at the exit barrier. Instead, you take a ticket at entry, park, then pay at a separate machine before driving out. The process is simple once you know what to expect, but it can go wrong when tickets get bent, kiosks reject a UK card, or you miss the short time window to leave after paying.
This guide breaks the system down step by step, explains alternatives such as app-based payment when available, and lists exactly what to keep as proof if a barrier will not open. If you are collecting a vehicle locally, the Miami Beach area information on car hire in Miami Beach can help you plan where you will be driving and parking day to day.
How pay-on-foot garages work in Miami Beach
A pay-on-foot garage typically has three distinct points: an entry barrier that issues a ticket, one or more payment kiosks somewhere in the pedestrian areas (often near lifts or stairwells), and an exit barrier that checks whether your ticket has been paid.
The key difference from “pay at exit” systems is that the exit barrier may not take payment at all, or it may only offer limited help via an intercom. In practice, you should assume you must pay at a kiosk first.
Most garages follow the same logic:
1) Entry creates a time stamp. The ticket records when you entered and may also show a garage name or code.
2) Parking duration determines price. The rate can be hourly, with a daily cap in some facilities, plus possible event pricing.
3) You pay before returning to the car. You insert or scan the ticket at a kiosk, pay, then the ticket becomes “validated” for exit.
4) You get a short exit window. Many garages allow a grace period (often around 10 to 20 minutes) to drive out after paying. If you overstay, you may need to pay again for the extra time.
Step-by-step: using the entry barrier
Step 1: Approach slowly and choose the right lane. Some garages separate monthly permit holders and pay-on-foot visitors. Follow signs for “Daily” or “Hourly”.
Step 2: Take the ticket. Press the button if needed, then take the printed ticket. Do not pull forward until the barrier lifts.
Step 3: Check the basics immediately. Look for the date/time stamp and any printed instructions. If the ticket is blank, torn, or misprinted, press the help button straight away while you are still at the entry barrier.
Step 4: Store it carefully. Keep it flat and dry. Do not leave it on a dashboard in direct sun, and do not put it next to magnets or inside a tightly packed wallet where it can crease. Many tickets have a barcode or magnetic stripe that can become unreadable if bent.
Step 5: Take a quick photo. Photograph both sides if there is printing on both. This can save time if the ticket later becomes unreadable and the intercom operator asks for ticket details.
Finding and using the pay kiosk
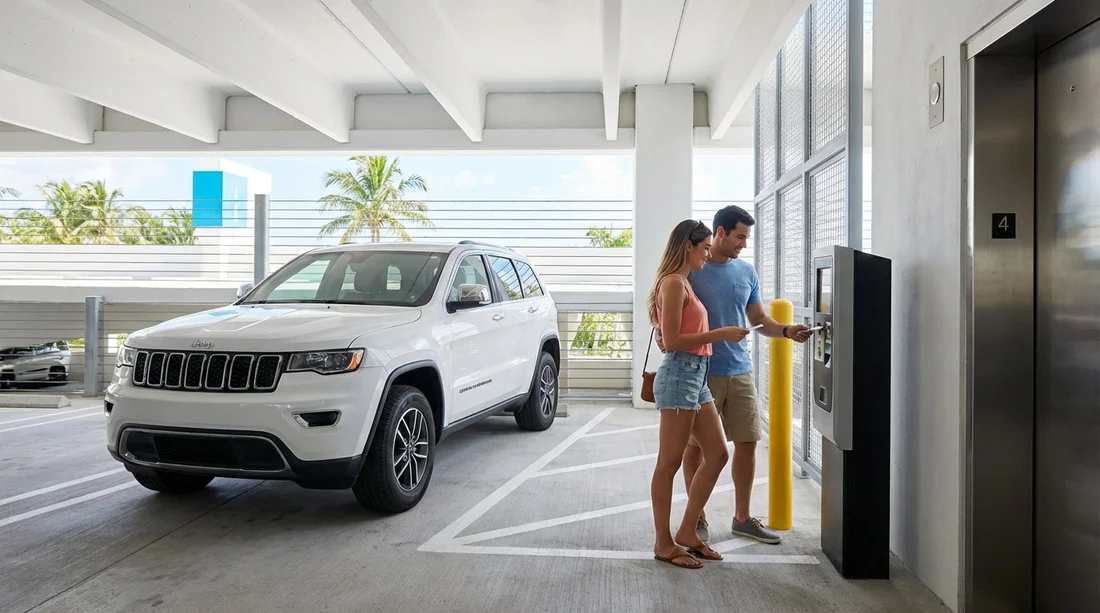
In Miami Beach garages, pay kiosks are often located near the lifts, at stairwell entrances, or in lobby-style areas on the ground floor. Plan to pay before you return to the car, particularly in the evening when lighting is lower and you may not want to walk back and forth.
Step 1: Locate the machine on foot. Follow signs that say “Pay Station”, “Pay Here”, or “Kiosk”. If there are multiple, pick one that looks well lit and in use.
Step 2: Insert or scan your ticket. The machine will display the amount due. If it says “See attendant” and there is no attendant, press the help button and wait for a response.
Step 3: Pay with card first, then consider cash if available. Many machines accept card only, and some accept cash with notes or coins. If cash is accepted, keep the change and the receipt because cash transactions can be harder to prove later.
Step 4: Take your receipt and confirm the ticket is returned. Some kiosks keep the ticket and issue a validated stub or receipt. Others return the same ticket. Do not walk away until you have something in your hand that can open the barrier.
Step 5: Head straight to the car. Because of the exit grace period, it is best not to pay and then linger. If you are travelling with others, one person can fetch the car while another pays, but only do this if you are confident about directions and meeting points.
If you are staying in central Miami and driving over for the day, you may start your trip from locations like downtown Miami car rental areas, where parking rules can differ. Miami Beach pay-on-foot garages are generally more structured than street parking, but the exit grace period is where most visitors get caught out.
App alternatives and other payment setups you may see
Not every facility is pure pay-on-foot. In and around Miami Beach you may encounter:
Pay-by-plate kiosks. Instead of inserting a ticket, you type your number plate (registration) into the machine. On car hire, double-check the plate on the vehicle, not what you assume it is. A single wrong character can mean your payment is not matched at exit.
App-supported garages. Some garages display QR codes or signage for mobile payment, but coverage varies. In garages, mobile signal can be weak, so do not rely on an app as your only option unless you can confirm payment has processed.
Exit-only validation. Occasionally you will see an exit lane that accepts card, but treat it as a backup rather than the plan. If the lane is out of order or queues build up, you can be stuck at the barrier.
Hotel validations. Certain hotels and venues validate parking for guests. Validation usually reduces the price but does not always replace the need to visit a kiosk. Ask exactly whether you still must pay at a machine, and keep any validation slip.
UK card pitfalls at US parking kiosks, and how to avoid them
Parking kiosks in the US can be fussy. Problems are more common with unattended machines than with staffed shops because kiosks may have older card readers or strict fraud settings.
Common issues UK drivers report:
Chip-and-PIN confusion. Some machines ask for a ZIP code for verification. UK cards do not have a ZIP code. If prompted, try your billing postcode digits only (for example, SW1A 1AA becomes 11), but results vary. If it fails, cancel and try another method rather than repeatedly retrying and risking a card security block.
Magstripe not accepted. If the machine wants chip insertion and your card keeps failing, try contactless if offered.
Contactless limits. Tap-to-pay can be declined if the amount is high or the card wants a chip-and-PIN “reset”. If you have a second card, use it rather than wasting the grace period.
Prepaid and some fintech cards. Certain prepaid cards are more likely to fail at kiosks. Keep at least one mainstream credit card available as a backup.
Machine-specific faults. If one kiosk rejects your card, another kiosk in the same garage may work. Do not assume your card is the problem until you try a second machine.
It also helps to keep a note of your car hire registration and the issuing state on the plate. If you picked up at an airport, pages like Miami Airport car hire can be a useful reference point for typical traveller routes, but once you are in the garage, your immediate priority is payment confirmation and exit timing.
What to keep, and what to photograph, so you can prove you paid
If the barrier will not open, the fastest resolution usually comes from having clear proof ready. Keep these items until you are fully out of the garage and the charge has appeared correctly on your card.
Keep the physical ticket or validated stub. Even if you paid by plate, keep any printed confirmation.
Keep the receipt. It may show time paid, amount, last four digits of the card, and the machine ID. That machine ID is useful when a remote operator checks logs.
Screenshot your card transaction. If you use mobile banking, take a screenshot showing the merchant name and amount. If it is pending, that still helps.
Photograph the kiosk screen if it confirms payment. Take a photo of the “Payment Approved” message if safe to do so, and include the ticket visible in the same frame where possible.
Photograph the garage signage. A quick photo of the garage name, posted rates, and any contact number by the pay station can help later if you need to dispute a double charge.
Note the time you paid and the time you reached the exit. This matters if you think the grace period expired because of a queue or a blocked lane.
If the barrier will not open: a practical troubleshooting sequence
When the exit barrier refuses to lift, you usually have limited space behind you and other cars may queue quickly. Stay calm, and work through a clear sequence.
1) Try the ticket again slowly. Insert in the correct orientation, and do not remove it too quickly. If it is barcode-based, align it with the scanner and hold steady.
2) Check your grace period. If you took too long after paying, you may need to pay the extra time. If you can safely pull aside, you may need to return to the kiosk to top up.
3) Use the intercom/help button. Tell the operator you have paid, then give them the ticket number if printed. Offer the machine ID from the receipt. Operators can often open the barrier remotely once they confirm payment in the system.
4) If the ticket is damaged or lost, provide what you have. Show the receipt, your payment screenshot, the entry photo, and your approximate entry time. Some garages charge a “lost ticket” maximum daily rate, but staff may override it if your proof is strong.
5) Avoid reversing unless directed. It is safer to follow instructions from the operator. If you must move, do so slowly and only when the lane is clear.
6) If you are charged twice, keep everything. A second payment can happen if you pay again at the exit. Do not discard the first receipt. You will need both receipts and timestamps to request an adjustment.
If you are driving a larger vehicle, such as from an SUV rental in Miami, allow extra time to manoeuvre in tight lanes and around pillars. That extra time can be the difference between leaving within the grace period and having to pay again.
Extra Miami Beach tips for car hire drivers using garages
Watch for height restrictions. Convertibles with roof racks, large SUVs, and vans can exceed limits. The restriction is usually posted at the entrance, but read it before taking a ticket so you can back out safely if needed.
Look for “No re-entry” rules. Some garages reset pricing if you exit and re-enter. If you plan multiple stops, factor this into your costs.
Take note of your level and section. Miami Beach garages can be multi-storey with repetitive layouts. Photograph the nearest pillar marker or write down the level number to avoid wandering after paying.
Keep your ticket separate from beach gear. Wet towels and sand can ruin a paper ticket quickly, and a damaged barcode is a common reason for exit failure.
Be mindful of peak-time queues. Weekends and event nights can create long exit lines. Pay at the kiosk only when you are ready to drive out, and consider leaving a little earlier to avoid missing the grace period.
FAQ
Do I pay at the exit barrier in Miami Beach pay-on-foot garages? Usually no. You normally pay at a kiosk on foot, then use the validated ticket to exit within a short grace period.
My UK card is declined at the kiosk, what should I do? Try contactless if available, then chip-and-PIN, then a different kiosk. If it asks for a ZIP code, cancel and try another card or method.
How long is the grace period after paying? It varies by garage, but it is often around 10 to 20 minutes. If you miss it, you may need to pay extra time before the barrier will open.
What proof should I keep in case the barrier will not open? Keep the ticket or validated stub, the printed receipt, a screenshot of the card transaction, and a photo of the garage name or posted instructions.
What happens if I lose my ticket? Many garages charge a lost ticket maximum rate. Use your entry photo, receipt, and bank transaction as evidence, and press the help button to speak with the operator.


